Crochet Remote Control Cover

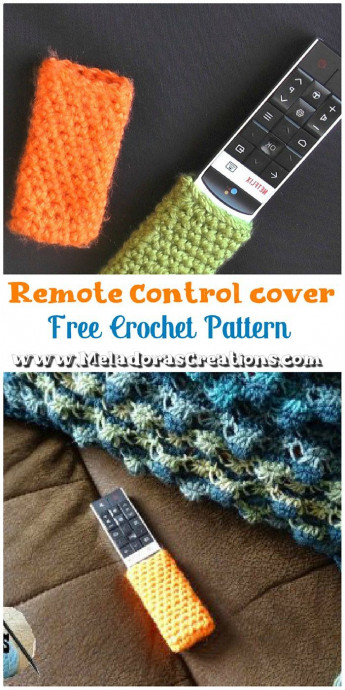
Crochet remote control covers are fantastic for adding a cozy touch to your living space while also keeping your remote protected from daily wear and tear. Not only do they come in various colors and designs to match your decor, but they are also a fun and practical DIY project to unleash your creativity. By customizing your remote control cover with soft, durable yarn, you can ensure that your remote stays safe and looks stylish at the same time. So, whether you're cuddled up on the couch or simply wanting to spruce up your gadget, a crochet remote control cover is a charming addition to your home that brings both flair and functionality!
Materials Needed
- HOOK: 3mm hook or size C hook for the US
- YARN: small amount of worsted weight yarn, 4 ply US, 10 ply AU
- Stitch Marker – this can be a piece of yarn of another color.
Abbreviations
- ch = Chain
- sl st = Slip Stitch
- st = Stitch
- sk = Skip
- dec = decrease
- beg = beginning
- YO = Yarn Over
- SC = Single Crochet
Repeat what’s in between * for rest of round.
Instructions
To Start
Ch 8 – add more if needed. You just need to be able to cover the front of the remote without going over the sides of the remote. Reason for this is to make the remote pocket tight so it will stretch and grab the remote later so it won’t slip off so easily.
Acrylic yarn is great at stretching so I recommend this one for that reason.
Round 1
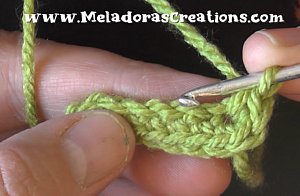
sc in the 2nd ch from your hook. Crochet down your chain. Put 3 sc’s in the very last stitch of your row. Then pivot your work. We’ll be working on the bottom of our ch now.
Continue to Round 2
Continue down your ch and sc in the next 5 sts. Sc 2 in the end st. 16 sts total.
Place a marker here because we’ll be crocheting in one continuous round.
Rounds 2
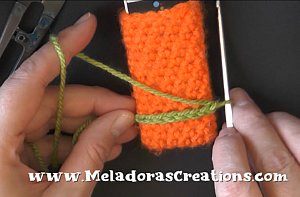
sc in all sts around. When your piece gets big enough, turn it out where the front side of your work is out front and showing. Re-position your marker so you can see it better.
Rounds 3 and Beyond
sc in all sts around. If it starts to feel like it’s getting too big and loose, add a few sc decreases on the sides to shrink your pocket more.
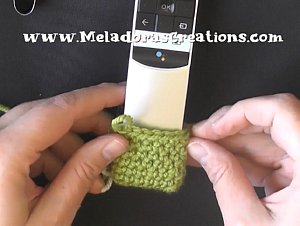
Once you reach the desired length, do a round of slip stitches to make a nice polished finish. Hide your tails using a tapestry needle.
- Funny Pictures
-
 Pics to Get the Excitement Today
-
 Funny Christmas Meme Dump
-
 Funniest Relatable Felines in the Form of Memes
- Recipes
-
 Cinnamon Sugar Swirl Cupcakes
-
 Cheesy Bacon Ranch Roasted Potatoes
-
 Blooming Onion Bites with Dipping Sauce
- Lifehacks
-
 7 Toilet and Bathroom Cleaning Hacks
-
 Tips & Hacks for Clean Carpets
-
 7 Kitchen Hacks & Simple Solutions
- Crochet Ideas
-
 Crochet Watermelon Amigurumi
-
 Crochet Shark Applique
-
 Crochet Pineapple Amigurumi
- DIY
-
 Yarn Wrapped Christmas Wreath Ornaments
-
 Egg Carton Snowman Ornament
-
 Stick Peppermint Candy Ornament
- Knitting Ideas
-
 Knitted Star Square Dishcloth
-
 Knitted Free 2025 Year Dishcloth
-
 Knitted Belle Finger Puppet