How to Crochet Your Very Own Adorable Groot

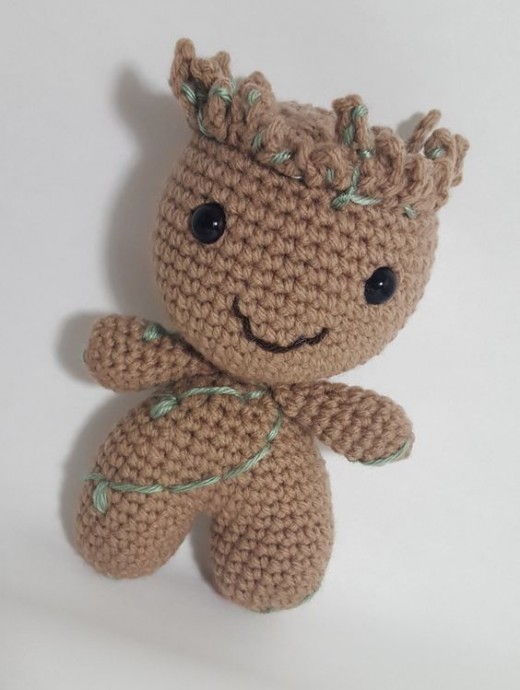
Crocheting an adorable Groot is a delightful and heartwarming project that combines creativity with cuteness! With just a hook, some yarn, and a bit of patience, you can bring this beloved character to life in a unique and handmade way. The process of crafting each stitch to form Groot's iconic features is not only rewarding but also a wonderful way to showcase your skills and share your love for this lovable character. Whether you're a crochet enthusiast or a fan of all things Groot, creating your very own crocheted version is sure to bring a smile to your face and charm to your crafting collection. So, grab your materials, get cozy, and prepare to embark on a fun and endearing crochet adventure with your new miniature Groot creation!
Materials
- 5mm or E sized hook
- Worsted weight yarn
- Beige
- Small amount of green
- Small amount of dark brown
- Scissors
- Tapestry or yarn needle
- Stuffing of your choice
- 12mm safety eyes
- Embroidery floss in black
Abbreviations
- Ch - chain
- Sc - single crochet
- St - stitch
- Sl st - slip stitch
- Dec - decrease
Finished Dimensions
Groot will measure ~5 inches tall, but size depends on yarn and hook size used.
Pattern Notes
The pattern is worked in continuous rounds, so feel free to use a stitch marker at the beginning of each round if you feel as though you may lose your place. The pattern is worked from the bottom up.
Starting with Legs and Working Up to Head
Legs *2
Row 1: 6 sc in Magic Ring (6 sts)
Row 2: 2 sc in each st around (12 sts)
Row 3: *sc 1, 2 sc in next sc* repeat 6 times (18 sts)
Row 4-9: sc 18
Fasten off and make a second leg. DO NOT FASTEN OFF ON 2ND LEG!!!!!
Insert hook into any stitch of row 9 as shown in the picture.
Row 10: sc 36 (18 around the first leg and continue for another 18 around the second leg)
Row 11: sc 36
(A hole might be left where you joined the two legs; you can stitch it together now or wait until you are finished.)
Row 12: *sc 4, dec 1* repeat 6 times (30 sts)
Row 13: sc 30
Row 14: *sc 3, dec 1* repeat 6 times (24 sts)
Row 15: sc 24
Begin stuffing
Row 16: *sc 2, dec 1* repeat 6 times (18 sts)
Continue stuffing
Row 17: *sc 1, dec 1* repeat 6 times (12 sts)
Row 18: *dec 1* repeat 6 times (6 sts)
Continue to head
Row 19: 2 sc in each st around (12 sts)
Row 20: *sc 1, 2 sc in next sc* repeat 6 times (18 sts)
Row 21: *sc 2, 2 sc in next sc* repeat 6 times (24 sts)
Row 22: *sc 3, 2 sc in next st* repeat 6 times (30 sts)
Row 23: *sc 4, 2 sc in next st* repeat 6 times (36 sts)
Row 24: *sc 5, 2 sc in next st* repeat 6 times (42 sts)
Row 25-34: sc 42
Row 35: working in back loops only for this row *sc 5, dec 1* repeat 6 times (36 sts)
Row 37: *sc 4, dec 1* repeat 6 times (30 sts)
Row 38: *sc 3, dec 1* repeat 6 times (24 sts)
Place safety eyes between rows 30 and 31 about 9 stitches apart. Begin stuffing.
Row 39: *sc 2, dec 1* repeat 6 times (18 sts)
Continue stuffing.
Row 40: *sc 1, dec 1* repeat 6 times (12 sts)
Row 41: *dec 1* repeat 6 times (6 sts)
Fasten off and weave in ends.
Arms
Arms *2
Row 1: 4 sc in a Magic Ring
Row 2: 2 sc in each st around (8 sts)
Row 3: *sc 1, 2 sc in next sc* repeat 4 times (12 sts)
Row 4: sc 12
Row 5: *sc 4, dec 1* repeat 2 times (10 sts)
Row 6: sc 10
Start stuffing
Row 7: *sc 3, dec 1* repeat 2 times (8 sts)
Row 8: sc 8
Continue stuffing
Row 9: *sc 2, dec 1* repeat 2 times (6)
Row 10: sc 6
Fasten off and leave tail to sew onto the body and sew arms onto the body.
Hair
Insert hook into the ridge you created in Row 35 and sl st to attach.
This is how I did the “hair,” but feel free to change it up! Along the ridge: *sc, sl st in next st, sl st into next and ch 2, followed by 1 sc in the second ch from hook, sl st into the next st, sl st into the next and ch 3, followed by 1 sc in the second ch from hook and to the end of ch, sl st into the next st, sl st into the next and ch 4, followed by 1 sc in the second ch from hook and to the end of ch* repeat around the entire ridge until you get back to the beginning of the row.
Finishing
Using dark brown stitch the mouth on.
Using green, stitch vines in a pattern around the body (I added some simple leaves) and in “hair” and you are finished!!
- Funny Pictures
-
 Memes for Doggos Having a Ruff Day
-
 Fluffy Memes to Make Fun of Your Furry Friends
-
 Too Relatable to be True
- Recipes
-
 Cappuccino Brownies
-
 Chicken Mushroom Tortellini Bake
-
 Spinach Pie
- Lifehacks
-
 8 Necessary Tips for Baking Bread
-
 Tips & Hacks for Clean Carpets
-
 10 Uses For Old TV Armoires
- Crochet Ideas
-
 Crochet Flower Hat for your Pet
-
 Crochet Sophia and Bennet Love Birds
-
 Crochet Reversible Ghost
- DIY
-
 DIY Beaded Christmas Tree
-
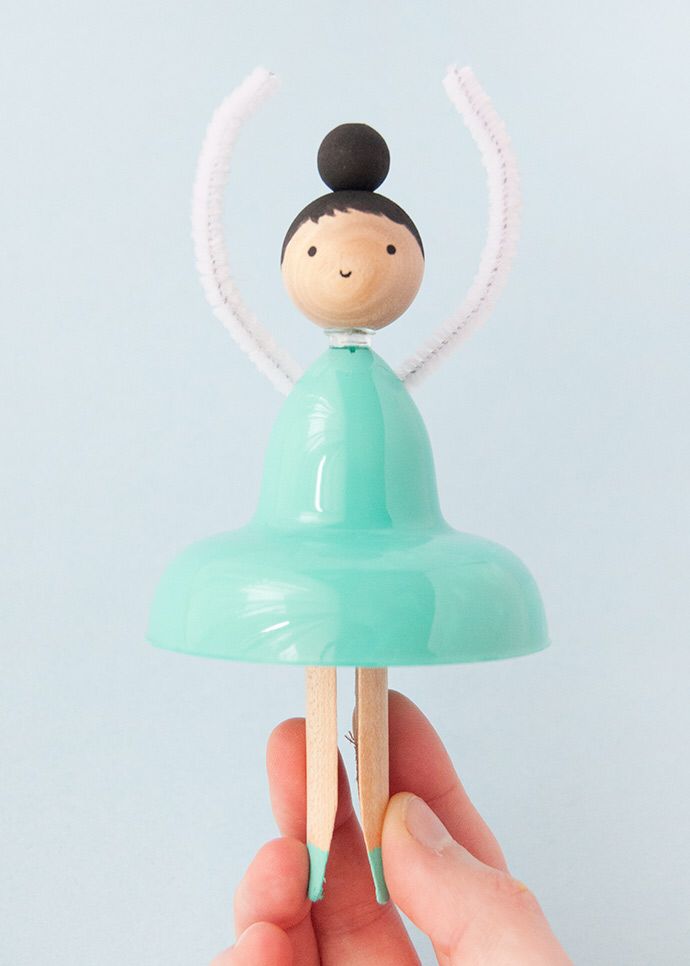 Dolls from Party Cups
-
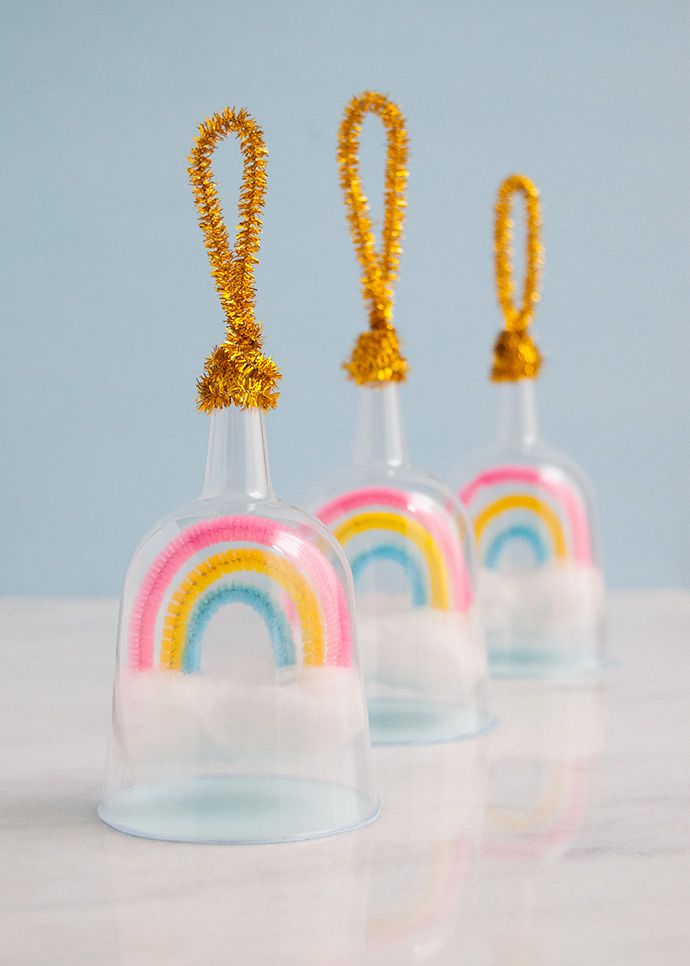 Rainbow Snow Globe Charms
- Knitting Ideas
-
 Knitted Star Square Dishcloth
-
 Knitted Free 2025 Year Dishcloth
-
 Knitted Ribbed Adult Hat