How to Crochet Adorable Pumpkins for Fall


Crocheting adorable pumpkins can be such a delightful and festive craft project! Whether you're a seasoned crocheter or just starting out, creating these charming little pumpkins can add a cozy touch to your home decor or make lovely gifts for your loved ones. The soft yarn and intricate stitches come together to form cute little pumpkins that are perfect for the fall season. With a bit of creativity and patience, you can customize them with various colors and sizes to suit your preference. So grab your crochet hook, some yarn, and get ready to bring a touch of autumn magic into your home with these delightful crochet pumpkins!
Materials
- 50-100 meters coloured yarn (I have used a selection of my own stash)
- 75 meters used for the Wednesday Adams Pumpkin (using Glimmer yarn from Fischer Fios)
- Matching crochet hook for your yarn (I have used between 3 mm | D Crochet Hook – 4.5 mm | G Crochet Hooks)
- Scissors
- Tapestry Needle
- Stuffing
- Cinnamon sticks (or pieces of branch)
- Parcel ties | Ribbons (optional to add decoration to stem)
Gauge
N/A.
Size
Smallest Pumpkin with Sport weight yarn: 10 cm x 6 cm; DK weight Yarn: 12 cm x 7 cm; Largest with Bulky weight yarn: 18 cm x 12 cm.
Notes
The Pumpkin is made from a rectangle fabric which, when seamed, creates a tube. Next, the top and bottom are clinched together to close the opening. Finally, add a stem decoration of your choice.
Crochet Stitches
To make my crochet Pumpkin, you will be using a few crochet stitches including: Double Crochet (dc) & Puff Stitch.

Free Crochet Pumpkin Pattern
Row 1: Chain 19 (25), WORK ALL DC INTO THE BACK LOOP OF THE FOUNDATION CHAIN, dc in the 4th chain from the hook, 15 (21) dc. Turn. Total: 17 (23) dc.
Row 2: Chain 3 (count at first dc), dc, *Puff stitch, 2 dc* repeat * to * 4 (6) more times. Turn. Total: 5 (7) puff stitches.
Row 3: Chain 3 (count as first dc), 16 (22) dc. Turn. Total: 17 (23) dc.
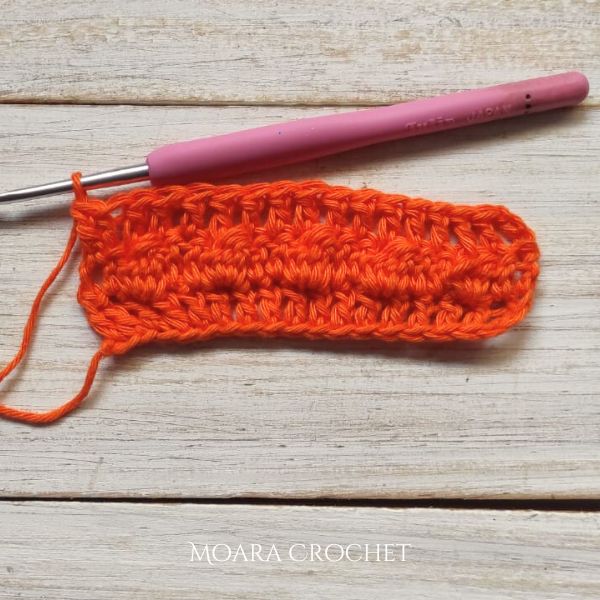
Rows 4-23: Repeat Rows 2-3.
Row 24: Chain 3 (count as first dc), dc, *Puff stitch, 2 dc* repeat * to * 4 (6) more times. Turn. Total: 5 (7) puff stitches.
Fasten off leaving a long tail of 1 meter for small pumpkin or 1.5 meters for a large pumpkin.
Assembly
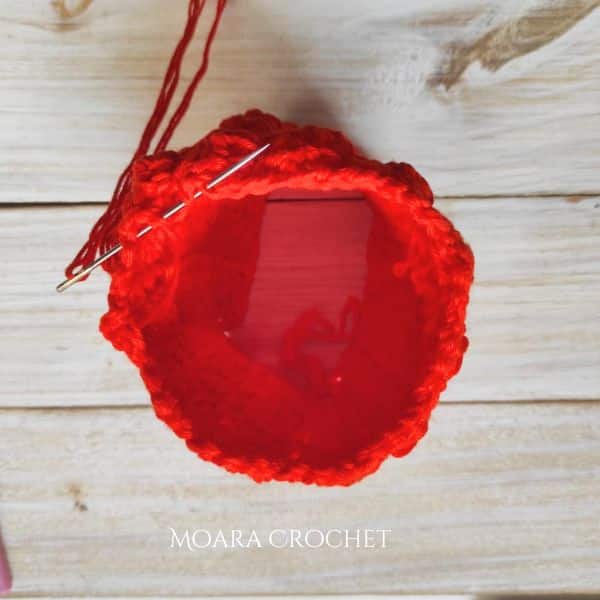
Step 1: Attach the long tail to a tapestry needle. Fold the rectangle fabric into a tube. Align Row 24 with the foundation chain and sew together.
Step 2: Weave the needle in and out of the stitches of the circle at the base, pull the thread to close the circle (as shown below). Fasten off to secure the closure.
Step 3: Thread the needle through the pumpkin to close the top. Stuff the pumpkin to your desired amount (do not overstuff as this can stretch the stitches). Weave the needle in and out of the stitches of the circle. Pull the thread to close the pumpkin. Fasten off to keep the pumpkin closure secure.
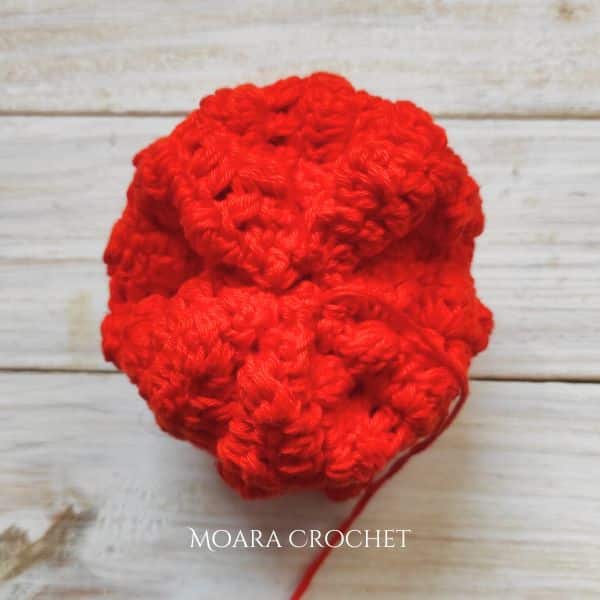
Step 4: To create the 6 segments of the pumpkin, thread the needle into the base of the pumpkin and push through the centre. Pull the thread tight to create a line, repeat this process every 4 rows 5 more times until 6 segments are formed. Fasten off and weave in your ends.
Step 5: Push a stitch or cinnamon stick into the top hole of the pumpkin to create the stem. If you wish, you can add some twine or ribbon as decoration.
- Funny Pictures
-
 Top Funny Feline Memes to Spend the Evening Greatly
-
 Funny Dump of Memes to Feel the Beginning of a New Day
-
 The Funniest Tweets for Today’s Evening
- Recipes
-
 Spaghetti Squash Shrimp Scampi
-
 Pan-Seared Scallops
-
 No-Bake Strawberry Jello Pie
- Lifehacks
-
 Crochet Basics: Mini Puff Stitch
-
 7 Beauty Hacks: Hair Care Hints on a Budget
-
 7 Living Room Hacks: Organize Space
- Crochet Ideas
-
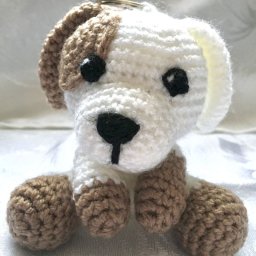 Crochet Pepper the Puppy Keyring
-
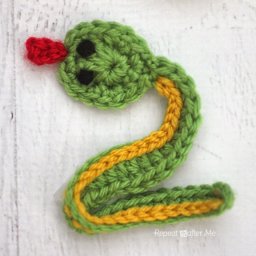 Crochet Viper Snake Applique
-
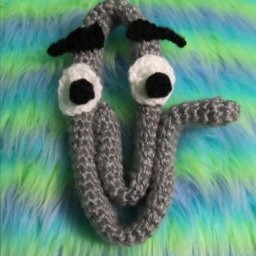 Crochet Adorable Clippy
- DIY
-
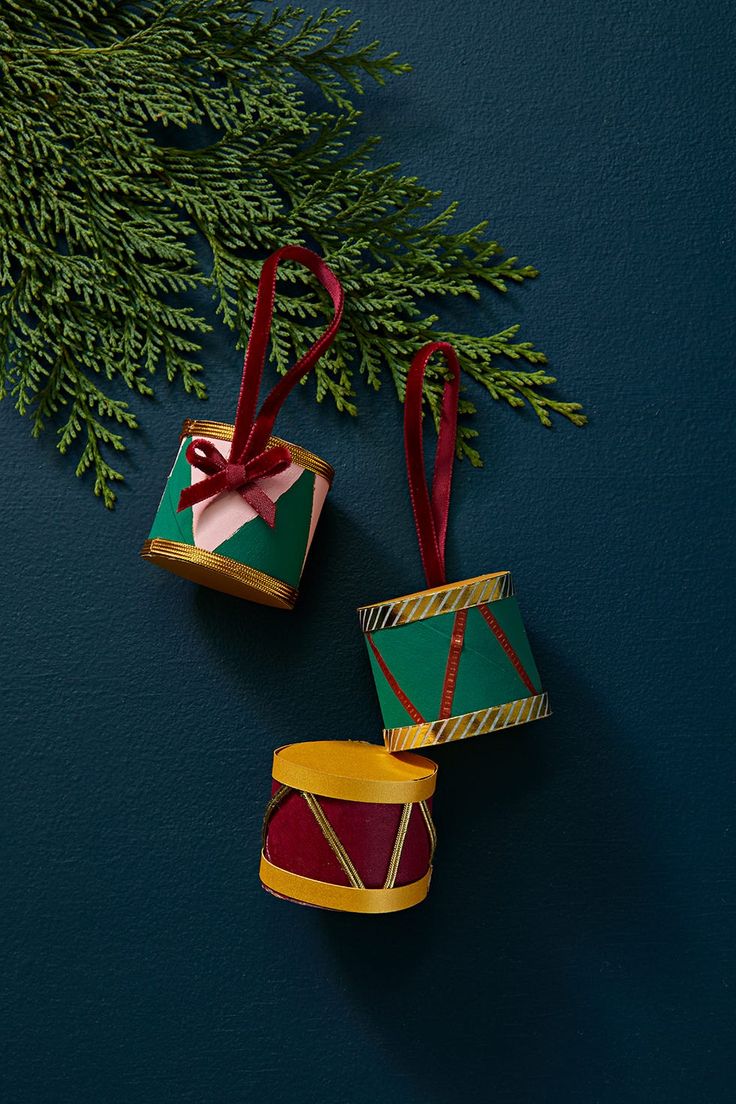 DIY Toy Drum Ornaments
-
 Crochet Diamond Tote Bag
-
 Crochet Amigurumi Toy Car
- Knitting Ideas
-
 Knitted Fingerless Gloves
-
 Knitted Cariad Baby Blanket
-
 Knitted Easter Egg Hats