How to Crochet Beautiful Hearts: A Guide to Heart Pillows and Wall Hangings

Crocheting beautiful hearts is such a joyous and heartwarming craft that can truly make someone's day brighter. The intricate details and lovely patterns you can create with just a hook and some yarn are simply enchanting. Whether you're making them as a gift for a loved one or adding them to your home decor, crochet hearts add a touch of charm and sweetness to any project. The process of crafting each stitch with love and care is not only relaxing but also incredibly rewarding. So, grab your favorite yarn colors, your trusty hook, and let your creativity flow as you crochet these beautiful hearts that are sure to spread love wherever they go.
Abbreviations Used in Pattern
Here's a list of abbreviations for your crochet patterns:
- ch - chain
- wk - work
- st - stitch
- sts - stitches
- sl st - slip stitch
- dec - decrease
- sc - single crochet
- dc - double crochet
- FO - fasten off
Hook Sizes
Recommended hook sizes are F, H, & 8mm.
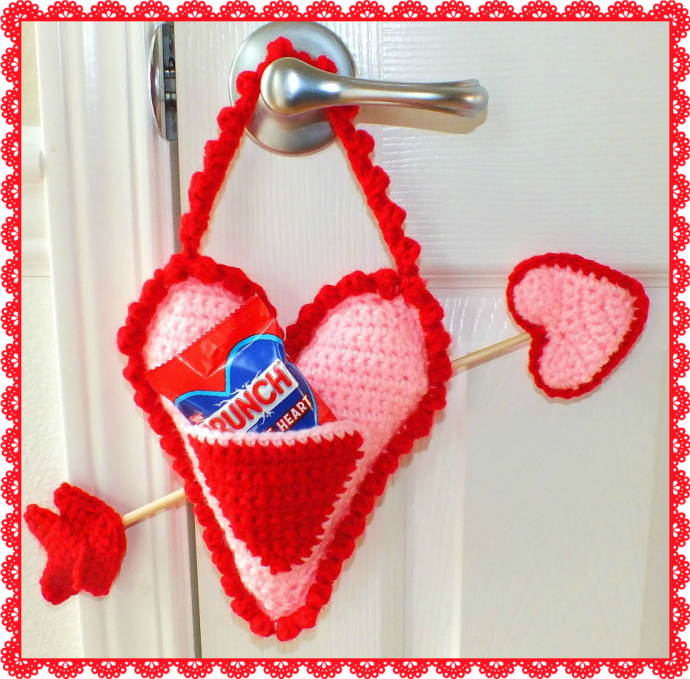
Heart Pillow & Wall Hanging Heart Instructions
To make the little Heart Pillow & Wall Hanging Heart: with Red/Petal Pink & F Hook (make 2 for each one):
RND 1: Ch2
Row 1. wk 2sc in the 2nd st from the hook, ch1 & turn.
Row 2. 2sc, 2sc in the next st, ch1 & turn.
Row 3. 1sc in 4sts, ch1 & turn.
Row 4. 2sc, 1sc in 2, 2sc, ch1 & turn.
Row 5. 1sc in 6sts, ch1 & turn.
Row 6. 2sc, 1sc in 4sts, 2sc, ch1 & turn.
Row 7. 1sc in 8sts, ch1 & turn.
Row 8. 2sc, 1sc in 6, 2sc, ch1 & turn.
Row 9. 1sc in 10, ch1 & turn.
Row 10. 2sc, 1sc in 8, 2sc, ch1 & turn.
Row 11. 1sc in 12, ch1 & turn.
Row 12. 2sc, 1sc in 10, 2sc, ch1 & turn.
Row 13. 1sc in 14sts, ch1 & turn.
Row 14. 2sc, 1sc in 12, 2sc, ch1 & turn.
Row 15. 1sc in 16sts, ch1 & turn.
Row 16. 2sc, 1sc in 14, 2sc, ch1 & turn.
Row 17. 1sc in 18sts, ch1 & turn.
Row 18. 2sc, 1sc in 16, 2sc, ch1 & turn.
Row 19. 1sc in 20sts, ch1 & turn.
Row 20. 2sc, 1sc in 18, 2sc, ch1 & turn.
Row 21. 1sc in 22sts, ch1 & turn.
Row 22. 2sc, 1sc in 20, 2sc, ch1 & turn.
Row 23. 1sc in 24sts, ch1 & turn.
Row 24. 1sc in 12sts, ch1 & turn.
Row 25. dec 1sc, 1sc in 8, dec 1sc, ch1 & turn.
Row 26. 1sc in 10sts, ch1 & turn.
Row 27. dec 1sc, 1sc in 6sts, dec 1sc, ch1 & turn.
Row 28. 1sc in 8sts, ch1 & turn.
Row 29. dec 1sc, 1sc in 4, dec 1sc, ch1 & turn.
Row 30. 1sc in 6sts, ch1 & turn.
Row 31. dec 1sc, 1sc in 2, dec 1sc and FO.
Row 32. Attach yarn to the other side and repeat rows 24-31, ch1 & turn.
Row 33. wk 1sc in each st around and FO.
Put the 2 sides together and wk 1sc all the way around, stuffing before you close.
For the Little Red Pillow Ruffle:
With Petal Pink & F Hook, wk 2dc, 3dc in each st around, join ch3, wk 1dc in each st around and FO.
Petal Pink Wall Hanging Heart Trim:
With Red & F Hook, once you have the 2 pieces together and stuffed, attach red with a sl st. wk 1sc in the first st, wk 2dc bobble sts in the next, repeat all the way around the pillow and FO.
Handle for the Wall Hanging Heart:
With Red Yarn & G hook, ch41. wk 1sc in the first st, *2dc bobble sts-1sl st in the same st as the 2 bobble sts, 1sc in the next 2sts*, repeat from * to * all the way across until you reach the last 2sts, 1sc, 2 bobble sts-1sl st and FO.
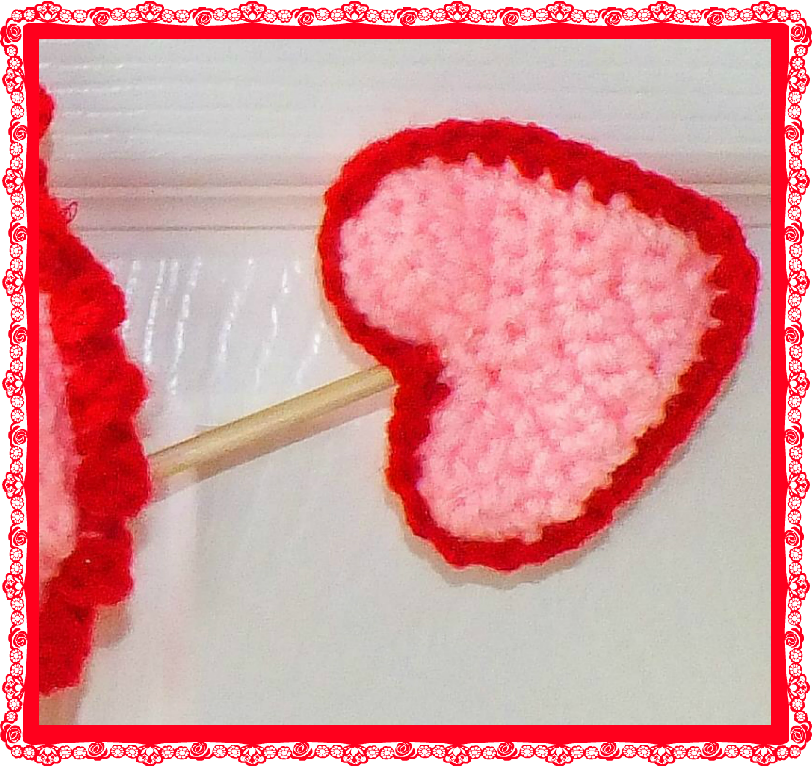
Heart Shaped Arrow Tip:
With Petal Pink & F Hook (make 2):
Ch2
Row 1. wk 2sc in the 2nd st from the hook, ch1 & turn.
Row 2. 2sc, 2sc, ch1 & turn.
Row 3. 1sc in 4, ch1 & turn.
Row 4. 2sc, 1sc in 2, 2sc, ch1 & turn.
Row 5. 1sc in 6sts, ch1 & turn.
Row 6. 2sc, 1sc in 4, 2sc, ch1 & turn.
Row 7. 1sc in 8sts, ch1 & turn.
Row 8. 2sc, 1sc in 6, 2sc, ch1 & turn.
Row 9. wk 1hdc in 5sts, ch1 & turn.
Row 10. wk 1hdc dec in next 2sts, 1hdc in 2 and FO.
Attach yarn to the other side and repeat rows 9-10 and FO.
Put the 2 pieces together by working 1sc through both with red yarn.
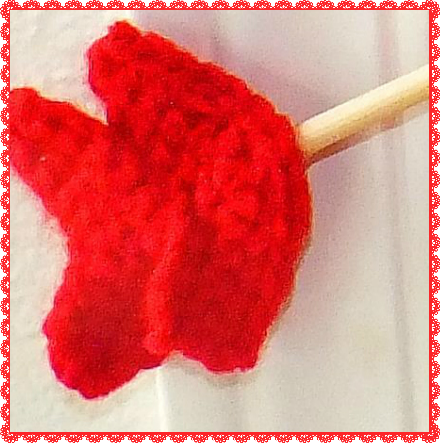
End Pieces of the Arrow:
With red & F Hook (make 2):
Ch14
Row 1. 1sc in 6, 2sc, 1sc in 6sts, ch1 & turn.
Row 2. 1sc in 6, 2sc in 2sts, 1sc in 6sts and FO.
Final Assembly:
Slide a wooden dowel through the pillow and then through the heart. Hot glue the red end pieces to the bottom of the dowel.
To make the little pocket, just make it the same way you started the heart pattern and then sew it into place.