Crochet the Beautiful Snow Princess Scarf: A Step-by-Step Guide

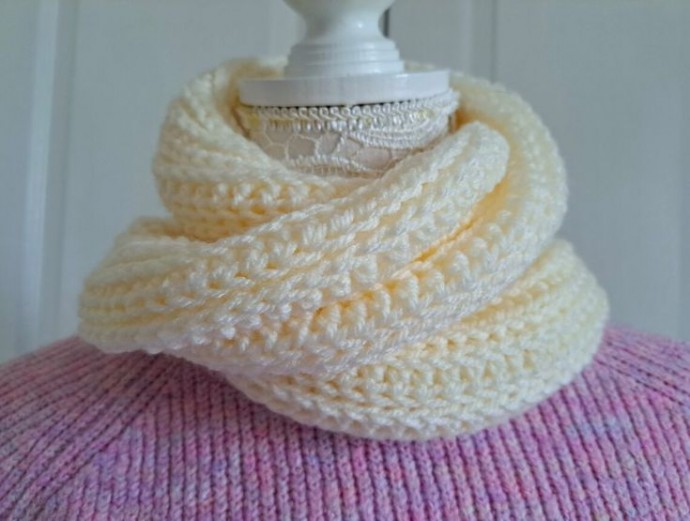
Imagine a beautifully crafted scarf fit for a winter princess, made with intricate crochet work that resembles delicate snowflakes. This Snow Princess Scarf is not just a piece of winter accessory, but a work of art that will make you feel like royalty when you wear it. The soft yarn used in creating this scarf ensures both warmth and comfort, making it perfect for chilly days spent outdoors. The Snow Princess Scarf features a unique design that sets it apart from ordinary scarves. The crochet detailing adds a touch of elegance and sophistication, making it a statement piece that will elevate any winter outfit. Whether you're attending a holiday party or simply taking a stroll in the snow, this scarf will make you feel like a true winter princess.
Project Details
Level: Easy/beginner +
Gauge
4” (10 cm) = 13 HDC
4” (10 cm) = 9 rows
Size of Finished Scarf
6” (16 cm) wide and 81” (205 cm) in length
Notes
I will be using US terms (British terms in brackets).
You Will Need
- 2 skeins of Stylecraft Special Aran in shade Cream (or any other Aran/Medium 4 yarn of your preference)
- A 5 mm crochet hook
- Pair of scissors
- A tapestry needle
Abbreviations
- Ch: chain
- St: Stitch
- Sl st: slip stitch
- Sk: Skip
- HDC: Half Double Crochet (Half Treble Crochet)
- EOR: End of row
To Begin
To start, make a slip knot.
Ch 250.
Row Instructions
Complete rows as follows:
1: HDC in 3rd chain from the hook, HDC into each ch until end of row (first ch 2 counts as a HDC).
2: Ch 1 (=turning chain throughout), turn your work, HDC into front facing loop of the bottom of each HDC from the previous row (see photo below for more details) until EOR, placing your last stitch into the ch 2 from the previous row. This front facing loop is not one of the 2 loops at the top of each stitch, but this is the loop which is at the bottom front of the stitch.
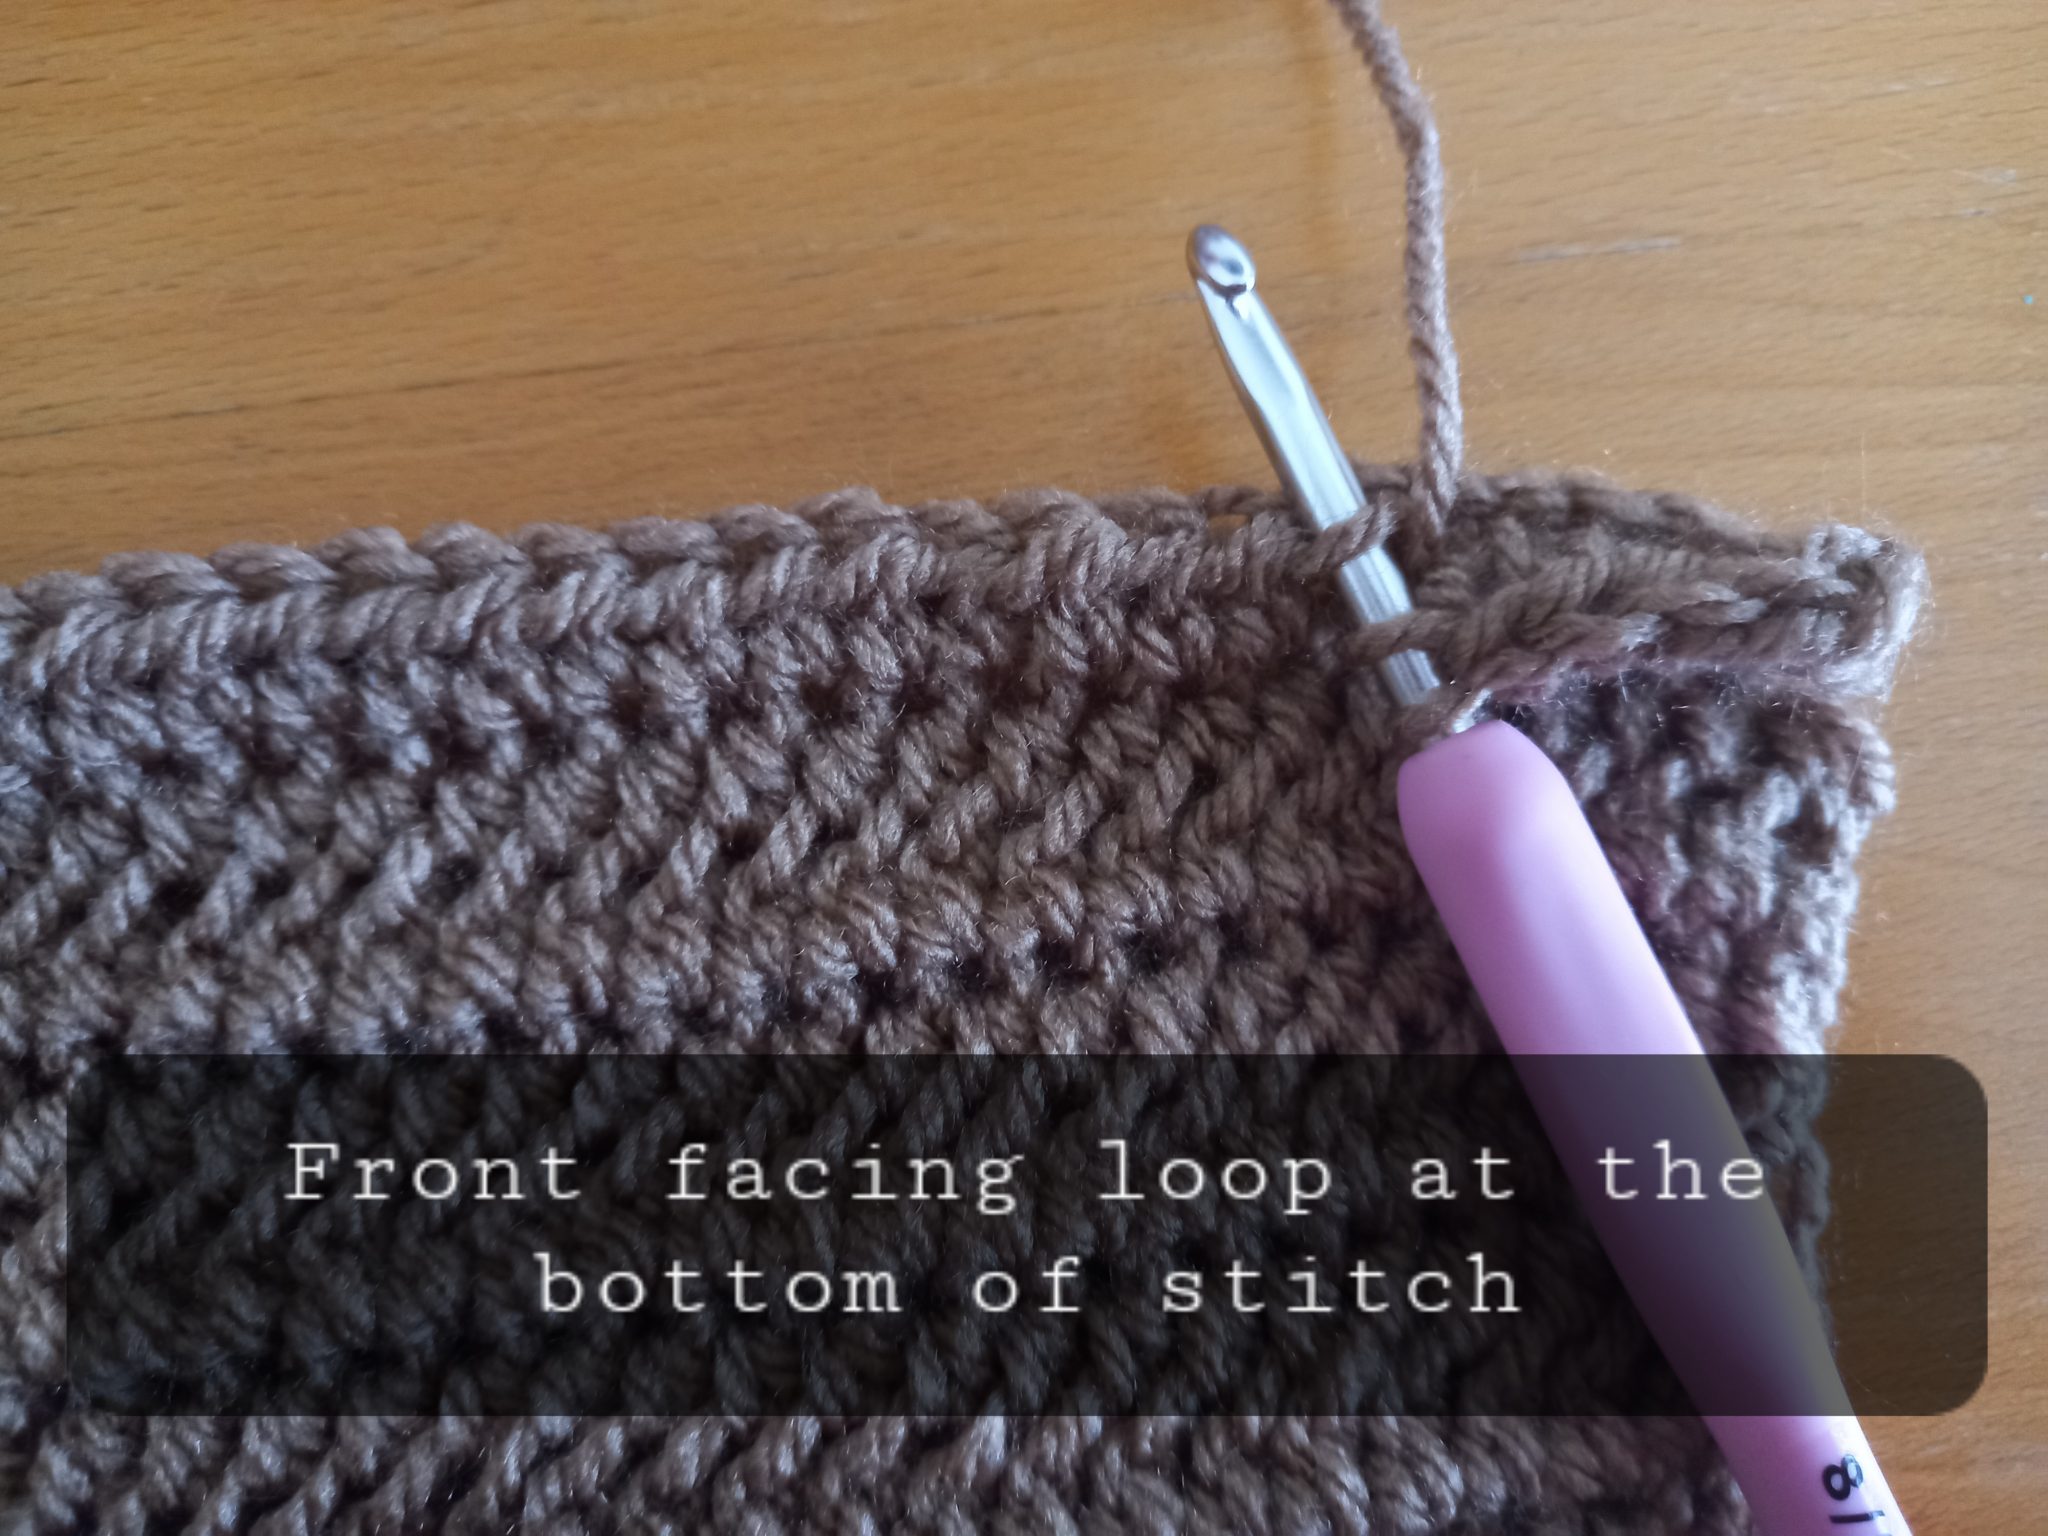
Place your HDC through the front facing loop at the bottom of the stitch.
3: Ch 1, turn your work, HDC into the back loop only of each HDC until EOR (see photo).
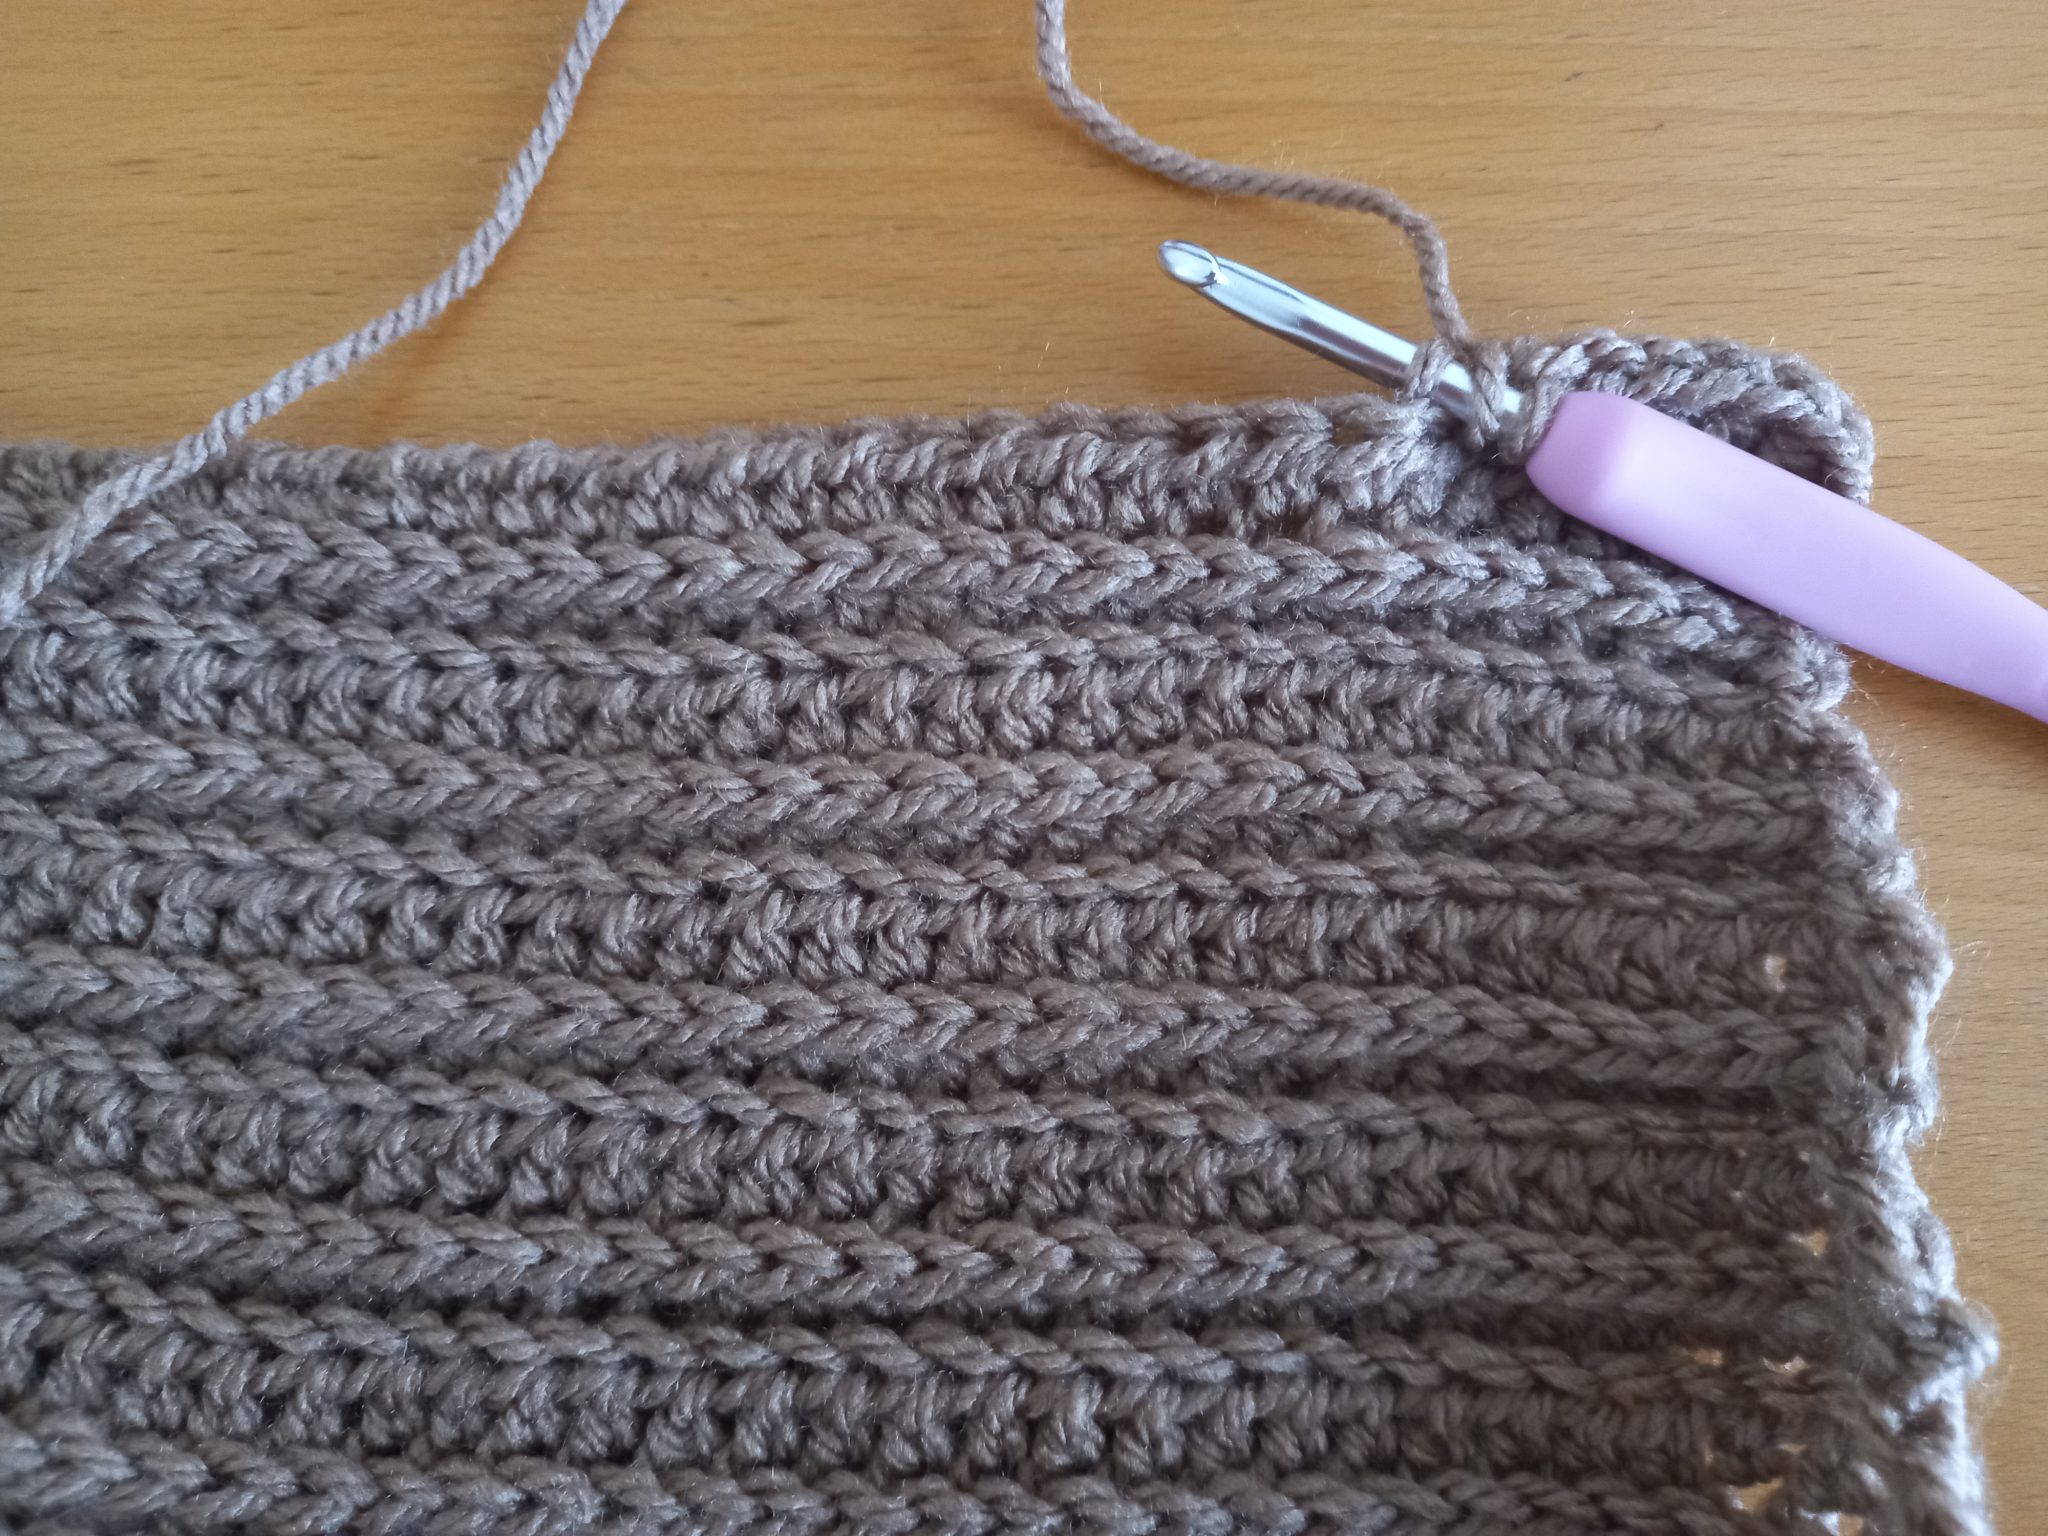
Place your HDCs into the back loop only of the stitches for this row.
4: Ch 1 (=turning chain), turn your work, HDC into front facing loop of the bottom of each HDC from the previous row until EOR.
5-14: Alternate rows 2 and 3 until you reach row 15, or until you are satisfied with the length of the project.
You can add more rows if you wish to make this project larger.
Fasten off, tidy up all loose ends.
Optional: Block your project to avoid “curling”.