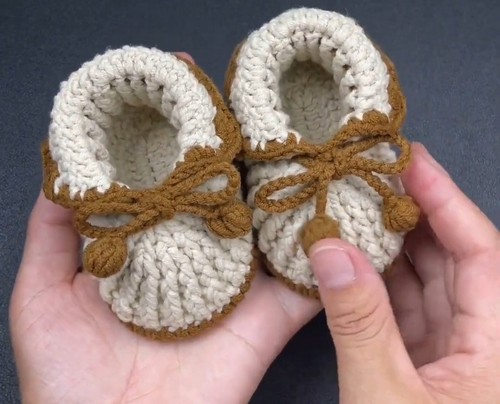
Crochet Baby Booties: A Charming Accessory for Little Feet


Crochet baby booties are an adorable and practical accessory for the little ones in your life. These tiny handmade shoes not only keep their tiny toes warm but also add an extra touch of charm to their outfits. Whether you opt for a classic design or get creative with fun colors and patterns, there's something heartwarming about crafting something special for a precious little bundle of joy. Plus, they make for a thoughtful gift that parents will surely appreciate. So grab your yarn and hook, and let's get crocheting some cozy cuteness for those sweet little feet!
Materials and General Information
- Suitable for babies aged 0 to 12 months.
- Beginner-friendly and does not differentiate between left and right foot.
Shoe Sole
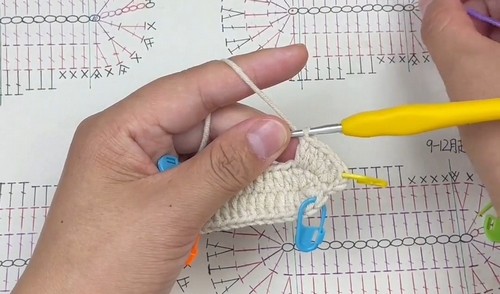
Step 1: Create a Foundation
Create a slip knot and chain 12.
Round 1:
3 chain stitches, then 2 double crochets in the same stitch.
1 double crochet in each of the next 10 stitches.
7 double crochets in the next stitch to form the toe.
1 double crochet in each of the next 10 stitches.
3 double crochets in the same stitch.
Slip stitch to join.
Round 2:
3 chain stitches, 1 double crochet in the same stitch.
2 double crochets in each of the next 2 stitches.
1 double crochet in each of the next 10 stitches.
2 double crochets in each of the next 3 stitches, 1 double crochet, 2 double crochets in each of the next 3 stitches.
1 double crochet in each of the next 10 stitches.
2 double crochets in each of the last 3 stitches.
Slip stitch to join.
Round 3:
1 chain stitch, 1 single crochet in the same stitch.
1 single crochet, then 2 single crochets in the next stitch; repeat twice more.
1 single crochet in each of the next 3 stitches.
1 half double crochet in each of the next 3 stitches.
1 double crochet in each of the next 4 stitches.
(2 double crochets in the next stitch, 1 double crochet) repeat six times, then 2 double crochets in the next stitch.
1 double crochet in each of the next 4 stitches.
1 half double crochet in each of the next 3 stitches.
1 single crochet in each of the next 3 stitches.
(2 single crochets in the next stitch, 1 single crochet) repeat three times.
Slip stitch to join.
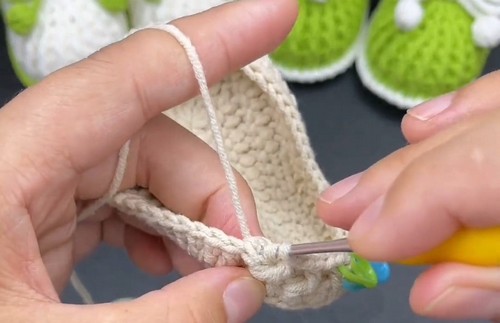
Shoe Body
Step 1: Creating the Body
1 chain stitch, 1 double crochet in the same stitch.
Step 2: Building Up
1 double crochet in each stitch around, decreasing at both ends.
Step 3: Joining
Slip stitch to join.
Step 4: Texture
3 chain stitches, then alternate front post and back post double crochets around.
Step 5: Repeat Pattern
Repeat the alternating front and back post pattern for two more rounds.
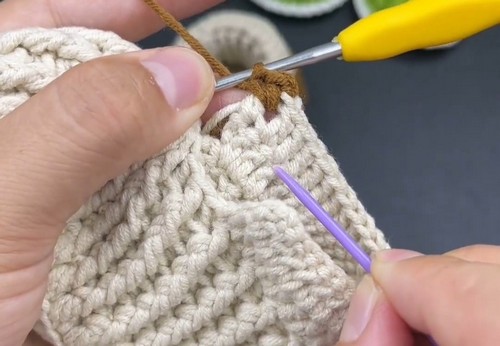
Step 6: Marking the Toe
Mark the toe area for decreases.
Step 7: Continuing the Pattern
Continue alternating front and back post double crochets, decreasing at the toe area.
Step 8: Final Decreases
Repeat the decrease round.
Step 9: Closing the Toe
Decrease all stitches together at the toe.
Heel
Step 1: Attach Yarn
Attach yarn and create two rows of double crochet.
Step 2: Adding Color
Change color and create a border of single crochet.
Step 3: Decorative Edge
Create a decorative edge.
Drawstring
Step 1: Create a Small Ball
Create a small ball.
Step 2: Chain Stitches
Chain 100-105 stitches.
Step 3: Create Another Small Ball
Create another small ball.
Step 4: Weaving
Weave the drawstring through the front post double crochets.
- Funny Pictures
-
 Hilarious Memes for Those Bored to Tears
-
 Weekly Treat of Funniest Parenting Memes for Good Laugh out Loud Right Now
-
 Really Funny Pics to End These Weekend Perfectly
- Recipes
-
 Crispy Baked Avocado Fries
-
 Scrambled Chickpea and Spinach Pitas
-
 Cinnamon Pancakes
- Lifehacks
-
 Crochet Basics: Aligned Cobble Stitch
-
 Brick Stitch Crochet Tutorial
-
 Crochet Basics: Wattle Stitch
- Crochet Ideas
-
 Crochet Snorlax Plushie Doll
-
 Crochet Beautiful Penguin Toy
-
 Crochet Tiny Snowman
- DIY
-
 DIY Santa Craft For Kids
-
 Paper Plate Angel Craft
-
 Upcycled Mason Jar Chicken Vase
- Knitting Ideas
-
 Knitted Bridger Cowl
-
 Knitted Keepsake Bag
-
 Knitted Cutie Cupcake Dolls
Please give the hook size and type of yarn needed (DK? 4-ply?) to achieve the size stated. I would be ever so grateful if you could email them to me at edleaders.mt@gmail.com. Thank you.
Hello 👋
4.5 mm hook is recommended, any yarn is fine