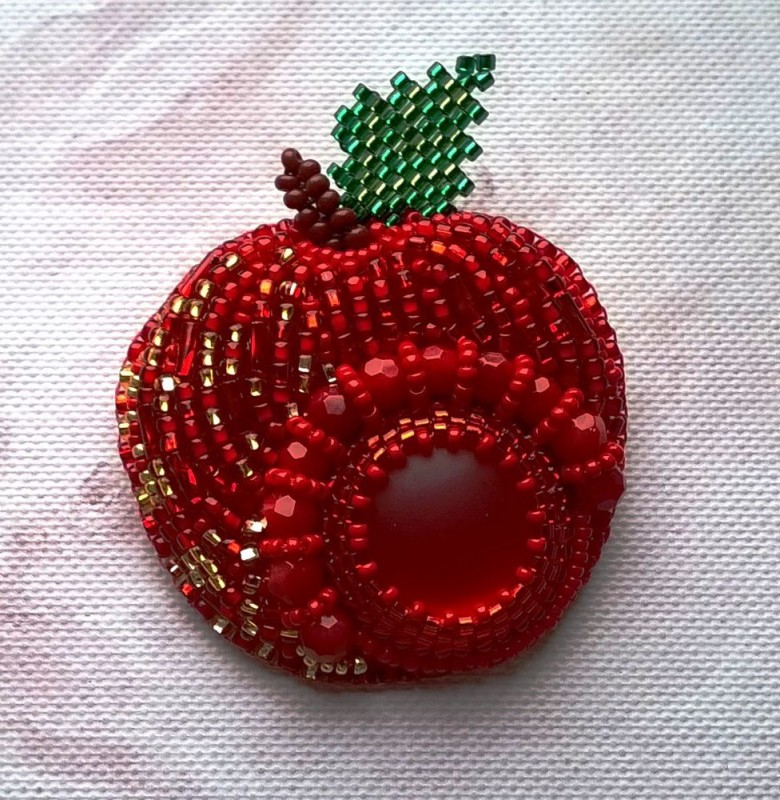
How to Create a Stylish Felt Brooch

You’ll Need:
- Red and green felt;
- Accessories;
- Glue;
- Cardboard;
- Beads of your chosen color;
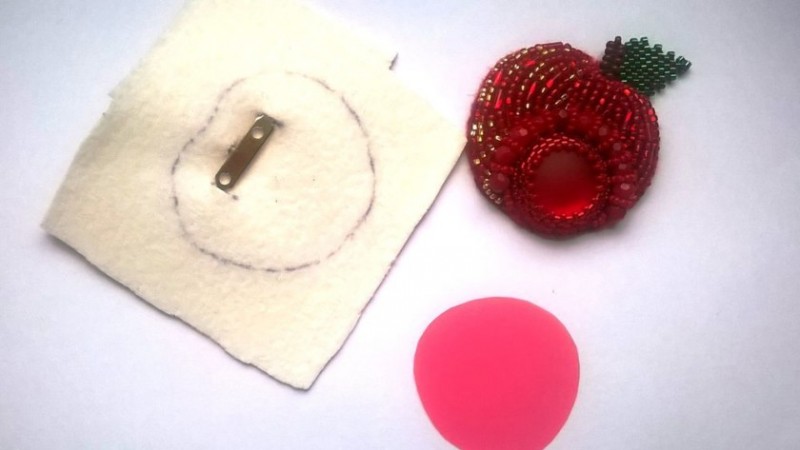
- Piece of leather and soft plastic (for back side).
Instructions:
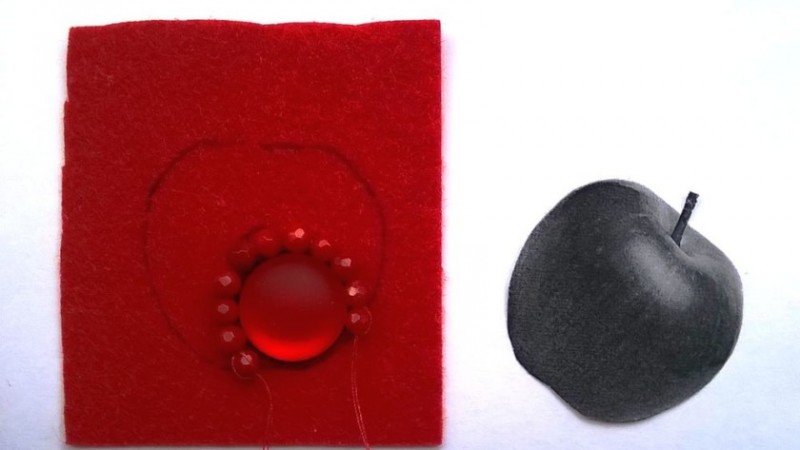
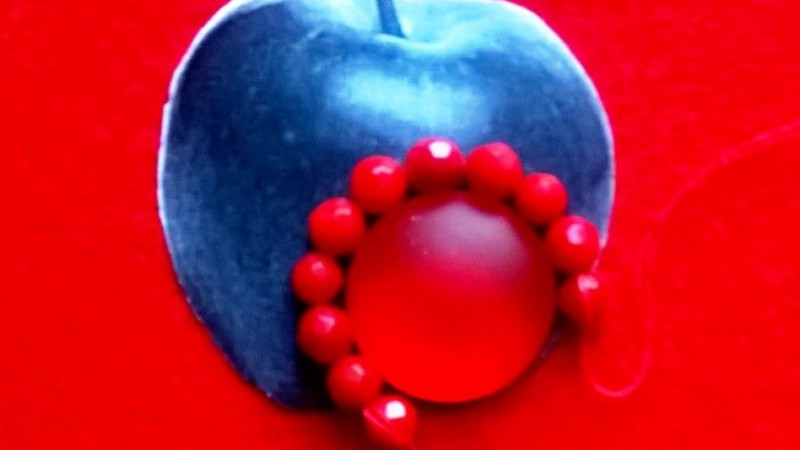
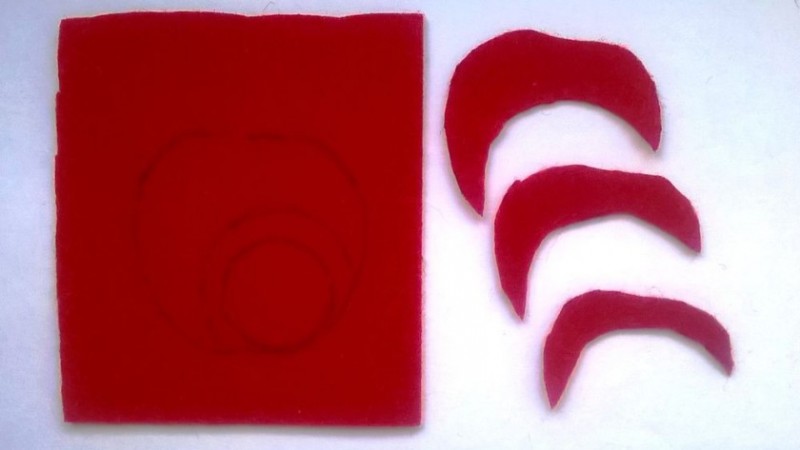
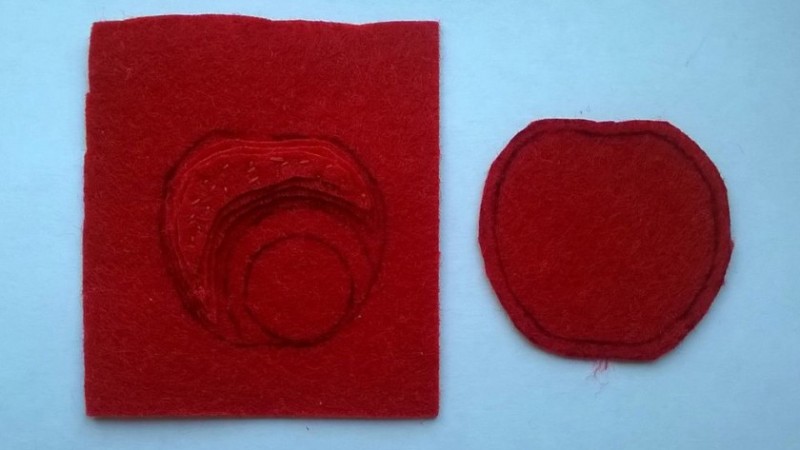
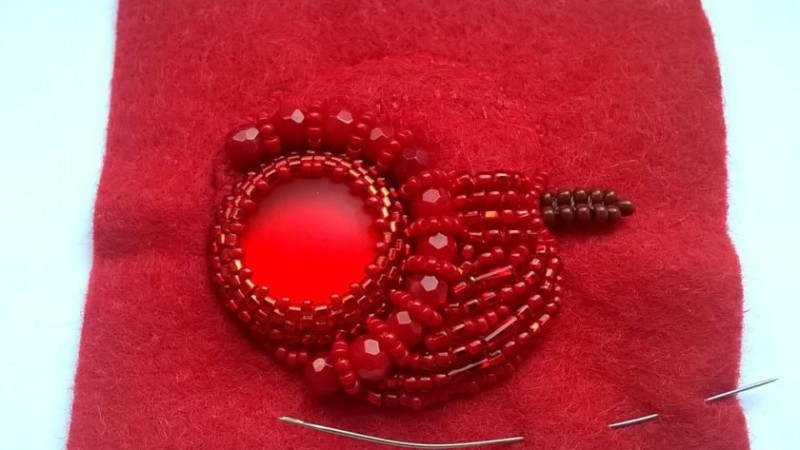
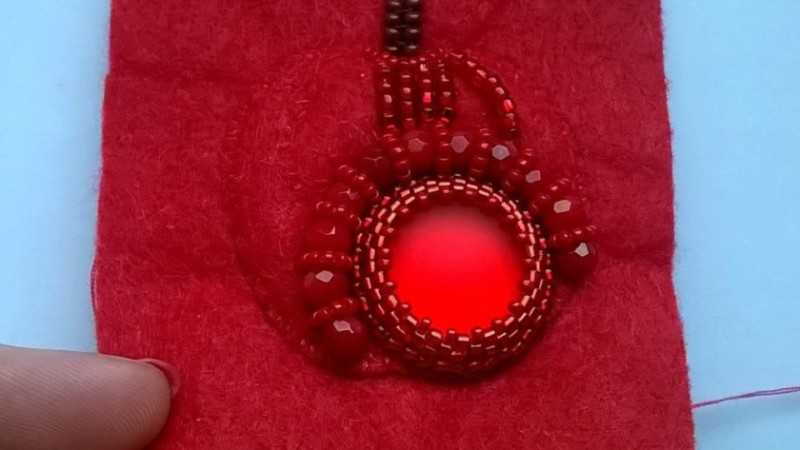
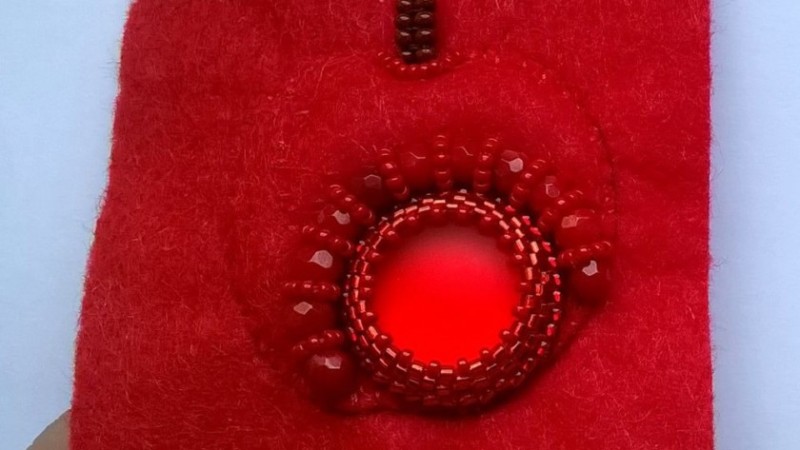
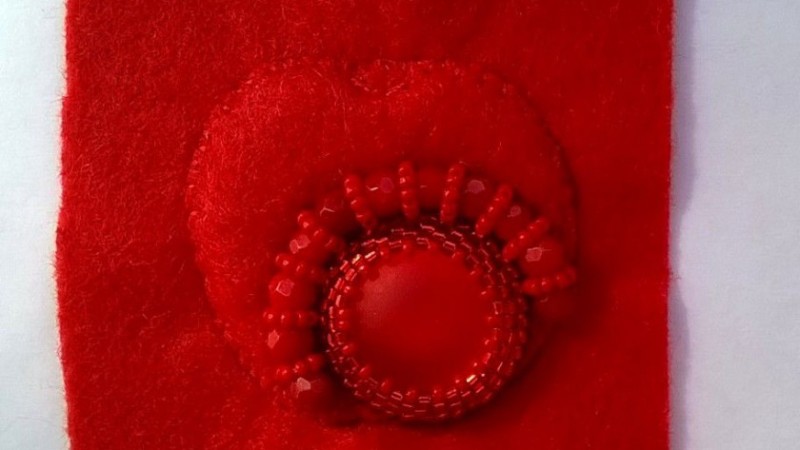
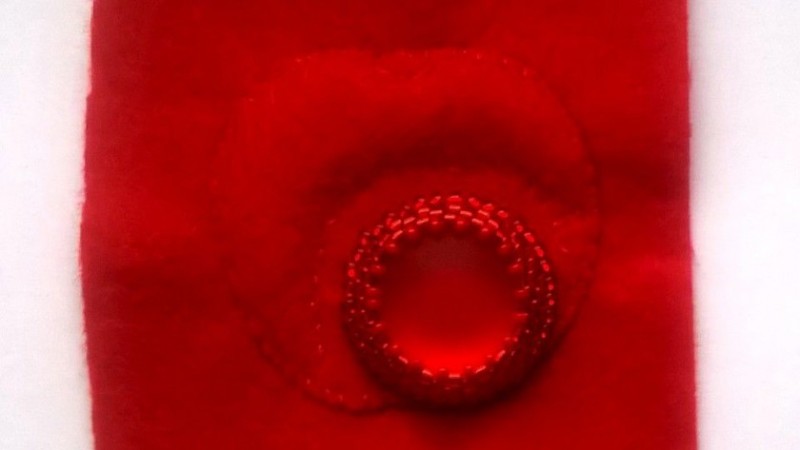
Decide on a sketch, draw it on cardboard, cut it out, and then trace around the felt. Cut 2 shapes. On the first shape, distribute where and which beads will be located.
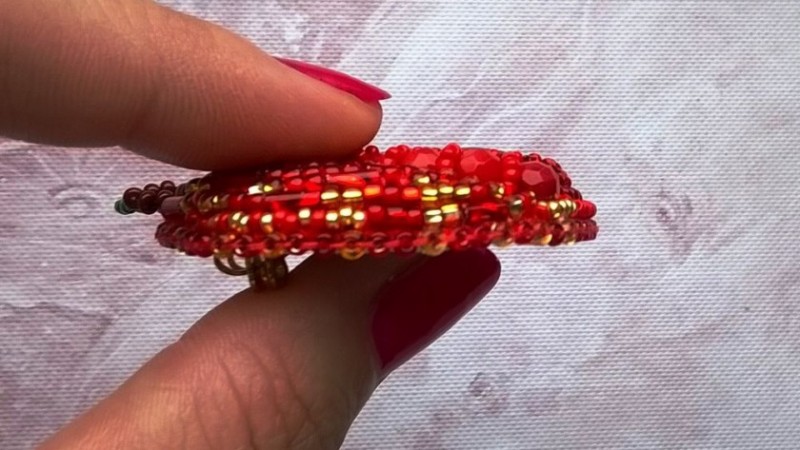
For a brooch to be voluminous, it must be made multi-level. To achieve this effect, cut 2-3 relief edges of the apple from a piece of felt. These edges need to be sewn together with the first felt figure. You will get an already voluminous apple. To ensure that the future brooch has a neat appearance, sew the second felt pattern with the first along the edge.
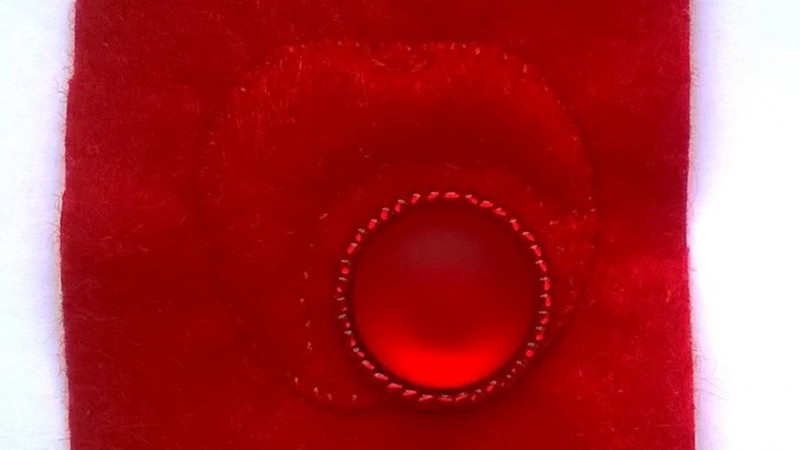
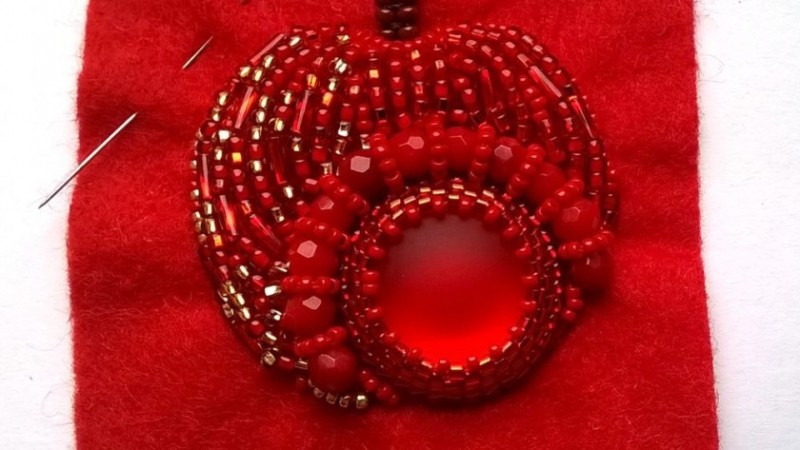
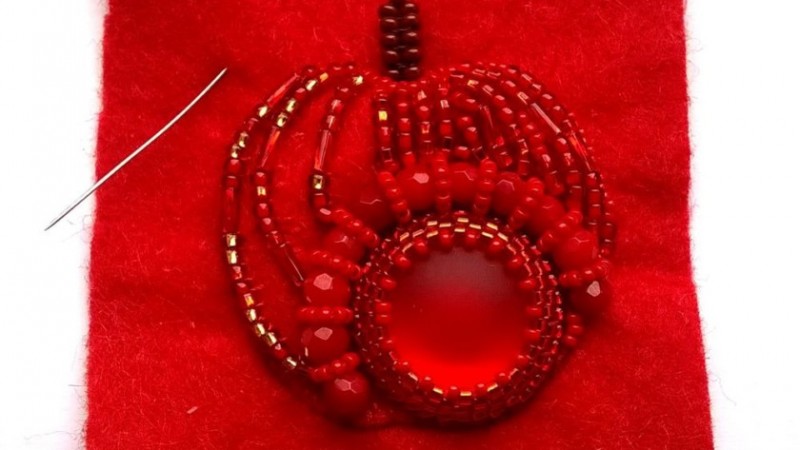
Now, sew the beads according to the previously created pattern. You can create various drawings and patterns, using not only beads of the same shade but also different ones, such as red with gold, green with white, etc.
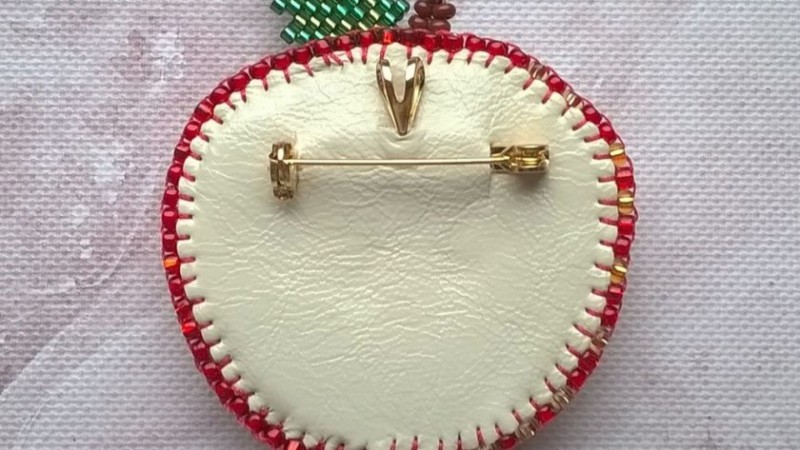
For the back side, turn the brooch over and attach plastic and leather, fixing the accessories. Sew along the contour and that's it – the brooch is ready!
- Funny Pictures
-
 Cat Memes for the Purpose of Pure Entertainment
-
 A Friendly Reminder That Not Everything is Terrible
-
 Photos to Remind You That Life is Beautiful
- Recipes
-
 Paczki (Polish Donuts)
-
 Baked “Fried” Oreos
-
 Tiramisu Crepe Cake
- Lifehacks
-
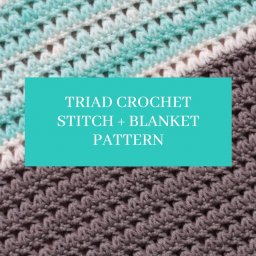 Triad Crochet Stitch + Blanket Pattern
-
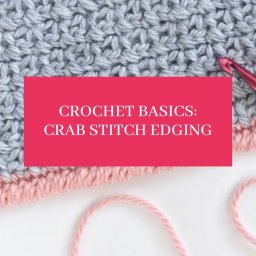 Crab Stitch Edging Tutorial
-
 7 Surprisingly Useful Things You Can Do With Expired Foods
- Crochet Ideas
-
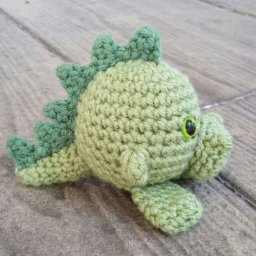 Crochet Ruby the Dragon
-
 Crochet Rowan the Rabbit
-
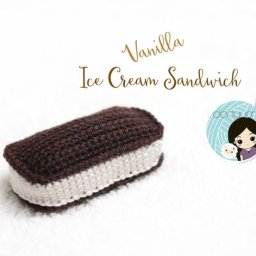 Crochet Vanilla Ice Cream Sandwich
- DIY
-
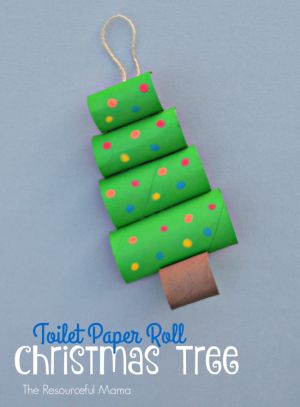 Toilet Paper Roll Christmas Tree
-
 DIY Disco Ball Ornaments
-
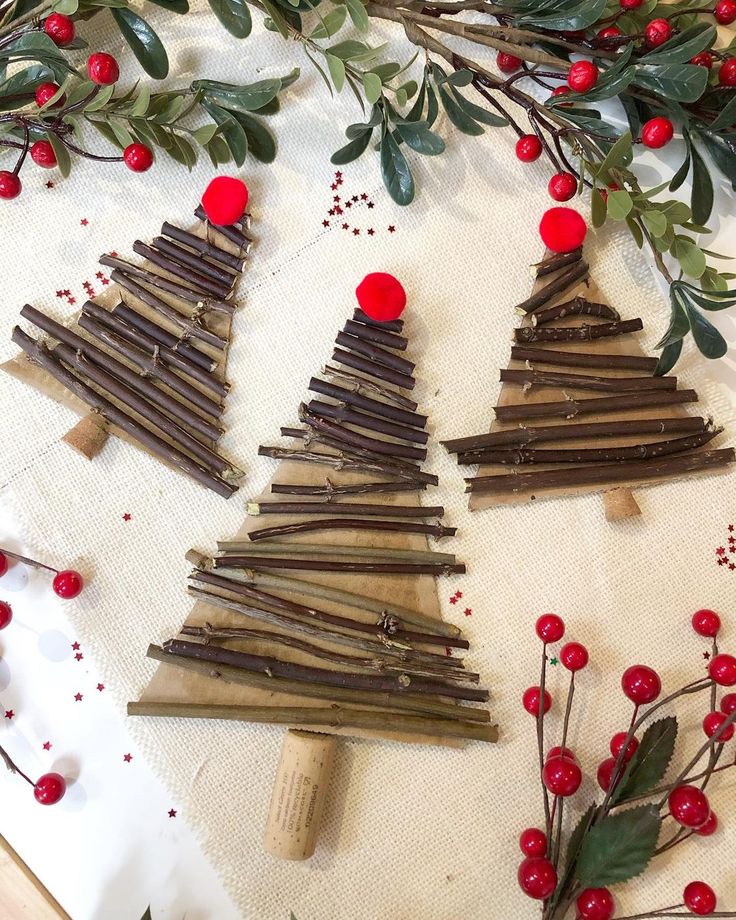 Easy Stick Trees
- Knitting Ideas
-
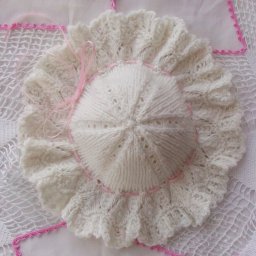 Knitted Beautiful Hat
-
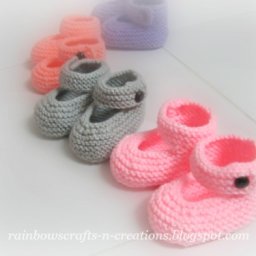 Knitted Simple Baby Boots
-
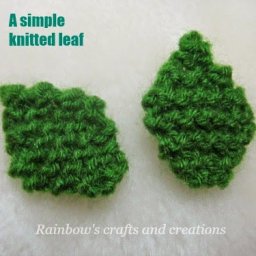 Knitted Simple Leaf