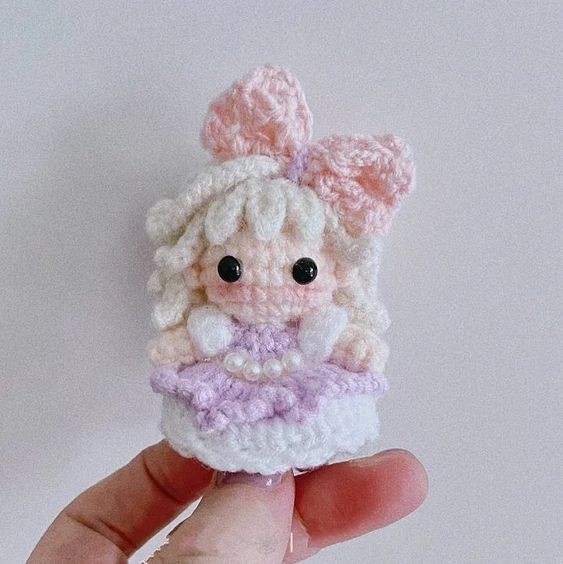
How to Create Your Own Adorable Princess Brooch

Introduction
Create your own adorable princess brooch using the art of crocheting. Craft a charming accessory fit for royalty by carefully selecting your yarn colors and crochet hook size. Begin by crocheting a small circle for the brooch base, then add delicate details like a tiny crown, flowing dress, and dainty arms. Customize your princess brooch with sparkly beads, sequins, or even a miniature wand to give her that magical touch. This handmade accessory will make a perfect gift for a little girl who loves fairy tales and princesses.
Abbreviations
sc = single crochet, inc = increase, dec = decrease, ch = chain stitch, ss = slip stitch, sp = spaces, hdc = half double crochet, dc = double crochet
Hand Details
Hands x 2, make with skin color
Rnd 1: 6 sc in MR
Rnd 2-3: 6 sc
Fasten off and leave long end for sewing.
Legs and Body
Leg x 2 + Body
Make with light purple color
Rnd 1: 6 sc in MR
Rnd 2: (2 sc, 1 inc) x 2 (8)
Change to skin color
Rnd 3-4: 8 sc
The first leg: Break the yarn.
The second leg: Do not break the yarn.
1 ch, link two legs, continue to crochet the body.
Rnd 5: 8 sc, 1 sc, 8 sc, 1 sc (18)
Filling.
Rnd 6: 18 sc
Rnd 7: BLO, 4 sc, crochet on one hand, 6 sc, BLO, 10 sc, crochet on the other hand, 6 sc, BLO, 4 sc (30)
Rnd 8: Change to light purple color, 1 sc, 1 dec, 1 sc, change to skin color, 1 dec, 1 sc, 1 dec, 1 sc, change to light purple color, 1 dec, 1 sc, 1 dec, 1 sc, 1 dec, 1 sc, change to skin color, 1 dec, 1 sc, 1 dec, 1 sc, change to light purple color, 1 dec, 1 sc, 1 dec (20)
Continued Body Crochet
Rnd 9: Make with light purple color, (1 sc, 1 dec) x 6, 2 sc (14)
Filling.
Rnd 10: 7 dec (7)
Slip stitch to finish and conceal end.
Body
Continue crochet on the body.
Make with skin color
Rnd 1: 7 inc (14)
Rnd 2: (1 sc, 1 inc) x 7 (21)
Rnd 3: (1 sc, 1 inc, 1 sc) x 7 (28)
Rnd 4-6: 28 sc
Rnd 7: (1 sc, 1 dec, 1 sc) x 7 (21)
Rnd 8: (1 sc, 1 dec) x 7 (14)
Filling.
Rnd 9: 7 dec.
Slip stitch to finish and conceal end.
Ear Details
Ear x 2, make with skin color
3 ch, sew in the middle of the Rnd 4 and Rnd 5 circles of the head, with 13 stitches between the 2 ears.
Dress
Make with purple color
Crochet on the Rnd 7 of the body.
Rnd 1: FLO, (2 dc in one stitch) x 18 (36)
Rnd 2: FLO, (2 ch, 1 ss) x 36
Slip stitch to finish and conceal end.
Change to white color, crochet the Rnd 2 of the dress.
Rnd 1: BLO, 36 dc
Rnd 2: 3 ch, 2 sp, 1 ss, Repeat until finished.
Sleeve Details
Sleeve x 2, make with white color
Crochet over the shoulder.
FLO, (1 sc, 1 hdc), 2 dc in one stitch, 2 dc in one stitch, (1 hdc, 1 sc)
Pull the thread through the armpit and crochet on the first stitch. Slip stitch to finish and conceal end.
Hair
Make with off white color
Rnd 1: 6 sc in MR
Rnd 2: BLO, 6 inc (12)
Start crocheting individual hairs.
1. 13 ch, start crocheting from the penultimate stitch, 12 sc
2. 8 ch, start crocheting from the penultimate stitch, 1 sc, 6 hdc
Curling Hair Effects
6. 8 ch, start crocheting from the penultimate stitch, 1 sc, 6 hdc
7-12. 13 ch, start crocheting from the penultimate stitch, 12 sc
Slip stitch to finish and conceal end.
Crochet on the Rnd 2, FLO.
1-6: 18 ch, start crocheting from the penultimate stitch, 17 ss
Slip stitch to finish and conceal end.
When pasting the hair, pay attention to leaving a little bit at the bottom and not pasting it, which can form a natural curling effect.
Bow Tie
Make with light pink.
Rnd 1: 18 ch, start crocheting from the third stitch from the bottom, 1 dc, 3 ch, 1 dc, 3 sp, 1 dc, 3 ch, 1 dc, 3 sp, 1 dc, 3 ch, 1 dc, 3 sp, 1 dc
Rnd 2-3: 2 ch, turn, 1 dc, 3 ch, 1 dc, 3 sp, 1 dc, 3 ch, 1 dc, 3 sp, 1 dc, 3 ch, 1 dc, 3 sp, 1 dc
Shape the fabric into a bow and sew to the hair with purple thread.
Finishing Touches
Put it together and install the brooch accessories.
- Recipes
-
 Paczki (Polish Donuts)
-
 Baked “Fried” Oreos
-
 Tiramisu Crepe Cake
- Lifehacks
-
 Triad Crochet Stitch + Blanket Pattern
-
 Crab Stitch Edging Tutorial
-
 7 Surprisingly Useful Things You Can Do With Expired Foods
- Crochet Ideas
-
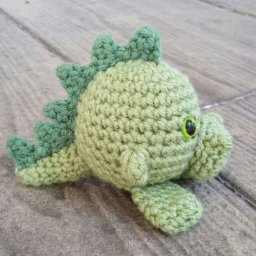 Crochet Ruby the Dragon
-
 Crochet Rowan the Rabbit
-
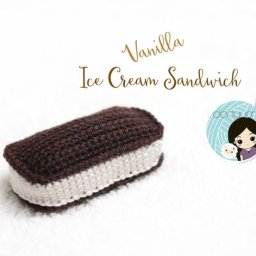 Crochet Vanilla Ice Cream Sandwich
- DIY
-
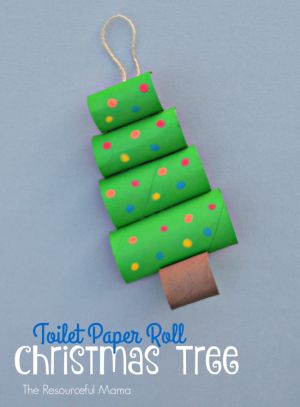 Toilet Paper Roll Christmas Tree
-
 DIY Disco Ball Ornaments
-
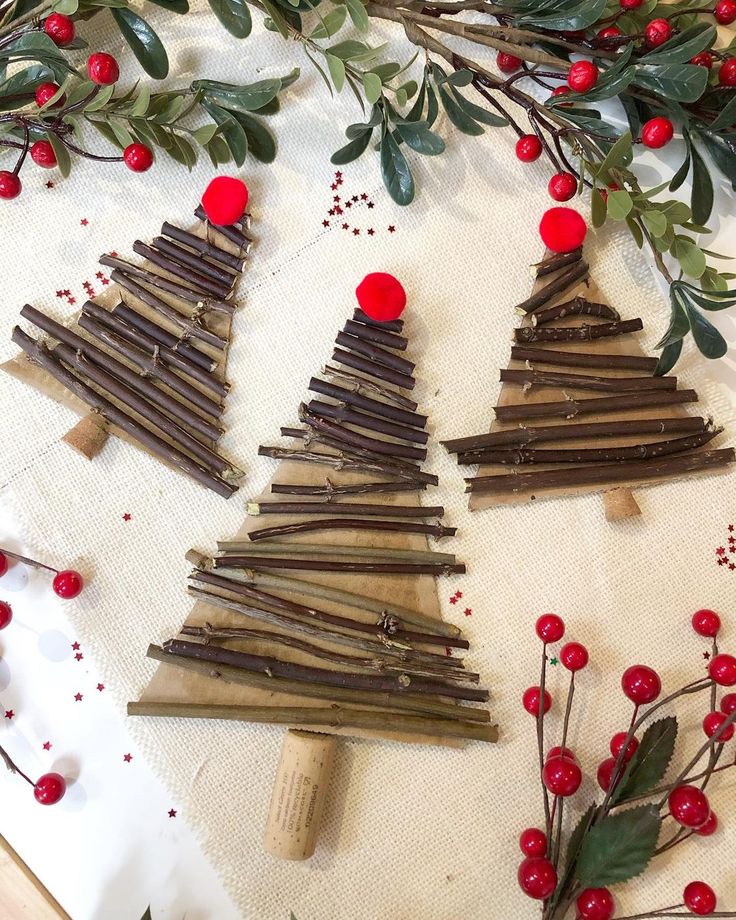 Easy Stick Trees
- Knitting Ideas
-
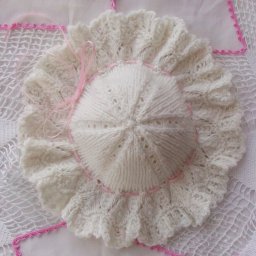 Knitted Beautiful Hat
-
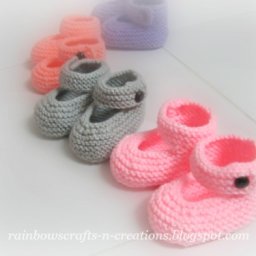 Knitted Simple Baby Boots
-
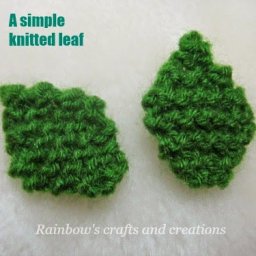 Knitted Simple Leaf
- Funny Pictures
-
 Cat Memes for the Purpose of Pure Entertainment
-
 A Friendly Reminder That Not Everything is Terrible
-
 Photos to Remind You That Life is Beautiful