How to Create Crochet Bunny Coasters

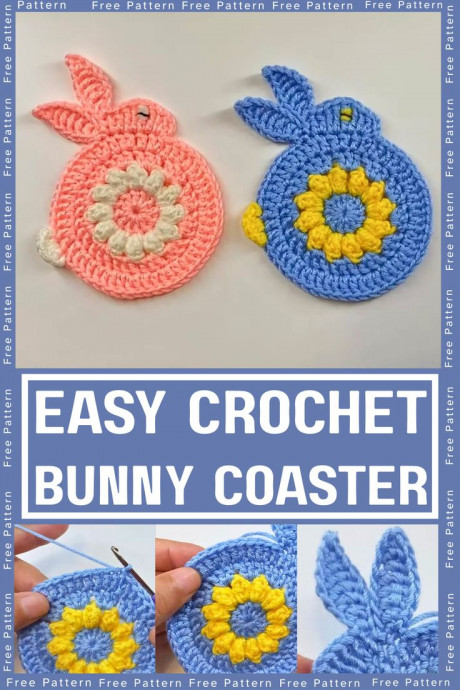
If you're looking to add a touch of cuteness to your home decor, the Crochet Bunny Coaster is a must-have! These adorable coasters not only protect your surfaces from unsightly water rings but also bring charm and warmth to your coffee table. Each intricately crocheted bunny design is perfect for adding a whimsical and playful vibe to your living space. So, grab a set of these delightful coasters and let them hop into your heart while providing practical protection for your furniture.
Materials and Preparation
Yarn Type: Worsted weight yarn in your chosen colors (common choices are white, pink, and black for bunny details).
Hook Size: 4.0 mm (G-6) crochet hook.
Additional Tools
- Yarn needle for weaving in ends
- Scissors
- Stitch marker
- Safety eyes or small black buttons for eyes (optional)
- Small amount of pink yarn or embroidery thread for nose details.
Abbreviations and Notes
Abbreviations
- ch: Chain
- sl st: Slip Stitch
- sc: Single Crochet
- inc: Increase (2 single crochets in one stitch)
- dec: Decrease (single crochet two stitches together)
- hdc: Half Double Crochet
- dc: Double Crochet
Pattern Notes
- Crochet in continuous rounds unless otherwise specified.
- Use a stitch marker to keep track of rounds.
- Adjust hook size if needed to obtain the correct gauge.
- It's helpful to have a basic understanding of amigurumi techniques for this project.
Gauge, Approximate Size, and Special Techniques
Gauge: 16 single crochets and 20 rows = 4 inches (10 cm) in single crochet.
Approximate Size: The finished coaster should measure approximately 4 inches in diameter.
Special Techniques
- Magic ring (adjustable loop) to start the coaster.
- Embroidery for facial features.
- No gauge swatch is needed if the finished size is not critical.
Step-by-Step Pattern
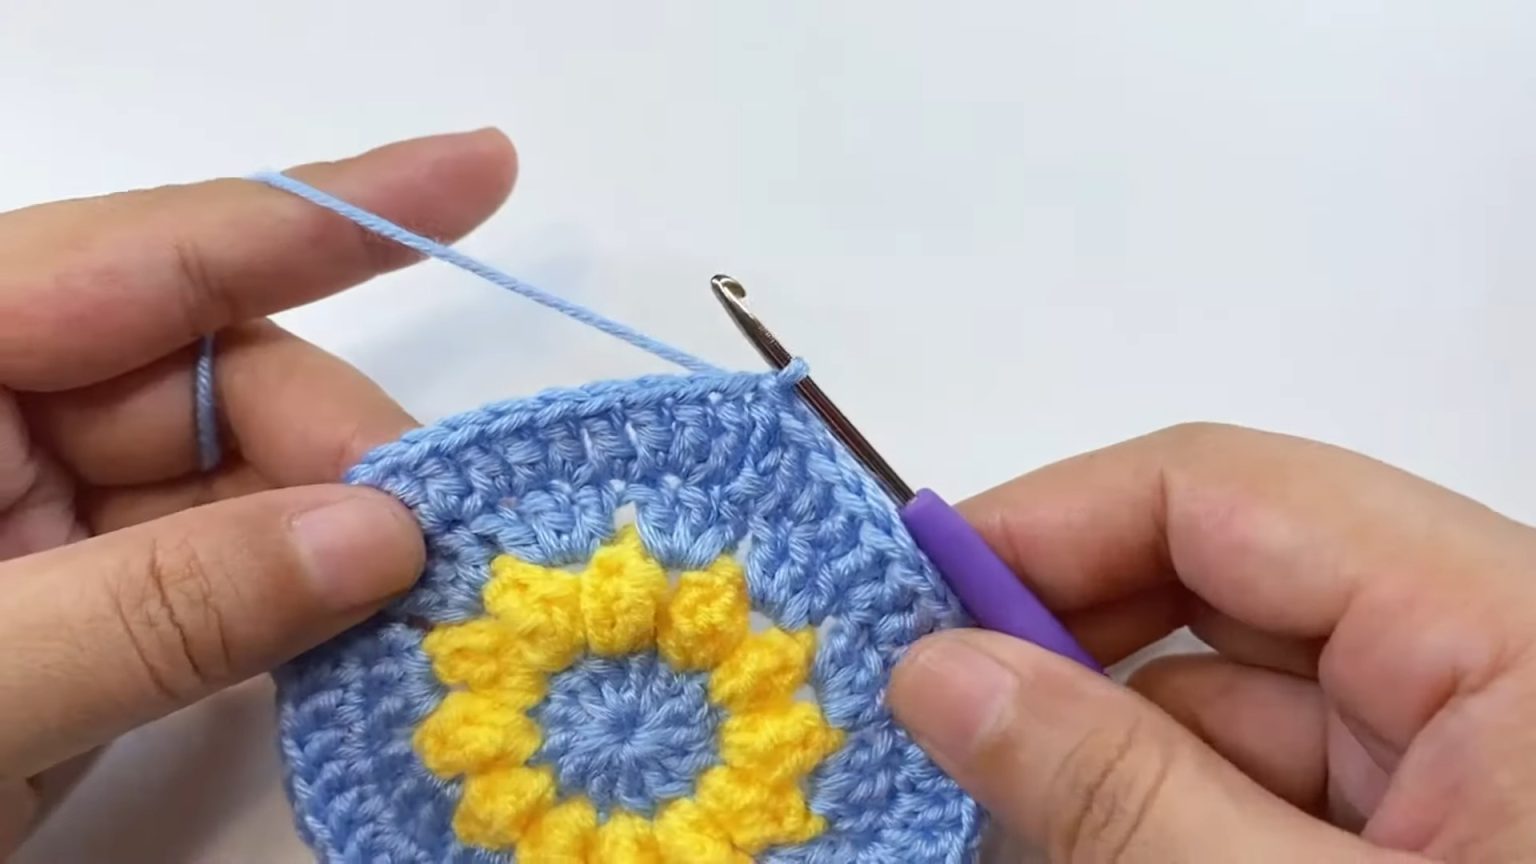
Base of the Coaster
- Magic Ring: Start with a magic ring.
- Round 1: 6 sc in magic ring. (6)
- Round 2: Inc in each stitch around. (12)
- Round 3: (Sc in next st, inc) around. (18)
- Round 4: (Sc in next 2 sts, inc) around. (24)
- Round 5: (Sc in next 3 sts, inc) around. (30)
- Round 6: (Sc in next 4 sts, inc) around. (36)
- Round 7: (Sc in next 5 sts, inc) around. (42)
- Round 8: (Sc in next 6 sts, inc) around. (48)
- Round 9: (Sc in next 7 sts, inc) around. (54)
Finish off and weave in the ends.
Ears (Make 2):
Making Ears
- Start: Ch 10.
- Row 1: Sc in 2nd ch from hook and in each ch across. (9)
- Row 2-4: Ch 1, turn, sc in each st across. (9)
- Row 5: Ch 1, turn, dec, sc in next 5 sts, dec. (7)
- Row 6: Ch 1, turn, sc in each st across. (7)
- Row 7: Ch 1, turn, dec, sc in next 3 sts, dec. (5)
- Row 8: Ch 1, turn, sc in each st across. (5)
- Row 9: Ch 1, turn, dec, sc in next st, dec. (3)
- Row 10: Ch 1, turn, sc3tog. (1)
Finish off and leave a tail for sewing.
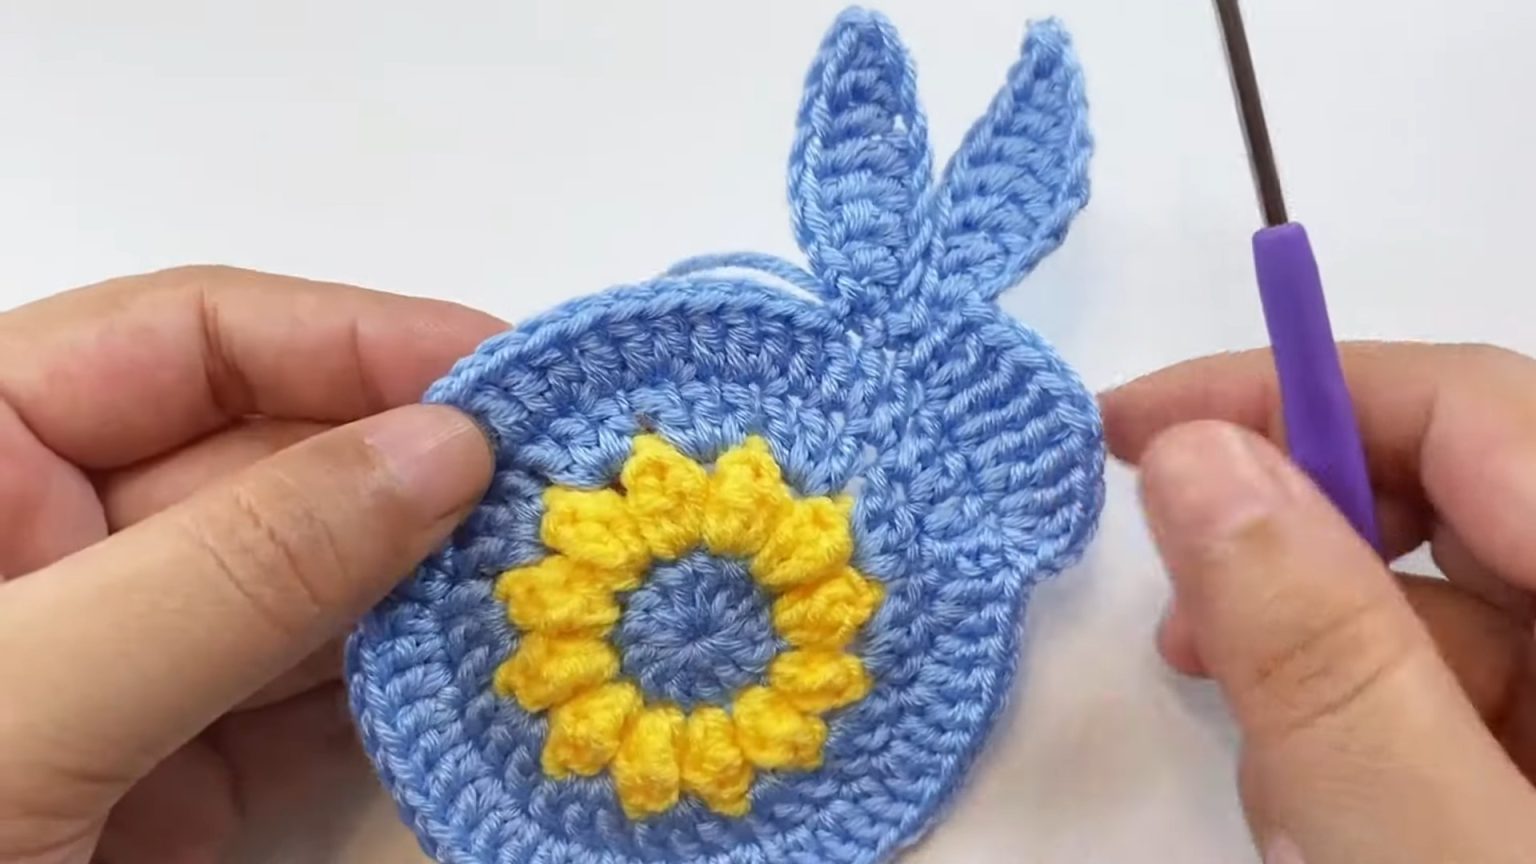
Assembly:
Assembling Your Bunny
- Attach Ears: Sew the ears to the top of the bunny head using the yarn needle and the tails left on the ears.
- Facial Features:
- Attach safety eyes or sew the buttons where bunny eyes should be.
- Use pink yarn or embroidery thread to create the bunny's nose and mouth.
- Weaving in Ends: Weave in all remaining ends with a yarn needle.