Crochet Flower Coaster Tutorial

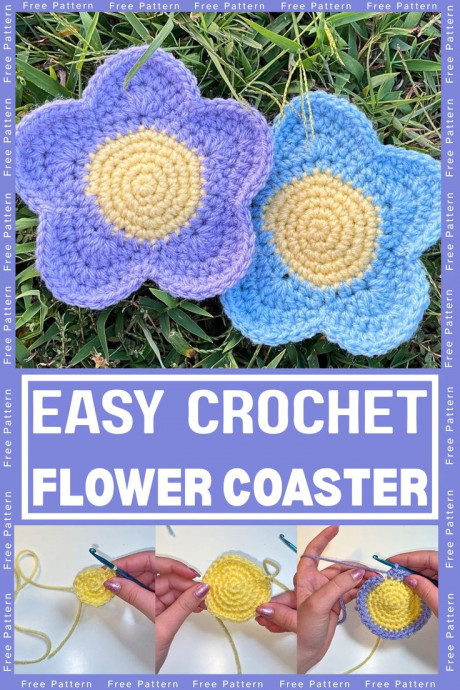
Crochet Flower Coasters are not just practical for protecting your table from spills and scratches; they can also brighten up your space with a touch of handmade charm. The intricate petals and vibrant colors add a cheerful and cozy element to your home décor. Whether you're sipping on a piping hot cup of tea or enjoying a cold glass of lemonade, these adorable coasters will remind you of the care and attention to detail that goes into creating something special with each stitch. So go ahead, crochet a set for yourself or as a thoughtful gift for a friend, and let these little blooms bring joy and warmth to your daily routines.
Materials and Preparation
To create your cute flower coaster, gather the following materials:
- Yarn: Two colors of your choice (e.g., yellow for the center and purple for the petals)
- Yarn weight: Medium (4)
- Crochet Hook: 4.0 mm (G-6)
- Tools: Stitch markers or a piece of yarn, scissors, and a yarn needle (for sewing ends)
- Optional: A detailed tutorial on creating a magic ring
Abbreviations and Notes
These are the abbreviations used in the pattern:
- MR - Magic Ring
- SC - Single Crochet
- DC - Double Crochet
- HDC - Half Double Crochet
- SLST - Slip Stitch
- INC - Increase (two stitches in one)
Notes:
- Stitch Markers: Using stitch markers helps track rounds and ensures accuracy. You can substitute with contrasting yarn strands if needed.
- Working Continuously: This pattern works in continuous rounds, so no slip stitches are used between rounds unless mentioned.
Gauge, Approximate Size, and Pattern Notes
Gauge:
Not critical for this project, but maintain consistent tension for an even look.
Finished Dimensions:
Approximately 4–5 inches in diameter once completed.
Step-by-Step Pattern
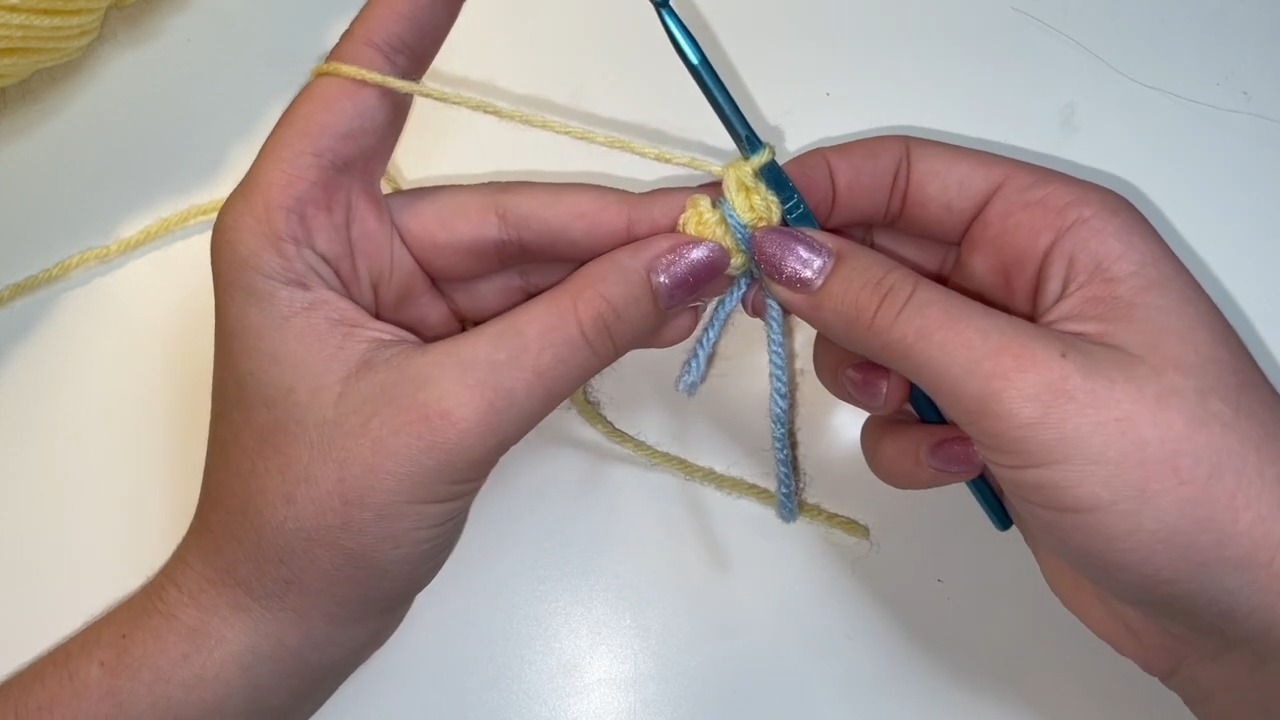
Foundation Ring
Begin with yellow yarn. Create a magic ring. If unfamiliar, refer to the linked tutorial for a walkthrough.
Work 6 SC into the magic ring.
Tighten the ring by pulling the yarn tail. Place a stitch marker at the end of the round.
Round 1
Work 2 SC in each stitch around (INC in every stitch). You should finish with 12 stitches.
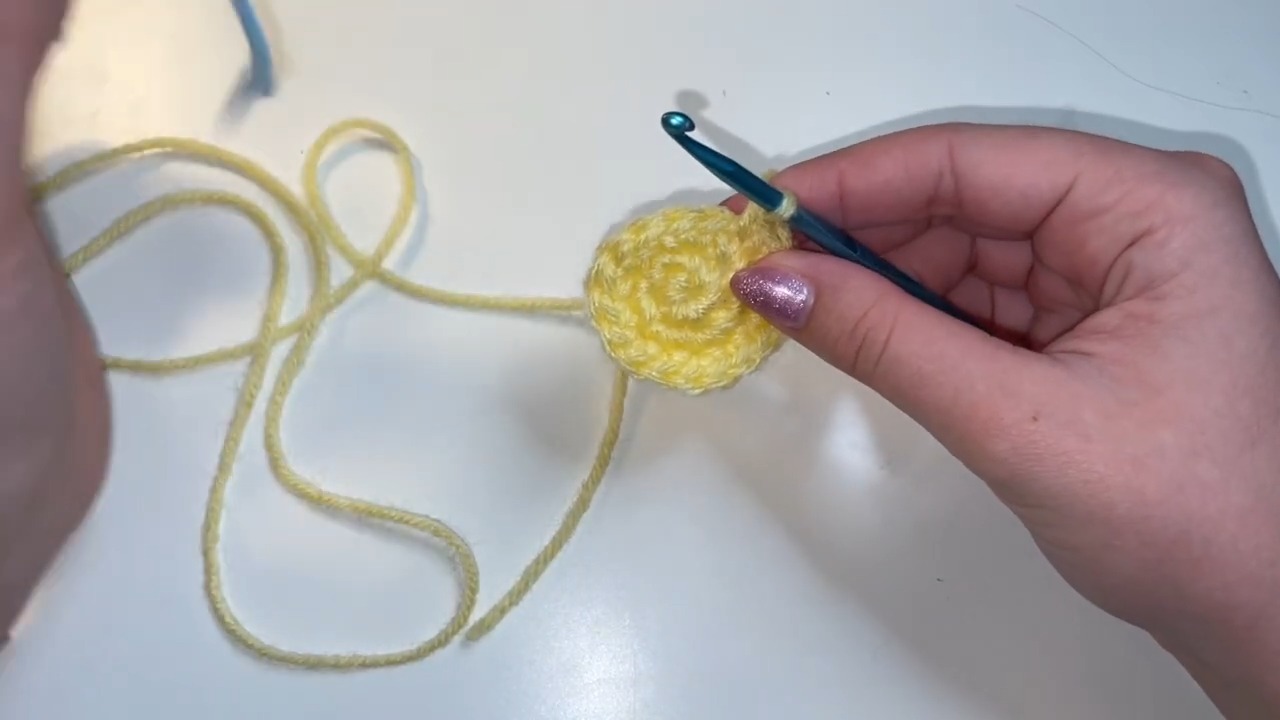
Round 2
Pattern: Work 2 SC in one stitch (INC), followed by 1 SC in the next stitch. Repeat all the way around. Finish with 18 stitches.
Round 3
Pattern: Work 2 SC in one stitch (INC), followed by 1 SC in the next 2 stitches. Continue the pattern around. End with 24 stitches.
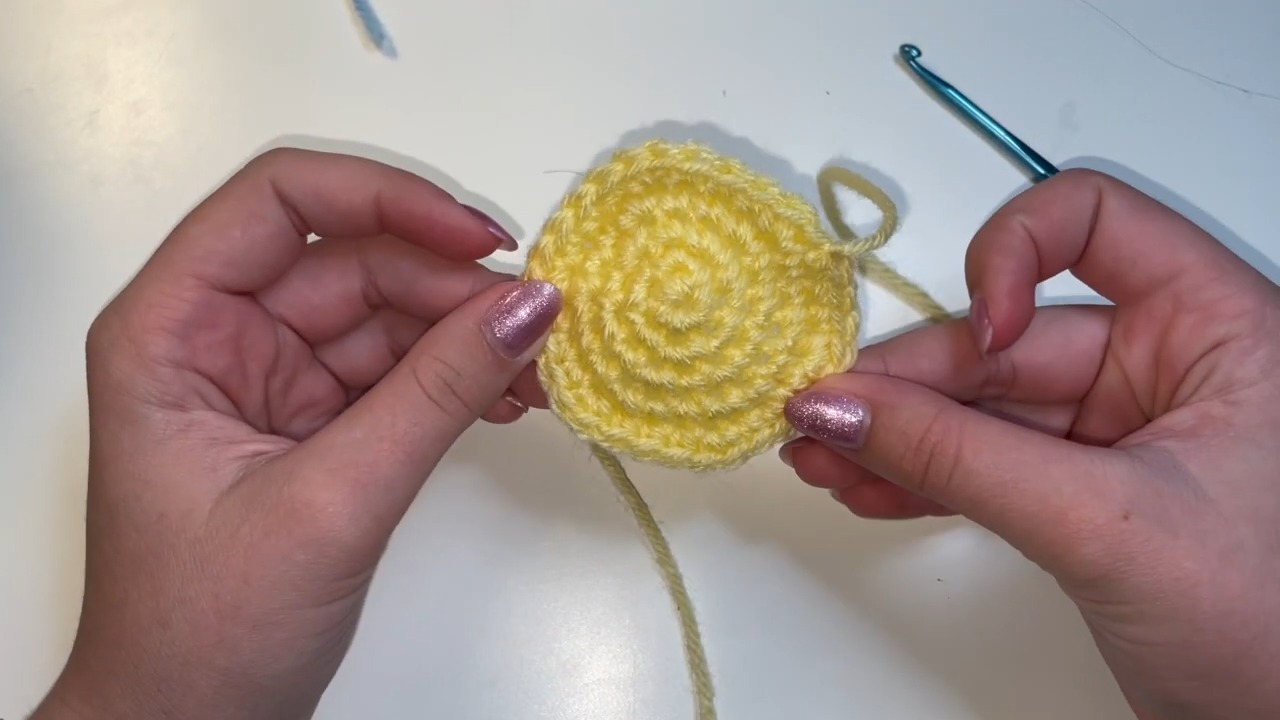
Center Finishing
Once the base circle is complete, slip stitch into the next stitch to secure and create a clean edge. Fasten off the yellow yarn.
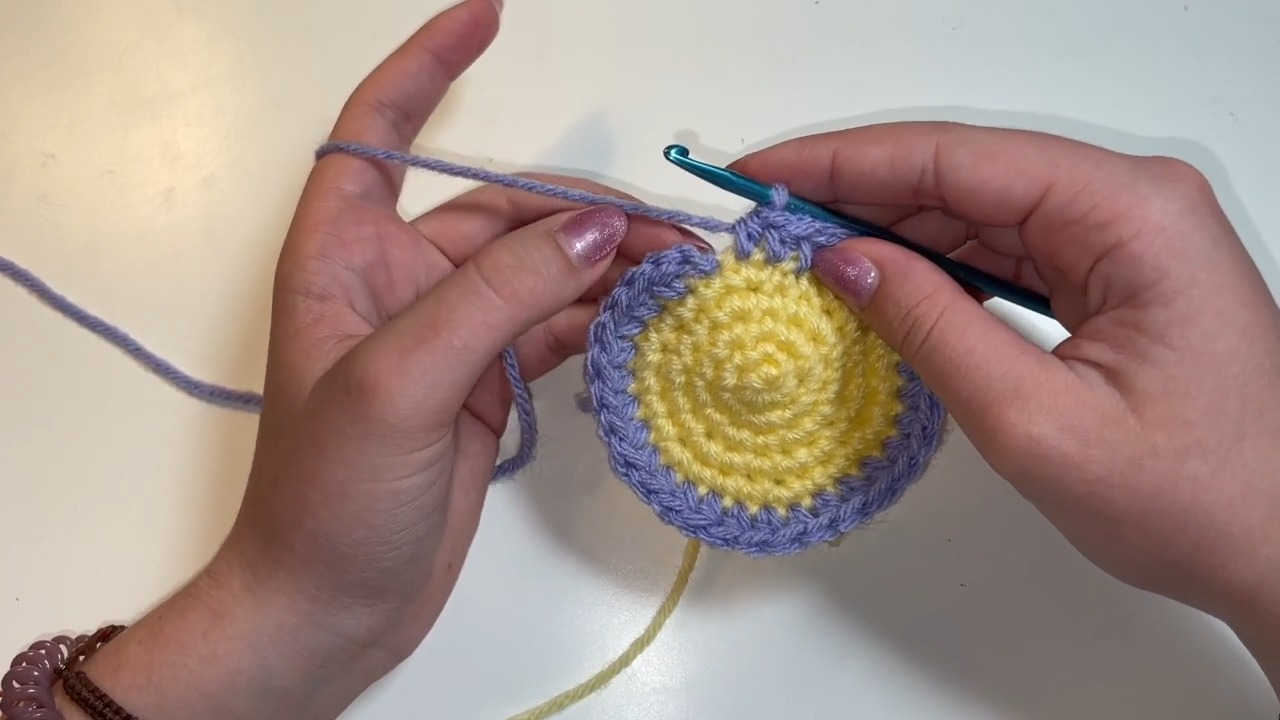
Adding Petals
Switch to purple yarn (or color of your choice):
Round 1 (Purple Base)
Attach the purple yarn to any stitch with a knot. Begin working 1 HDC in each stitch around. Slip stitch into the first chain from when you attached your purple yarn.
Round 2 (Petals - First Layer)
Pattern:
- SLST into the next stitch.
- Work 1 SC, 1 HDC, and 5 DC into the same stitch.
- Work 1 HDC, 1 SC, and 1 SLST into the following stitches to complete the petal.
Repeat petal pattern around until you have 5 petals.
Round 3 (Petals - Second Layer)
Add detail to petals:
- SLST into the next stitch.
- Work 1 SC, 1 SC, 1 HDC, followed by:
- Alternating 1 HDC and 2 HDC in next stitches to add fullness.
- End every petal with 1 SC, 1 SC, and 1 SLST.
Repeat for 5 petals.
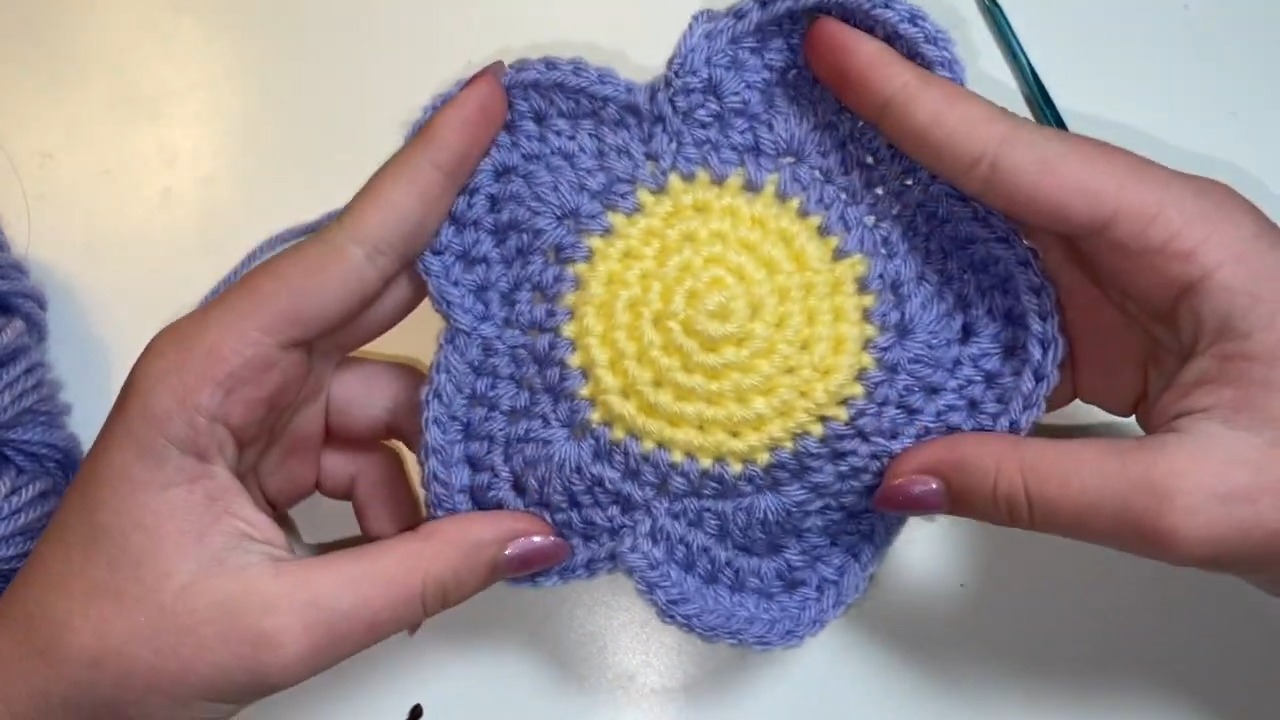
Finishing Touches
Slip stitch into the base of your last completed petal to secure the design. Fasten off the purple yarn and weave in all loose ends using a yarn needle.