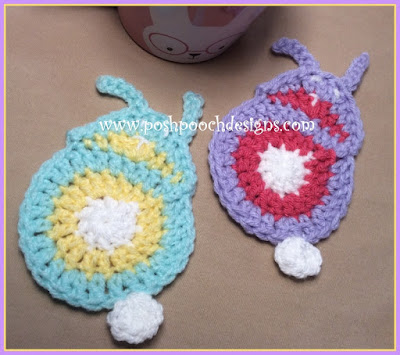
Crochet Bunny Coaster Pattern

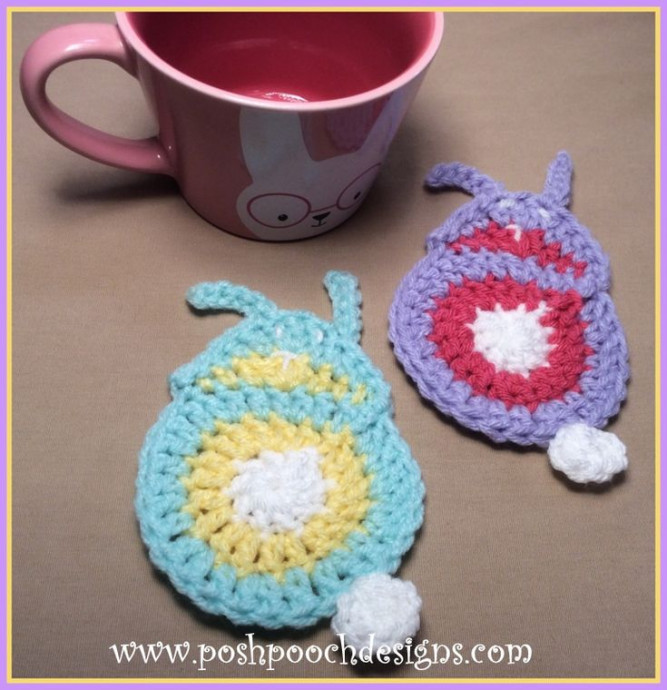
Looking for a charming addition to your spring table setting? Look no further than the Crochet Bunny Coaster! This adorable coaster not only adds a touch of whimsy to your decor but also protects your table from drips and stains. Handcrafted with love, each bunny coaster brings a unique and delightful element to your holiday celebrations. So why settle for ordinary coasters when you can elevate your table with these cute and practical bunny coasters? Bring a smile to your guests' faces and enjoy a festive touch with the Crochet Bunny Coaster!
Skill Level
Easy
Materials
- Hook - H
- Yarn - Any Worsted Weight yarn (4) or Cotton Yarn in Lavender, Pink, and White
- I used Red Heart Super Saver leftovers
Stitches
- Chain (ch)
- Slip Stitch (sl st)
- Single Crochet (sc)
- Half Double Crochet (hdc)
- Double Crochet (dc)
Size
Bunny measures 3.5 x 4.5 inches
Notes
- Ch3 counts as a dc
- Rounds are joined with a sl st to the ch3
- When changing color, ch3 after the color change.
Pattern Instructions
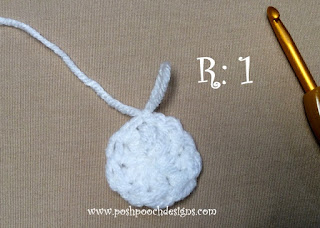
RND 1: With White yarn, ch 5, join in a circle, ch3, 9 dc in the circle, join.
(10dc)
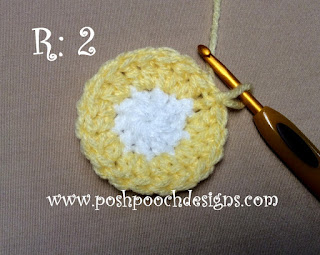
RND 2: Change to pink yarn, ch 3, 1 dc in the same st as ch3, 2 dc in each st around, join. (20dc)
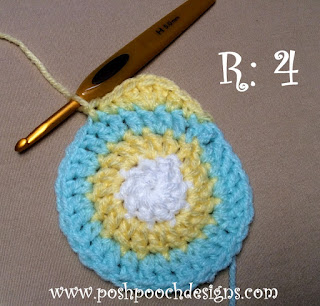
RND 3: Change to purple yarn, ch 3, 1 dc in the same st as ch3, *1 dc in next st, 2 dc in the next st* repeat from * to * around, join. (30dc)

RND 4: Forming the head, change to pink yarn, sl st in the next st, sc in the next st, hdc in the next st, 3 dc in the next st, hdc in the next st, sc in the next st, sl st in the next st, tie off.
(sl st, sc, hdc, 3 dc, hdc, sc, sl st)
RND 5: Attach purple yarn to the st next to the 1st st of RND 4 (on the right side), sl st in the next 2 sts, sc in the next st, hdc in the next st, 1 dc in the next st, 3 dc in the next st, 1 dc in the next st, hdc in the next st, sc in the next st, sl st in the next, then sl st in the next st on RND 4, ch1.
(sl st, sl st, sc, hdc, dc, 3 dc, dc, hdc, sc, sl st, sl st)
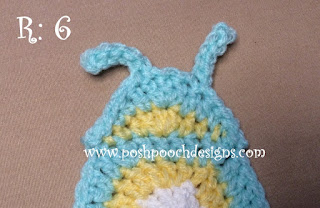
Ears Instructions
RND 6: Turn, ch 1, sl st in the next 5 sts, ch 6, turn sl st in the 2nd ch, and in the next 5 chs, sl st in the next 3 sts, ch 5, turn sl st in the 2nd ch, and in the next 4 chs, sl st in the last 4 sts, tie off, and weave in all your ends.
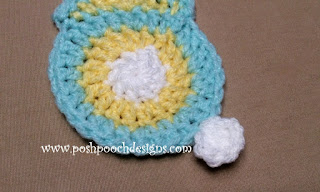
Tail: Count down 8 sts from the head, on the right side, attach white yarn, ch 3, 3 dc in the same st, ch 3, join with a sl st, tie off.
Face: I just stitched a few straight stitches, it looks good with or without the face.