How to Crochet an Adorable Amigurumi Bunny

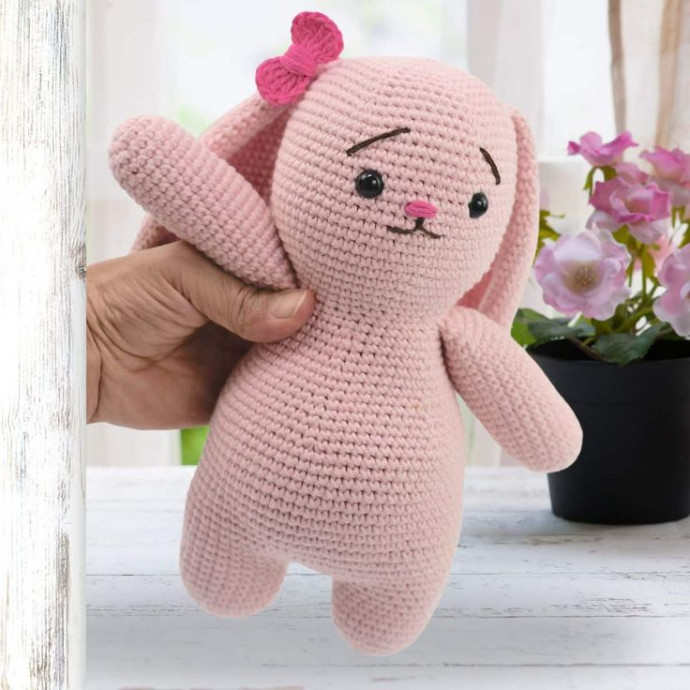
Ah, the adorable world of crochet amigurumi bunnies! These charming little creatures are perfect for bringing joy and cuteness into your life. With their fluffy yarn and sweet designs, they make delightful companions or lovely gifts for friends and family. Whether you're new to crocheting or a seasoned pro, crafting your own amigurumi bunny is a wonderful way to unwind and add a touch of handmade warmth to any day. So, grab your hooks and yarn, and let's create some fuzzy bunny magic together!
Materials
- Worsted weight #4 yarn (more on the yarn below)
- 3.5 mm (US E) crochet hook
- Stitch markers
- One pair of 8 mm safety eyes
- A 2.5” to 3” (6.5-7.5 cm) pompom for the tail
- Scraps of darker pink and black/brown yarn (or thread) to embroider the facial features
- A small amount of darker pink Light yarn (#3) for the hair bow
- Stuffing tool, such as a craft dowel
- Safety eyes placement tool (optional, but super helpful)
- Blush (or makeup) to add color to the ears
- Tapestry needle
- Scissors
About the Yarn
I used Worsted weight (#4) 100% Cotton MainStays yarn by Walmart. However, you can use any other yarn you prefer. The amount required was approximately 7 oz (200 g), or 360 yds (330 m), in the colorway Daylily Pink.
Other Recommended Yarns:
- Yarn by Lion Brand
- Yarn by Hobby Lobby
Pattern Notes
This Amigurumi bunny pattern uses US crochet terminology.
- Level of difficulty: Easy.
- The instructions for the arms and ears will have their own round count.
- If you’re making this bunny as a toy for a young child, please refrain from using safety eyes as they can be a choking hazard.
- Use a stitch marker to keep track of the rounds and stitch count, especially if you’re new to Amigurumi.
- Stuff the Amigurumi bunny firmly as you go, but do not overstuff it.
Finished size of the crochet bunny: approximately 9.5” (24 cm) tall.
Gauge
Gauge is not crucial for this Amigurumi bunny. For reference, 6 rounds x 36 sts = 2 ¼” (5.5 cm) in diameter, measured across the center.
Gauge Swatch:
- Rnd 1: 6 sc in mc
- Rnd 2: (inc) 6 times. [12]
- Rnd 3: (inc, sc) 6 times. [18]
- Rnd 4: (inc, 2 sc) 6 times. [24]
- Rnd 5: (inc, 3 sc) 6 times. [30]
- Rnd 6: (inc, 4 sc) 6 times. [36]
Instructions:
Without further ado, let’s get your Amigurumi bunny started! Please make sure you go through the material list, yarn information, and pattern notes. That way, you can have a fantastic experience crocheting your cute crochet bunny.
Tip: check out the end of this post if you need help with stitch abbreviations.
Ears (Make 2)
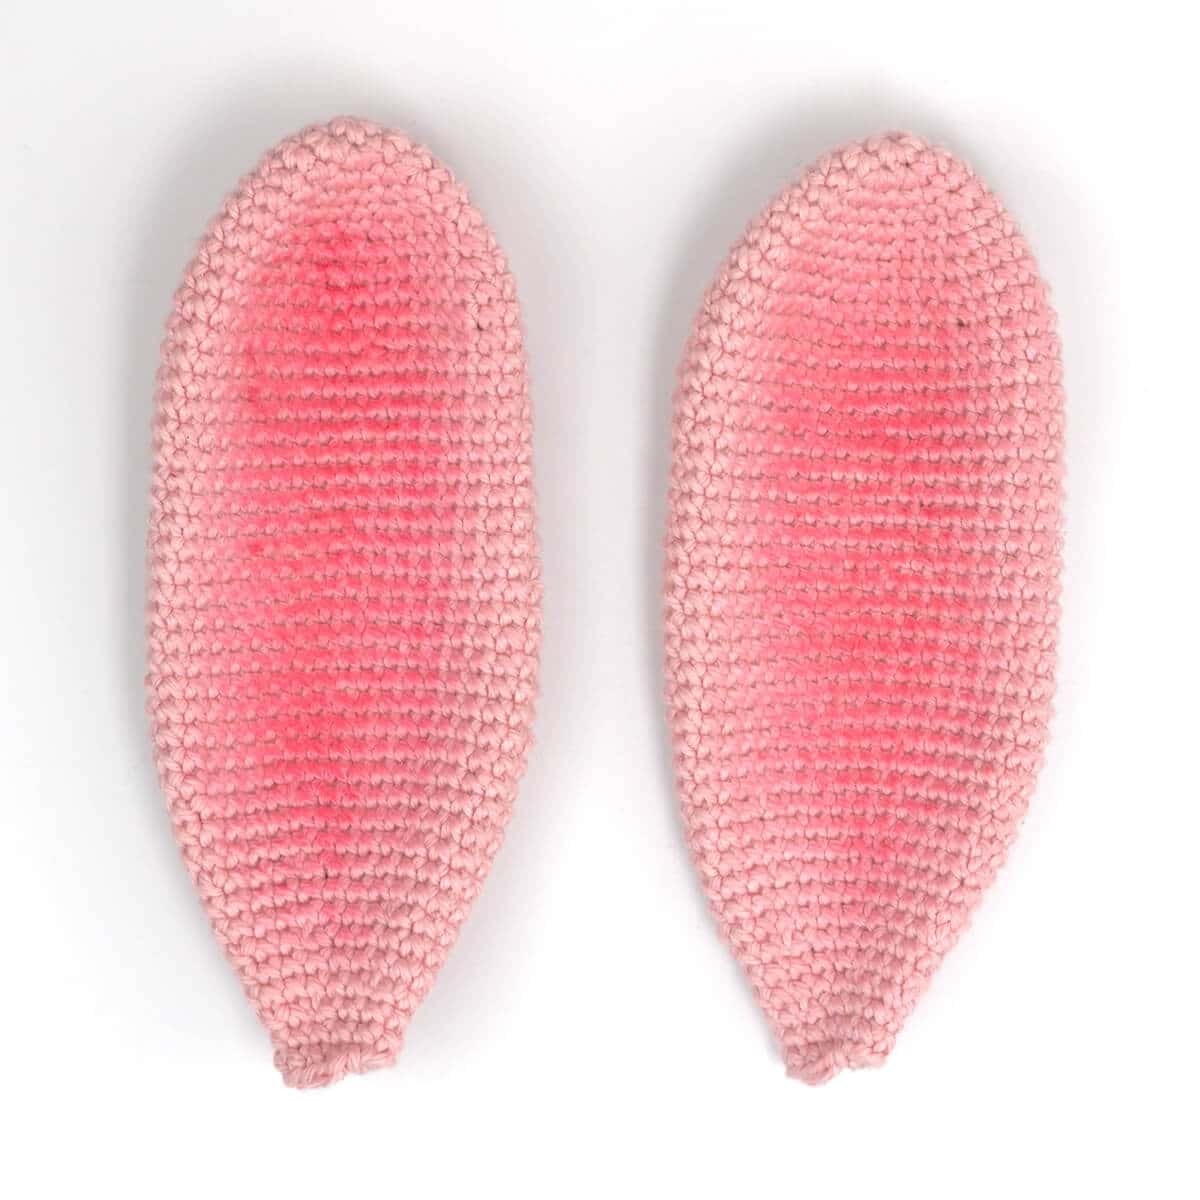
Making both ears is the first step for this Amigurumi bunny pattern. They are crocheted from the bottom up and there is no need to stuff them.
- Rnd 1: 6 sc in a mc
- Rnd 2: (inc) 6 times. [12]
- Rnd 3: (inc, sc in next st) 6 times. [18]
- Rnd 4: sc around. [18]
- Rnd 5: (inc, sc in next 2 sts) 6 times. [24]
- Rnd 6: sc around. [24]
- Rnd 7: (inc, sc in next 3 sts) 6 times. [30]
- Rnd 8: sc around. [30]
- Rnd 9: (inc, sc in next 4 sts) 6 times. [36]
- Rnd 10-30: sc around. [36]
- Rnd 31: (dec, sc in next 4 sts) 6 times. [30]
- Rnd 32-33: sc around. [30]
- Rnd 34: (dec, sc in next 3 sts) 6 times. [24]
- Rnd 35-36: sc around. [24]
- Rnd 37: (dec, sc in next 2 sts) 6 times. [18]
- Rnd 38-39: sc around. [18]
- Rnd 40: (dec, sc in next st) 6 times. [12]
- Rnd 41-42: sc around. [12]
FO. Cut the yarn. Leave them open. Set aside. Apply makeup blush to your Amigurumi bunny’s inner ears or beeswax crayon (optional).
Arms (Make 2)
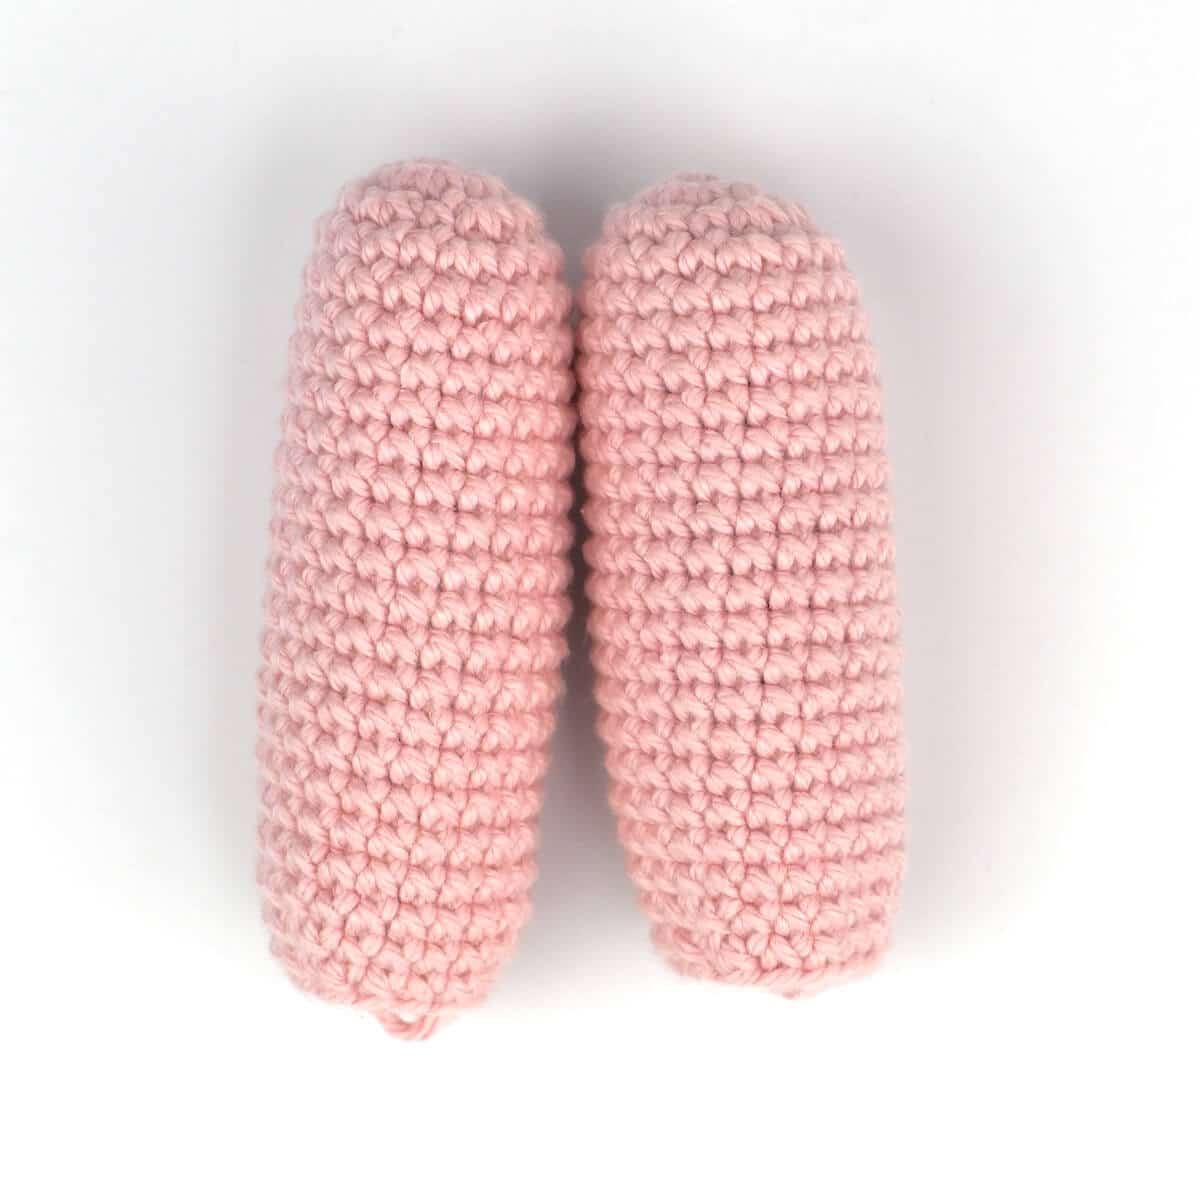
Stuff the arms as you go, but not all the way up; leave about 1” (2.5 cm) of the upper arms empty.
- Rnd 1: 6 sc in a mc
- Rnd 2: (inc) 6 times. [12]
- Rnd 3: (inc, sc in next st) 6 times. [18]
- Rnd 4: (inc, sc in next 5 sts) 3 times. [21]
- Rnd 5-21: sc around. [21]
- Rnd 22: (dec, sc in next 5 sts) 3 times. [18]
- Rnd 23: (dec, sc in next 4 sts) 3 times. [15]
FO. Cut the yarn. Leave them open. Set aside. I have a free guide with tips on stuffing Amigurumi that you may find helpful while you’re working on this Amigurumi bunny.
Legs (Make 2)
- Rnd 1: 6 sc in a mc
- Rnd 2: (inc) 6 times. [12]
- Rnd 3: (inc, sc in next st) 6 times. [18]
- Rnd 4: sc around. [18]
- Rnd 5: (inc, sc in next 2 sts) 6 times. [24]
- Rnd 6-10: sc around. [24]
FO. Cut the yarn for the first leg only, leaving a long tail (about 12” / 30 cm) to stitch the crotch later in case there are holes remaining from the joining. Next, you’ll attach the legs together and make large rounds for the Amigurumi bunny’s body.
Note: The 3 chains you’ll do in this next step will be the “bridge” that connects both legs together.
- Rnd 11: When you’re done with leg #2, ch 3 and sc in any st of the last round in leg #1. Next, place the stitch marker in that st to make it the first st in round 11. Then, sc in next 23 sts in leg 1, sc in the top loop of the next 3 chs, sc in next 24 sts around leg 2, sc in the opposite loops of the next 3 chs. [54]
Body:
Now that the legs are attached, you will crochet large rounds around to make the Amigurumi bunny’s torso. After you have a few rounds crocheted, check the crotch to see if it needs some stitching if there are holes left.
- Rnd 12: *sc in next 24 sts, (inc) 3 times, repeat from the * one more time. [60]
- Rnd 13: *sc in next 24 sts, (inc, sc) 3 times, repeat from the * one more time. [66]
- Rnd 14-28: sc around. [66]
- Rnd 29: (dec, sc in next 9 sts) 6 times. [60]
- Rnd 30: sc around. [60]
- Rnd 31: (dec, sc in next 8 sts) 6 times. [54]
- Rnd 32: sc around. [54]
- Rnd 33: (dec, sc in next 7 sts) 6 times. [48]
- Rnd 34-36: sc around. [48]
- Rnd 37: (dec, sc in next 6 sts) 6 times. [42]
- Rnd 38-39: sc around. [42]
- Rnd 40: (dec, sc in next 5 sts) 6 times. [36]
Do not cut the yarn yet.
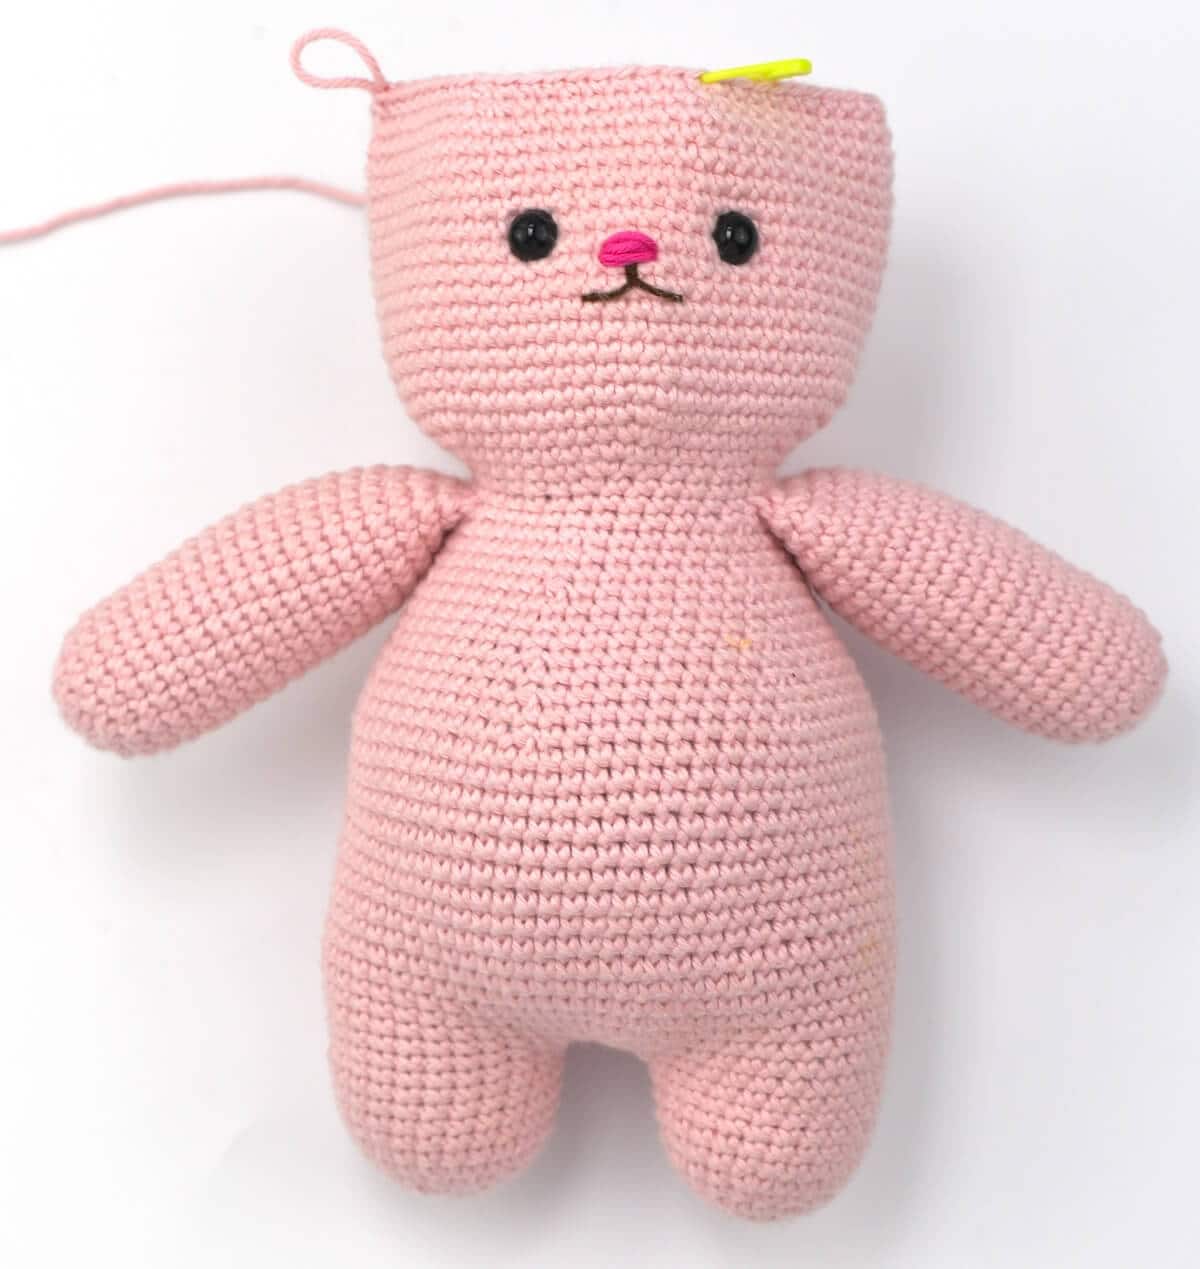
Attach the Arms
- Rnd 41-42: sc around. Attach the arms in round 41. [36]
The arms should be placed one on each side of the Amigurumi bunny on round 41, aligned with the hips.
First, squeeze the top opening of one of the arms and attach it with sts 6 to 12 as you go.
Then, do the same with the second arm with sts 24 to 30. Make sure you insert the hook in all 3 layers of stitches. Do not cut the yarn.
Head
- Rnd 43: (inc, sc in next 5 sts) 6 times. [42]
- Rnd 44: (inc, sc in next 6 sts) 6 times. [48]
- Rnd 45: (inc, sc in next 7 sts) 6 times. [54]
- Rnd 46: (inc, sc in next 8 sts) 6 times. [60]
- Rnd 47: (inc, sc in next 9 sts) 6 times. [66]
Do not cut the yarn. When you’re done with round 58 in the next step, it will be a good time to place the eyes. Place them between rounds 54 and 55, centered on the face (11 sts apart).
Tip: For better placement, I recommend attaching the eyes to your Amigurumi bunny before you stuff the head. Squeeze the head and use stitch markers to mark the sts at the far ends and the one in the center. Additionally, you can also embroider the nose and mouth one row below the eyes, or you can wait until after you finish the head.
- Rnd 48-61: sc around. [66]
- Rnd 62: (dec, sc in next 9 sts) 6 times. [60]
Do not cut the yarn.
Attach the Ears and Finish the Head
- Rnd 63: (dec, sc in next 8 sts) 6 times. Attach both ears in this round using the same technique used for the arms with sts 20 to 25 and sts 41 to 46. [54]
Tip: If you find it tricky to decrease while attaching the ears, move the decrease forward to the next 2 sts right after you place the ear. As long as the total st count is right, it’s okay.
- Rnd 64: (dec, sc in next 7 sts) 6 times. [48]
- Rnd 65: (dec, sc in next 6 sts) 6 times. [42]
- Rnd 66: (dec, sc in next 5 sts) 6 times. [36]
- Rnd 67: (dec, sc in next 4 sts) 6 times. [30]
- Rnd 68: (dec, sc in next 3 sts) 6 times. [24]
- Rnd 69: (dec, sc in next 2 sts) 6 times. [18]
- Rnd 70: (dec, sc in next st) 6 times. [12]
- Rnd 71: dec 6 times. [6]
FO. Cut the yarn. Embroider your Amigurumi bunny’s eyebrows, two rounds above the eyes, 5 stitches long in an angle (see one of the close-up photos for reference).
Tail
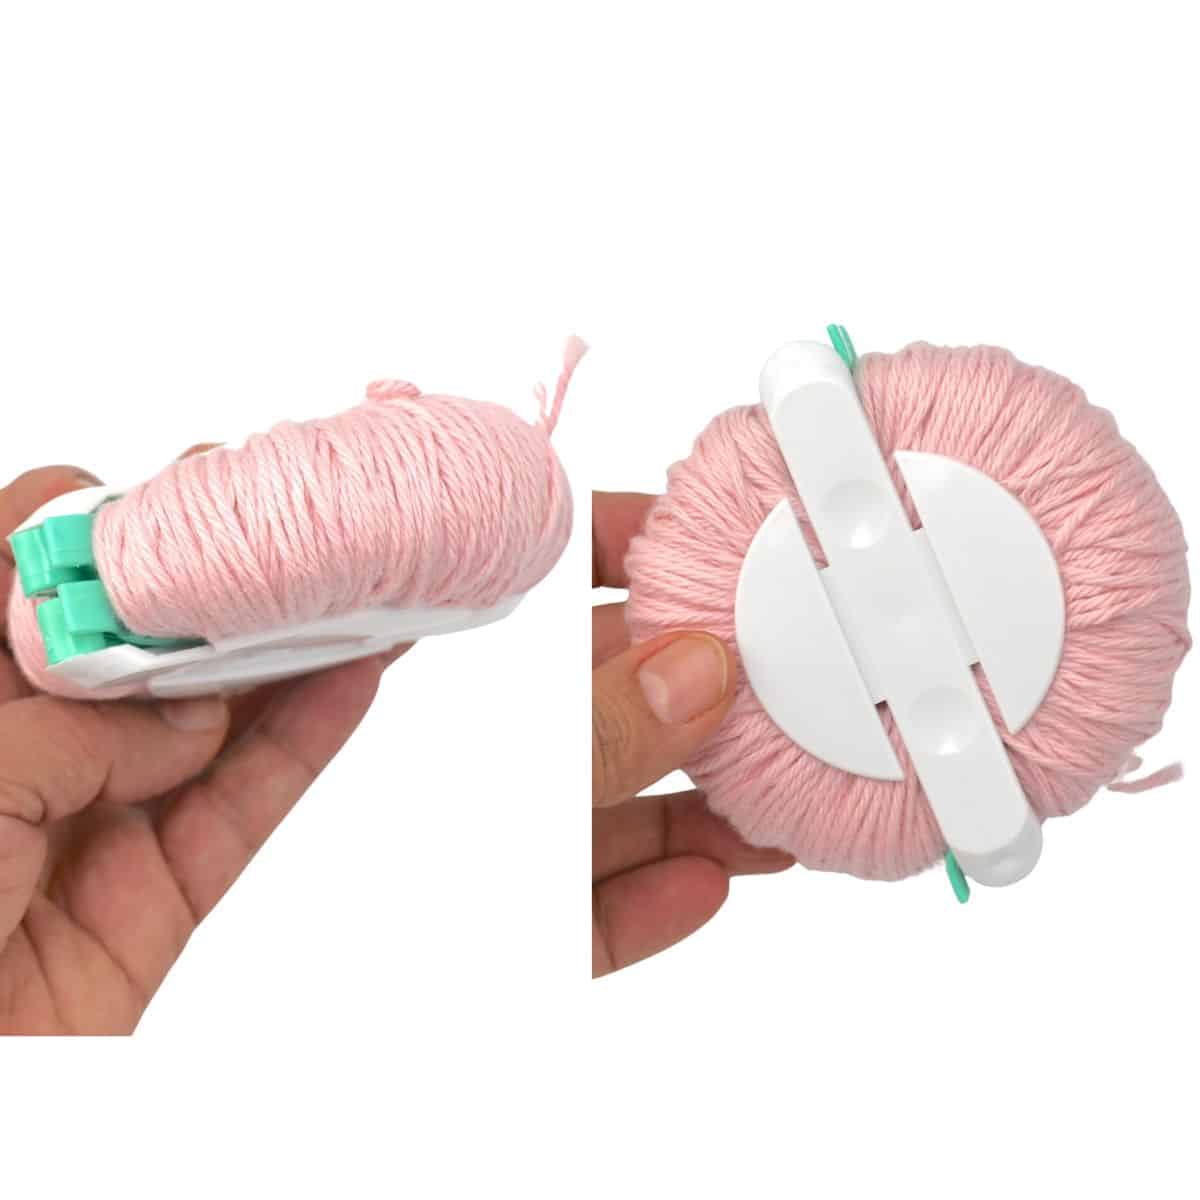
Using a pompom maker for the tail is optional. But I have one and thought it was the easiest way to create a fluffy tail with the same yarn I used to make this Amigurumi bunny. Feel free to use any other method, or maybe a store-bought pompom if you prefer.
Here is How You Make It:
- First, create the pompom by wrapping the yarn on both sides of the pompom maker to approximately 1” (2.5 cm) thick.
- Next, tie it off with a doubled strand of the same yarn and release from the pompom maker.
- Then, trim it with scissors.
- Lastly, use the yarn tail to attach the pompom to the bunny’s bottom. You’ll probably need to use the tapestry needle to stitch it a few times.
Hair Bow (Optional)
I used a pattern with a few changes. Here are the easy steps:
- Leave a tail of about 4” (10 cm) and crochet these sts in a mc:
- *ch 3, 5 treble (tr) sts, ch 3, sl st in the mc*, repeat from the asterisk one more time.
- Cut the yarn leaving another long tail, about 10” (25 cm). Wrap that tail evenly around the center of the bow (about 8-10 times).
- Make a knot with the tails to secure it. Attach it to the top of your Amigurumi bunny’s ear.
Supply:
Medium weight yarn (#4) cotton yarn.
Tools:
- 3.50 mm (US E) crochet hook
- Stuffing tool (optional)
- Scissors
- Tool for placing safety eyes (optional)
Materials:
- 8 mm safety eyes
- Stuffing fiber
- Tapestry needle
- Stitch markers
The complete list is above.
I hope you’ve enjoyed the process of crocheting your adorable Amigurumi bunny. And remember, the more you practice, the better your work will look.
Abbreviation Guide:
- approx.: approximately
- blo: back loop only
- ch: chain
- flo: front loop only
- inc: increase (2 sc in next stitch)
- dec: invisible decrease (two single crochet together)
- FO: fasten off
- rep: repeat
- Rnd: round
- sl st: slip stitch
- st(s): stitch(es)
- sk: skip
- sc: single crochet
- ( ): repeat instructions within parenthesis as many times as directed
- [ ]: stitch count in a round
- *: repeat instructions after asterisks as directed.
- x: a number followed by a “x” means how many times you’ll repeat the instructions within parentheses.
Stitches Explanation:
This simple Amigurumi bunny pattern was created with very basic stitches. However, if you have never crocheted an animal before, please make sure you can follow instructions with these skills:
-
Magic Circle or Magic Ring (mc):
This is the very first step to make a crochet animal or doll. A magic circle is ideal because you can cinch it tight to prevent a hole in the beginning of your project.
-
Single Crochet Stitch (sc):
I used the yarn under single crochet stitch, which is created by simply placing your yarn under the hook when pulling up a loop. The result is an “x” looking stitch on the right side.
-
Single Crochet Increase (inc):
When you see this abbreviation in a pattern, it means you will create two single crochet stitches in the next stitch.
-
Single Crochet Decrease (dec):
It is recommended that you use the invisible decrease for Amigurumi.
-
Basic Embroidery:
You will create the bunny’s facial features with very simple embroidery which you can achieve with a tapestry needle and scraps of yarn or thread.
-
Other Skills You Will Need:
Please ensure you are also comfortable with fastening off, adding stuffing fiber to shape the bunny well, using a pompom maker to make the tail, and attaching limbs with the crochet hook as you go.