Crochet Hanging Pot Plant Basket

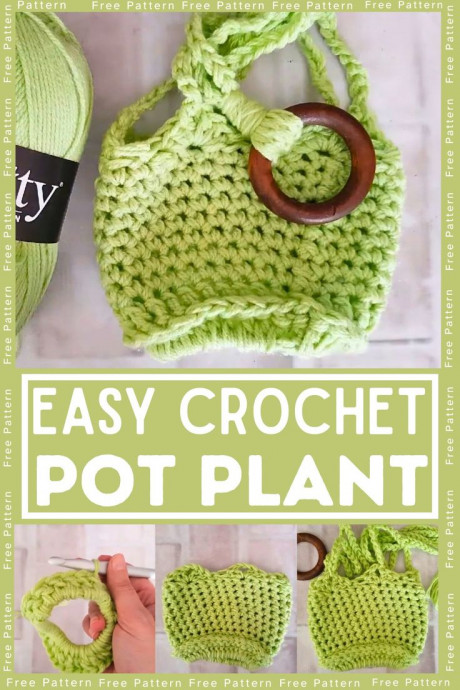
Looking to add a touch of greenery to your space? A Crochet Hanging Pot Plant Basket could be the perfect solution! These charming baskets not only hold your favorite plants but also add a cozy and stylish element to any room. Hanging plant baskets are a fun and creative way to incorporate plants into your decor while saving precious floor space. Whether you're a seasoned crocheter or a beginner looking for a new project, crafting your own hanging pot plant basket can be a delightful and rewarding experience. So, grab your yarn and crochet hook, and let's get crafting to bring some green goodness into your home!
Materials and Preparation
Materials:
- Yarn: Double knit yarn in colorway Lime Drop (Code: 39875), or any double-knit yarn (100% cotton recommended)
- Hook: 10 mm crochet hook
- Additional Tools: Scissors, yarn needle, stitch marker
Optional: Washi tape or other decorations for the pot/tub
Yarn Requirements and Preparation
- Use a double strand of double-knit yarn.
- You can make two hanging baskets using just one skein of double-knit yarn.
Abbreviations and Notes
Abbreviations:
- ch: chain
- sl st: slip stitch
- dc: double crochet
- fpdc: front post double crochet
- sc: single crochet
Notes:
- Ch 2 at the beginning of rounds does not count as a stitch.
- Working with a double strand of double-knit yarn results in a more dense and thick fabric.
- If you prefer, you can use chunky yarn instead.
- Front post double crochets create a neat edge, but you can use regular double crochets if you're not comfortable with front post stitches.
- The finished basket fits a tub with dimensions: height = 11 cm, diameter = 13 cm.
Gauge, Approximate Size, and Pattern Notes
Gauge:
Not specified, but is not critical for this project.
Approximate Size:
Fits a tub with dimensions: height = 11 cm, diameter = 13 cm
Pattern Notes:
- No gauge swatch needed.
- Ensure that the final product is snug around the tub to avoid any sagging.
- Longer tails are recommended for better durability.
Step-by-Step Pattern
Foundation and Base
Starting Ring:
- Begin with a slip knot.
- Chain 15.
- Sl st into the first chain to form a ring.
Round 1:
- Chain 2 (does not count as a stitch).
- Work 30 dc in the ring.
- Sl st into the first dc to close the round.
Round 2 - Front Post Double Crochets:
- Chain 2 (does not count as a stitch).
- Work fpdc around each dc from the previous round (30 fpdc total).
- Sl st into the first fpdc to close the round.
Sides
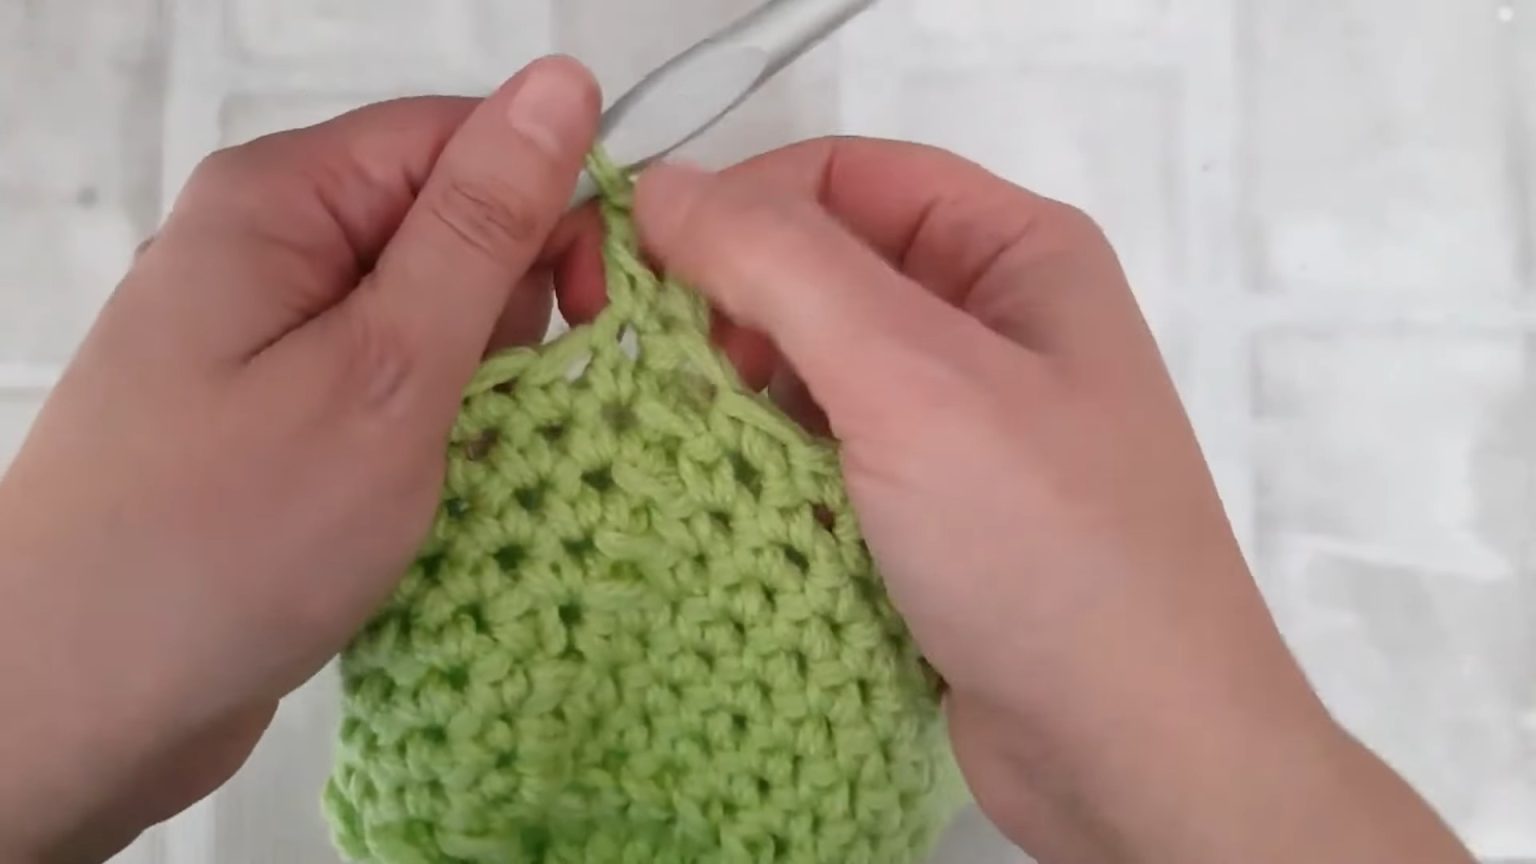
Single Crochet Rounds:
- Chain 1 (does not count as a stitch).
- Work sc into the same stitch and in each stitch around.
- Sl st into the first sc to close the round.
- Repeat for a total of 8 rounds.
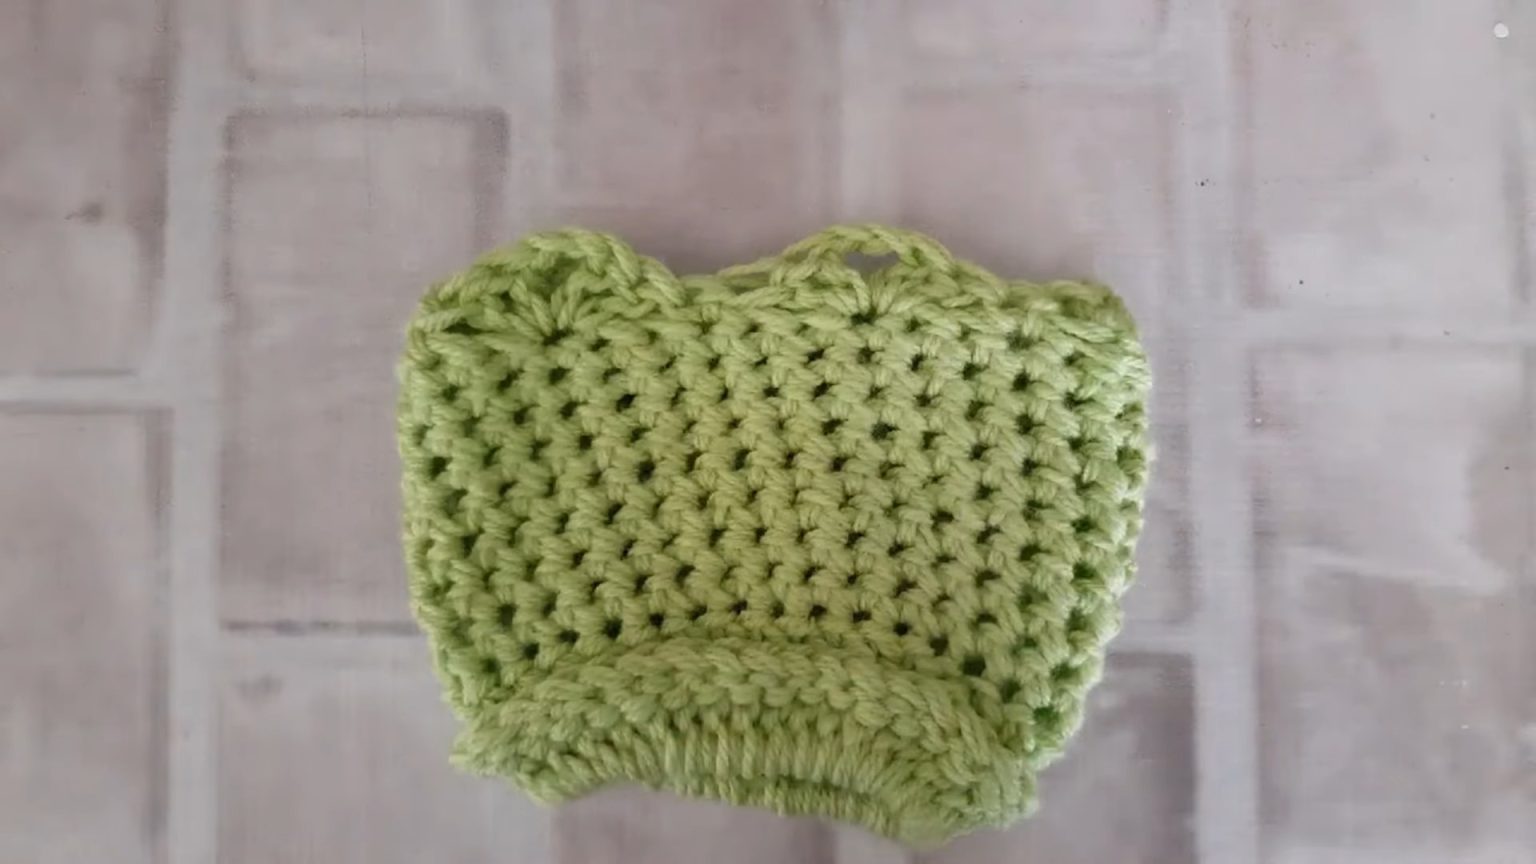
Top Edge (Shells)
Shell Pattern:
- Chain 3 (counts as a dc).
- Work 1 dc in the same stitch, chain 2, then 2 dc in the same stitch (this forms your first shell).
- Skip 2 stitches, sc into the next stitch, skip 2 stitches, work 2 dc, ch 2, 2 dc into the next stitch (shell). Repeat from * to * around.
- Sl st into the top of the starting ch 3.
Handles
Creating Cords:
- Using a double strand of yarn, attach to any shell's ch-2 space with a sl st.
- Chain 35, cut the yarn, and secure the tail.
- Repeat in each of the 5 ch-2 spaces of shells (total 5 cords).
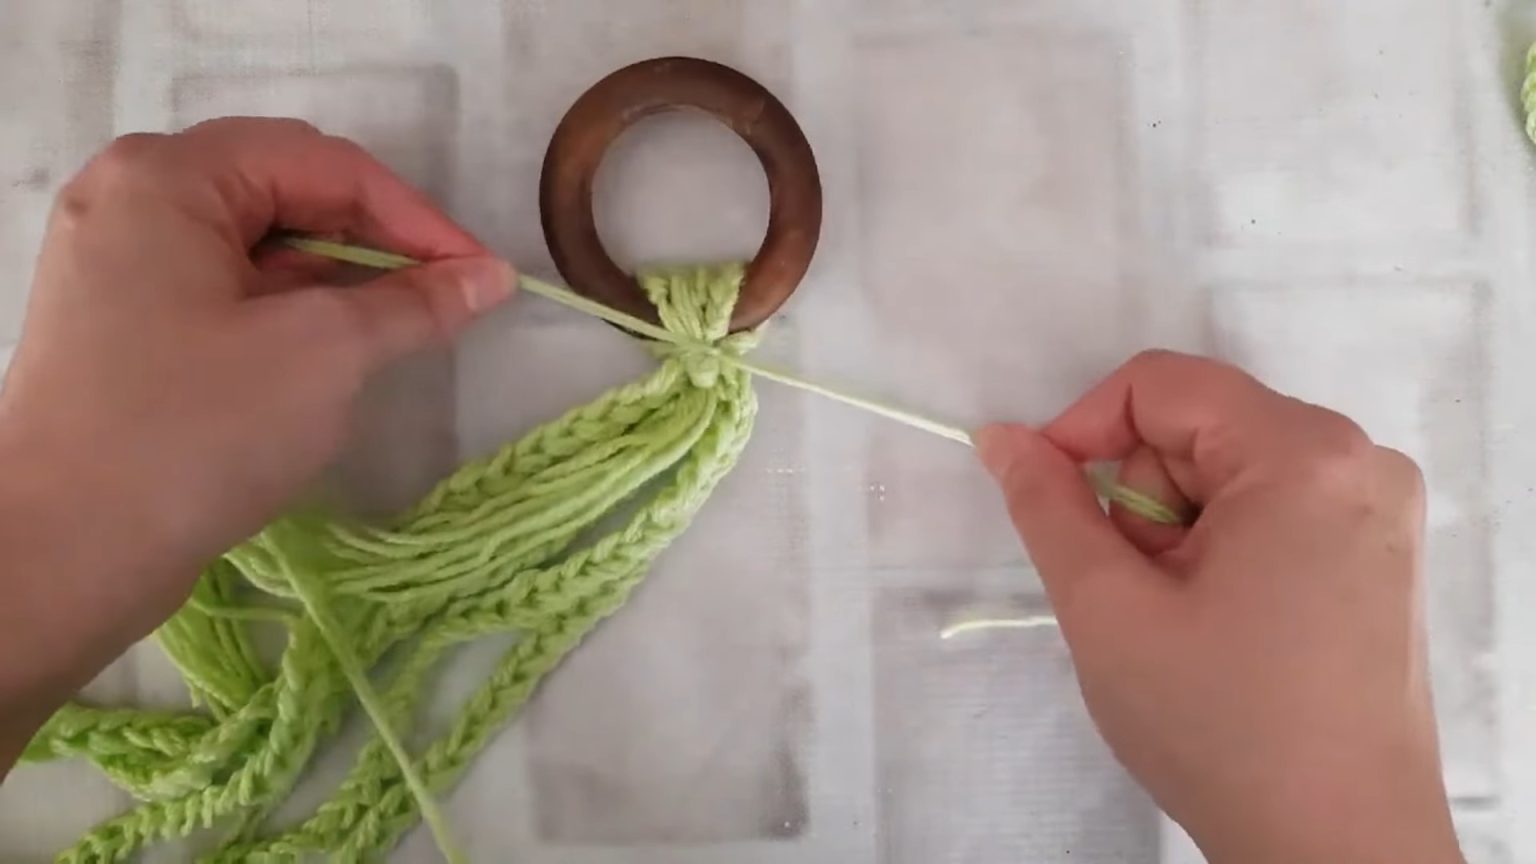
Adding the Ring:
- Gather all the cords, ensure they're untangled and straight.
- Knot the gathered ends securely.
- Thread the cords through a ring.
- Wrap the ends and secure tightly with an extra meter or a meter-and-a-half of yarn.
- Secure all loose ends and trim neatly.