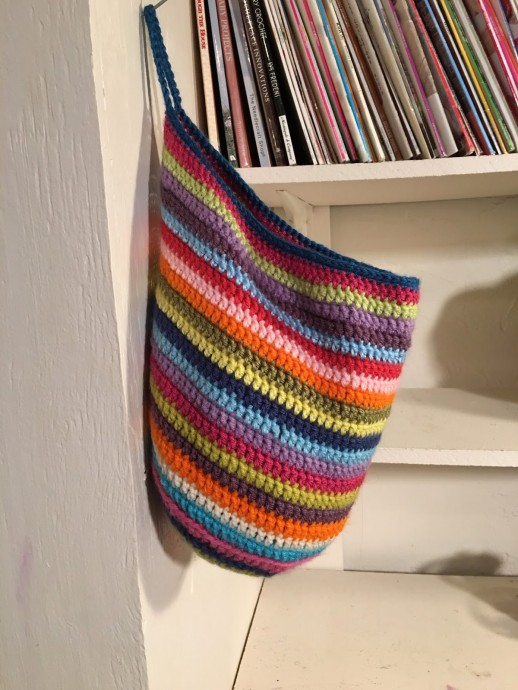
Handmade Crochet Stripey Hanging Basket

Create Your Handmade Storage Solution
Create your very own handmade storage solution with this charming Crochet Stripey Hanging Basket. Perfect for organizing small items like keys, jewelry, or even small plants, this basket adds a touch of whimsy to any room. The striped design adds a pop of color and visual interest, making it both functional and stylish. Handcrafted with love and attention to detail, this Crochet Stripey Hanging Basket is a unique addition to your home decor. Hang it near your entryway for a convenient spot to store your essentials, or use it in the bathroom to keep your toiletries organized. The sturdy construction ensures that this basket will hold up over time, while the crochet design adds a cozy, handmade touch to your space. Add a personal touch to your home with this delightful hanging basket that is as practical as it is beautiful.
Materials
- Worsted weight yarn
- Crochet Hook size G
- Yarn needle
Stitches Used
- Ch - chain
- Sc - single crochet
- Dc - double crochet
- Sl st - slip stitch
- Standing double crochet
- Standing single crochet
- Invisible join
Standing dc: Begin this stitch with a slip knot. YO, then insert the hook into the stitch. YO and pull through st. YO and work like a regular dc. Pull the starting tail tightly. You'll weave it in later.
Standing sc: Begin with a slip knot, then insert hook into st. YO and pull through st. YO pull through both loops, making a sc. Pull the starting tail tightly. You'll weave it in later.
These two stitches may seem confusing at first. Basically you'll be eliminating chains.
Gauge
Gauge is not too important. If you crochet loosely, then it will turn out larger than mine. I tend to crochet a little bit tightly.
Pattern
Ch 4
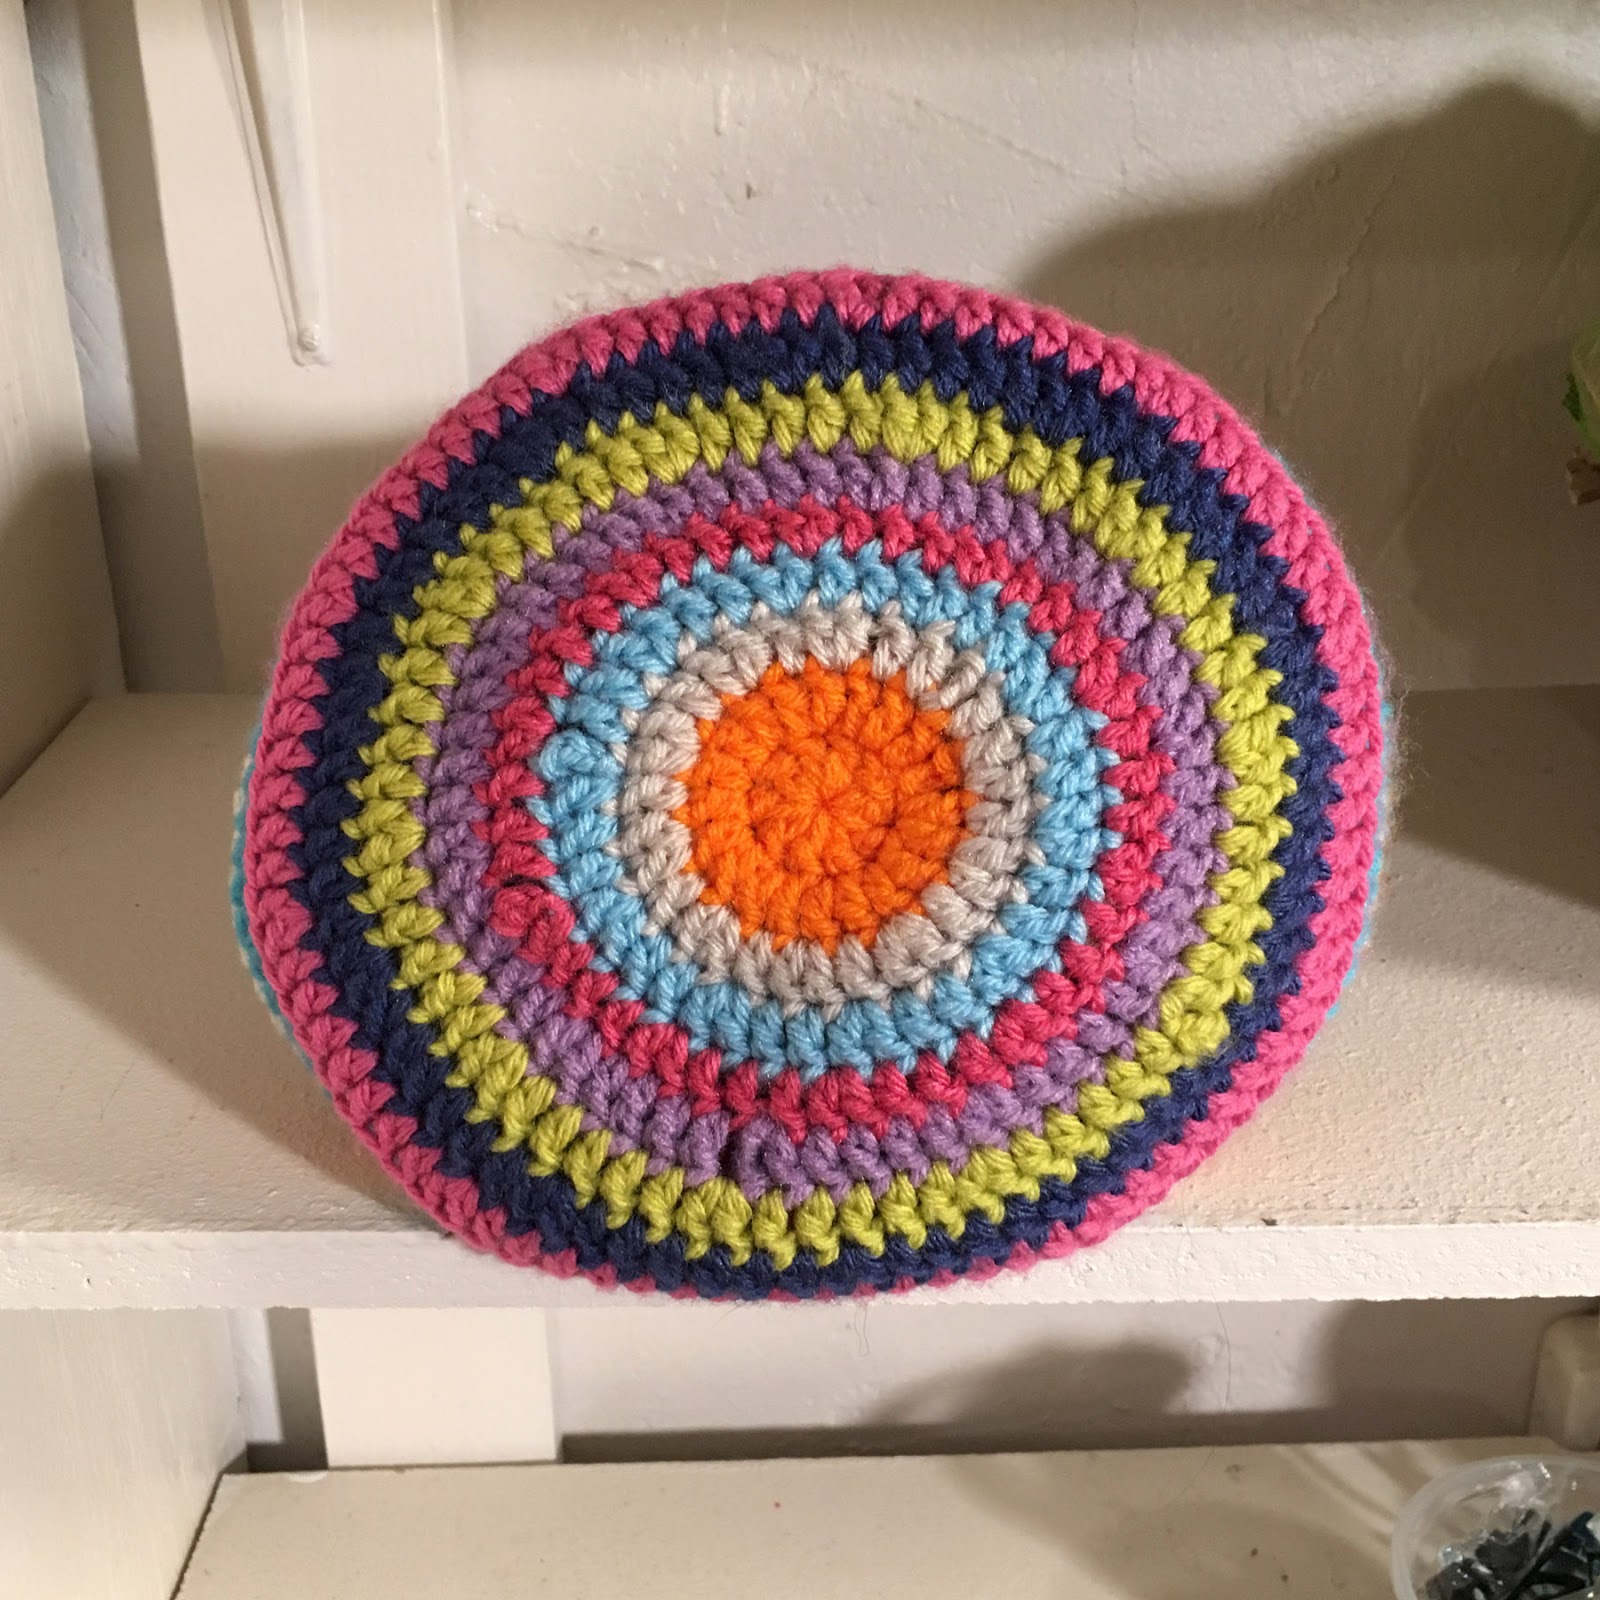
Rnd 1: Work 9 dc in the 4th chain from hook. The 3 chains skipped count as the first dc of the rnd. Join with sl st. (10 dc)
Rnd 2: Ch 3 (counts as first st). Dc in the same st, 2 dc in each st around. Join with invisible join method. (20 dc)
Rnd 3: Changing colors, use the standing dc method for the first st. Dc in the same st. Dc in the next st. (2 dc, dc) around. Join using invisible join method. (30 dc)
By using the standing dc method and the invisible joins, you can start each new round at any point of the work. I started each rnd in different areas of my basket just to make sure it looked seamless.
For the next few rounds, remember the standing dc and invisible join.
Rnd 4: (2 dc, dc in the next 2 sts) around. (40 dc)
Rnd 5: (2 dc, dc in the next 3 sts) around. (50 dc)
Rnd 6: (2 dc, dc in the next 4 sts) around. (60 dc)
Rnd 7: (2 dc, dc in the next 5 sts) around. (70 dc)
Rnd 8: (2 dc, dc in the next 6 sts) around. (80 dc)
Rnd 9: (2 dc, dc in the next 7 sts) around. (90 dc)
The bottom is now complete. You will have 90 dc.
Rnd 10: Changing colors and working in the back loop, dc in each stitch around. Remember to continue using the standing dc and invisible join method for each round.
Rnd 11: Changing colors, work under both loops (like normal), begin with the standing dc method. Dc in each st around. Join with invisible join.
Rnd 12-28: Repeat rnd 11.
Rnd 29: Change colors and use the standing sc method to begin. Sc in the next 44 sts. Ch 22, sc in the next st and remaining sts of rnd. Do not join or finish off.
Rnd 30: Sl st in each st and chain. I crocheted this rnd rather tightly to draw the top in just a smidge.
Finish off with an invisible join.
Weave all ends with the yarn needle.