Crochet a Beautiful Placemat

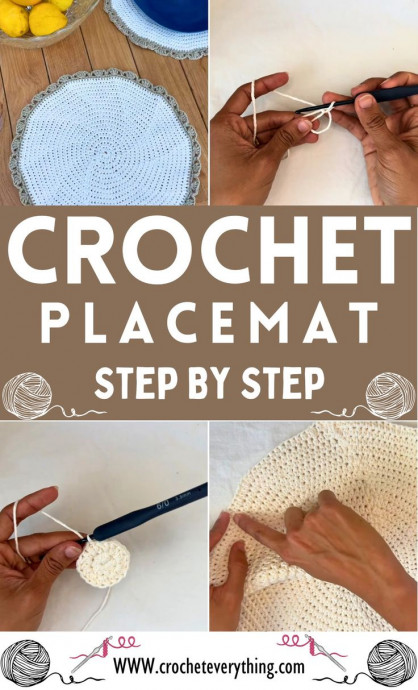
Crocheting a Beautiful Placemat
Crocheting a beautiful placemat can be such a delightful and rewarding experience! With just a hook and some colorful yarn, you can create a lovely piece that will add a touch of charm to your dining table. The intricate stitches and patterns make each placemat unique and showcase your creativity. Whether you're a beginner or a seasoned crocheter, this project is perfect for adding a personal touch to your home decor or as a thoughtful handmade gift for someone special. So, grab your favorite yarn and let's get crafting!
Materials Needed
- 100% Cotton yarn, size 4
- 3.5 mm crochet hook
- Yarning needle
- Scissors
Pattern Instructions
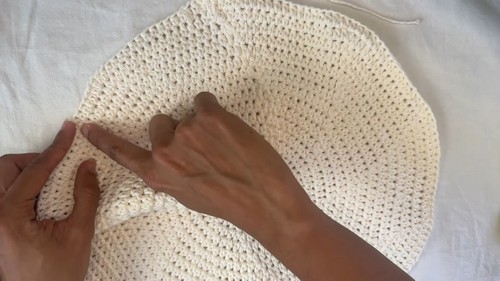
Starting the Circle
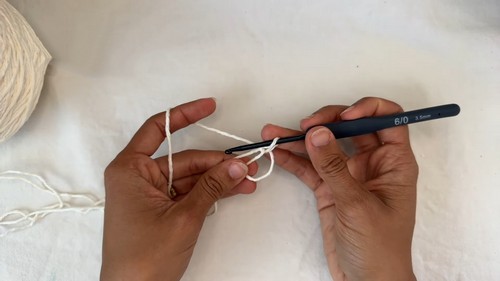
Begin with a magic circle:
Make a loop with a long tail, twist to create a smaller loop, and hold it in place.
Insert the hook into the loop, pull the yarn through, and chain one to close the circle.
Row 1
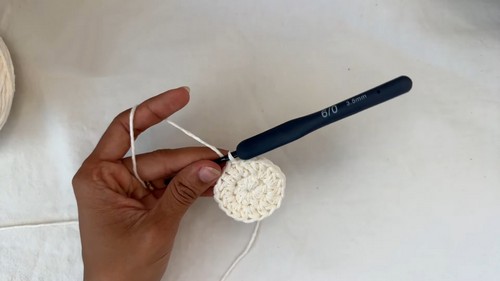
Start with a single crochet into the magic circle.
Chain one (this combination counts as your first half double crochet).
Make nine more half double crochets into the circle (total of 10 stitches including the initial single crochet and chain one).
Pull the tail to close the circle.
Slip stitch into the second stitch of the row (the first actual half double crochet) to join.
Expanding the Circle
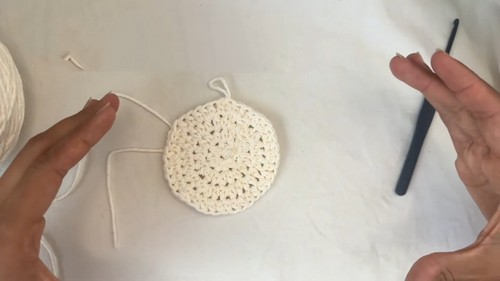
Row 2
Move the stitch to the back.
Start from the same stitch with a single crochet and chain one.
In each stitch around, make two half double crochets (increases in each stitch, resulting in 20 stitches total).
Complete the row with a slip stitch into the first half double crochet made in this row.
Rows 3 and Beyond
Continue increasing rows by starting the same way (single crochet, chain one in the first stitch).
Increase the number of half double crochets between each set of increases:
- Row 3: 1 half double crochet, 1 increase repeat.
- Row 4: 2 half double crochets, 1 increase repeat.
Continue this pattern, adding one more half double crochet between each increase for every subsequent row until the desired size.
Final Rows and Border
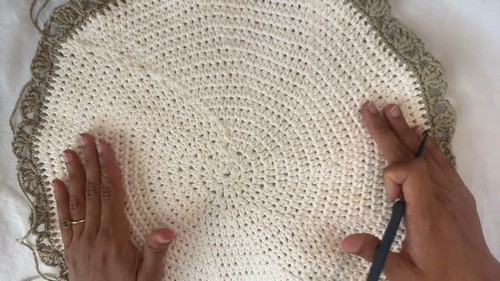
Final Row of Main Circle
Continue as described until you reach the desired size for your placemat.
Switching Colors for Border (if desired)
Attach a new color yarn with a slip knot.
Begin by chaining one, then make single crochet stitches around, increasing where necessary to keep the work flat.
Creating the Border
Start with a chain one and a single crochet.
Chain two, skip two stitches, make four double crochets; repeat from to around.
Finish with a slip stitch into the first single crochet of the row.
Finishing the Project
Cut and fasten off the yarn.
Weave in all ends using the yarning needle.
Optional: Block the placemat to improve shape and size using a mat, pins, and a steamer.