Sign in Create account
Search

Crochet Puff Stitch Sweaters for Babies

Leyla
Leyla
May 03, 2025 10:25 PM
Create Adorable Crochet Puff Stitch Sweaters for Babies – A Perfect Pattern for Beginners and Gift-Giving

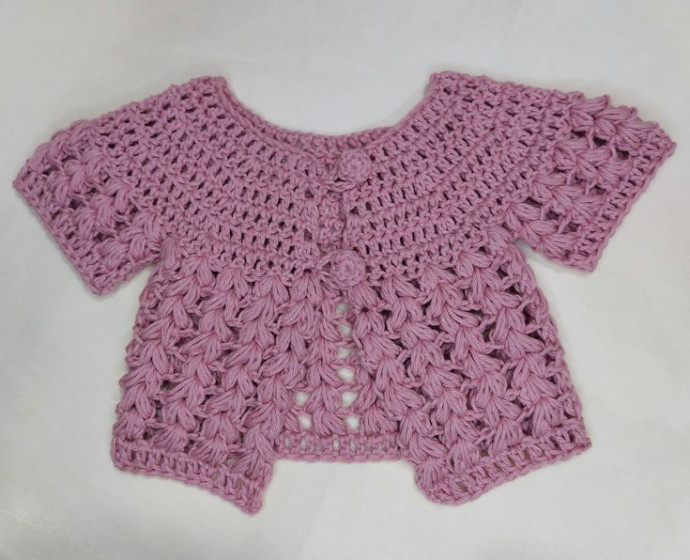
Crochet Puff Stitch Sweaters for babies are just the cutest! The intricate puff stitch creates a textured and cozy garment that will keep your little one warm and stylish. Imagine how adorable your baby will look in a handmade sweater, crafted with love and care. These sweaters are not only charming but also practical, providing both comfort and charm. Whether you're making one for your own child or as a thoughtful gift, a Crochet Puff Stitch Sweater is sure to be cherished. Get those hooks ready and let's crochet something special for your bundle of joy!

Skill Level

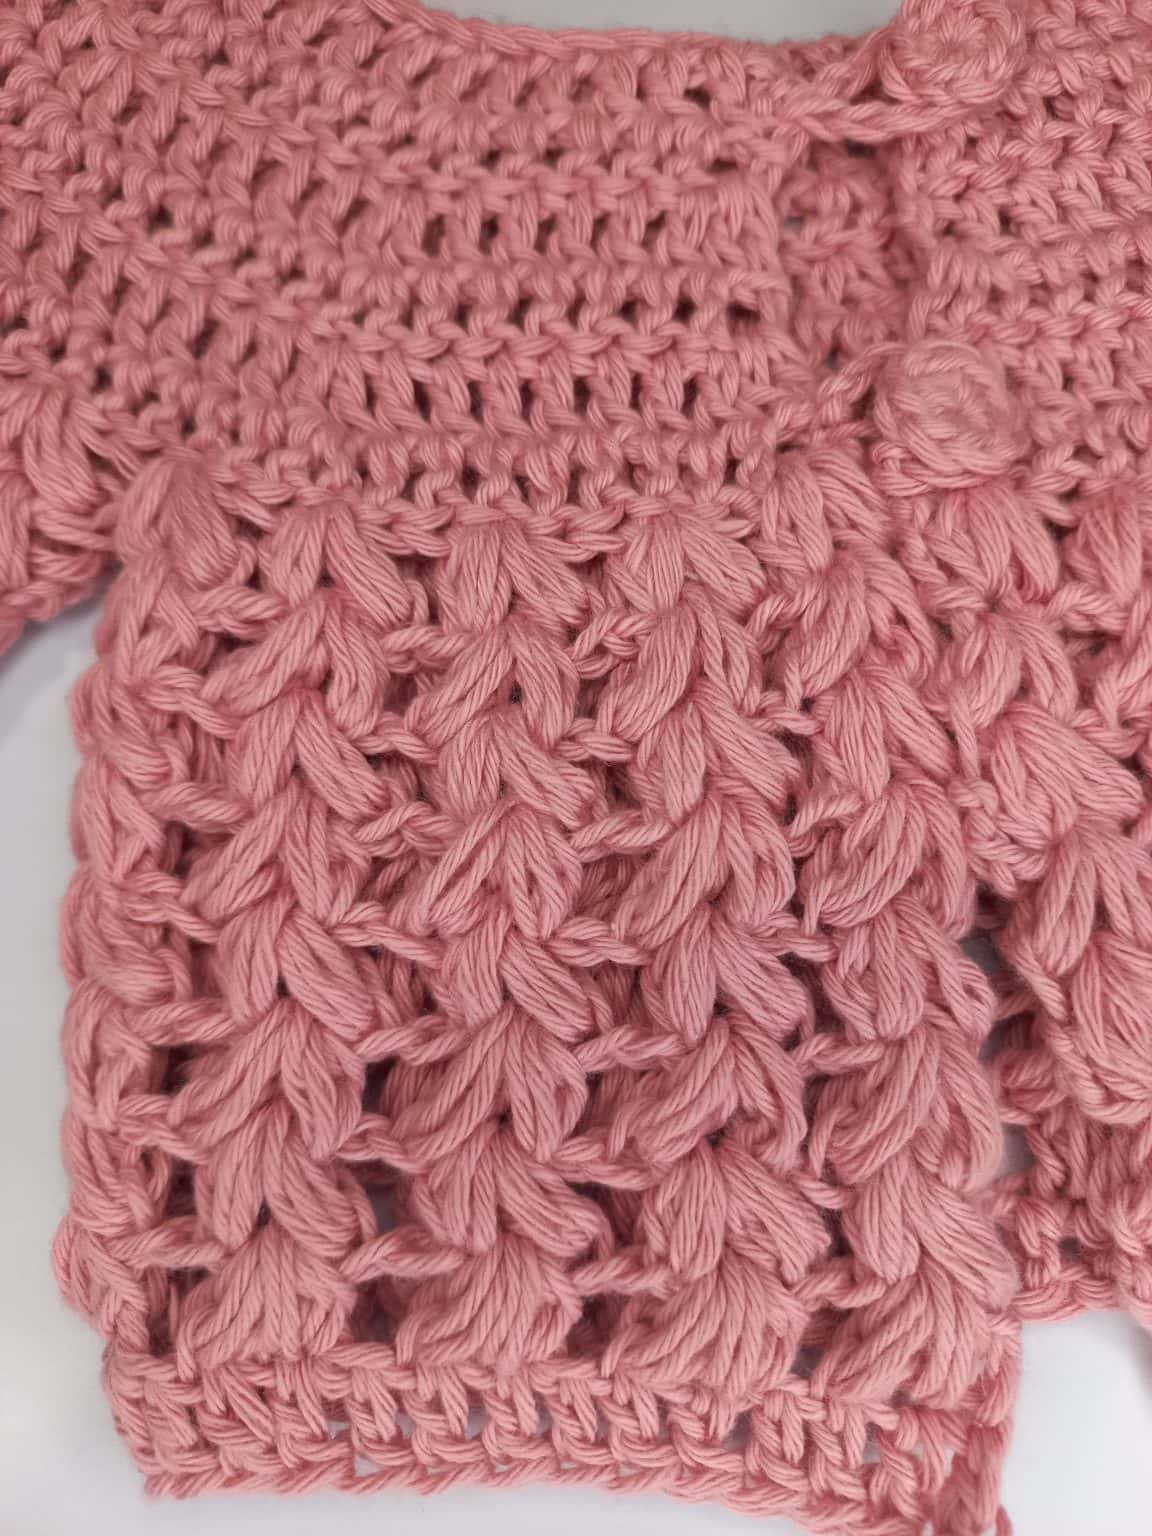
I would consider this pattern to be for an advanced-beginner as you’ll need to learn how to crochet the puff stitch which will take some practice to master.

Materials Needed

  • Sports Weight Yarn: Rose
  • Crochet hook (4mm)
  • Needle for sewing
  • Scissors/yarn cutter
  • Stitch Marker

Abbreviation Used

  • R = row
  • CH = chain
  • SC = single crochet
  • DC = double crochet
  • HDC = half double crochet
  • INC = increase
  • Pf st = puff stitch
  • SL ST= slip stitch
  • ST/S = stitch/es

Notes

Here are the chest measurements of the finished garment in size small, not the actual chest measurements.

  • Age 6 months-1 year old (small): 18 inches

Crochet Kids Cardigan Pattern Direction for a Size Small

Instructions Written: Small

Create Adorable Crochet Puff Stitch Sweaters for Babies – A Perfect Pattern for Beginners and Gift-Giving

R1: chain (52) then work 1DC across the chain starting in the 3rd ST from the hook. (50)

R2: Turn. Chain 2, (4DC, INC)*10 (60)
Turn. Chain 2, (4DC, INC)*11, 2DC (68)
Turn. Chain 2, (4DC, INC)*12, 4DC (76)
R3: Turn. Chain 2, (5DC, INC)*10 (70)
Turn. Chain 2, (5DC, INC)*11, 2DC (77)
Turn. Chain 2, (5DC, INC)*12, 4DC (88)
R4: Turn. Chain 2, (6DC, INC)*10 (80)
Turn. Chain 2, (6DC, INC)*11, 2DC (90)
Turn. Chain 2, (6DC, INC)*12, 4DC (100)
R5: Turn. Chain 2, (7DC, INC)*10 (90)
Turn. Chain 2, (7DC, INC)*11, 2DC (101)
Turn. Chain 2, (7DC, INC)*12, 4DC (112)
R6: Turn. Chain 2, (8DC, INC)*10 (100)
Turn. Chain 2, (8DC, INC)*11, 2DC (112)
Turn. Chain 2, (8DC, INC)*12, 4DC (124)
R7: Turn. CH 3, [work “1 puff st, ch1, 1 puff st” in the same ST (1 puff set), CH1, SKIP 2 STS, make another puff set], repeat from across to the last ST. Total of 34 puff set.
Small: Place the 1st stitch marker between the 5th and 6th puff set through the space between the 13th, and 14th puff set. Then the 2nd one on the space between 21st and 22nd puff set through the space between the 29th and 30th puff set.
The holes on the side will serve as the armholes.
Let’s continue crocheting around the body (big hole).

The Body

R8-R(14): Turn. CH 3, [work 2 puff set in the space between the 2 puff STS (1 puff set), CH1, make another puff set between the next 2 puff STS], repeat from across to the last ST around the body. (7 rows) Total of 18 puff sets.
Note: You can add rows if you want a longer cardigan.
R(15): CH2, work 1DC in each ST across to the last ST. Stitch count is not crucial.
Cut the yarn and secure the ends.

Create Adorable Crochet Puff Stitch Sweaters for Babies – A Perfect Pattern for Beginners and Gift-Giving

The Sleeves

It’s time to work on the sleeves! Tie yarn in any space in the middle of a puff set.

  1. CH3, [work 2 puff sts in the same space (1 puff set), CH1, make another puff set between the next 2 puff sets, repeat from across to the last ST around the armhole. Total of 8 puff sets.
  2. Repeat this round (1) more times.
  3. CH2, work 1DC in each ST across to the last ST. Stitch count is not crucial. Cut the yarn and secure the ends.
  4. Repeat step from 1 to 3 on the other armhole to complete the sleeves.

The Buttons

R1. 8sc in Magic Circle

Cut the yarn with a long tail to sew later. Create another one. Sew the buttons on the cardigan.

Place one on R1 and the other one on R6.

Now let’s create the lock for the buttons.

Tie yarn on R1 on the opposite side of the button. [CH10, SL ST in the same ST.]
Cut the yarn and secure the ends.
Create another one on R6 using the steps from the previous one.
Almost done! Finish off the cardigan by sewing the holes under the sleeves.
Like!1
930
No comments