Crochet Puff Stitch Sweater


If you're looking for a cozy addition to your wardrobe, a Crochet Puff Stitch Sweater/Top might just be the perfect choice! The puff stitch adds a lovely texture and depth to the garment, making it stylish and unique. Perfect for chilly days or just adding a touch of handmade charm to your outfit, this versatile piece is sure to become a favorite. Whether you're a crochet enthusiast or new to the craft, creating your own puff stitch sweater or top can be a fun and rewarding project that will definitely turn heads and keep you warm and stylish.
Materials
- Yarn: Any yarn of your choice. (I used 600g lightweight yarn)
- Crochet hook: 4.5 & 2.5mm hook
- Measurement tape
- Stitch markers
- Scissors
- Tapestry needle
- Optional: Yarn needle
Getting Started
Initial Chain
Make a slip knot and chain a length that is 17 inches long (or half of your desired bust measurement).
Single crochet in every chain until the end of the row. You should have a total of 17 single crochets.
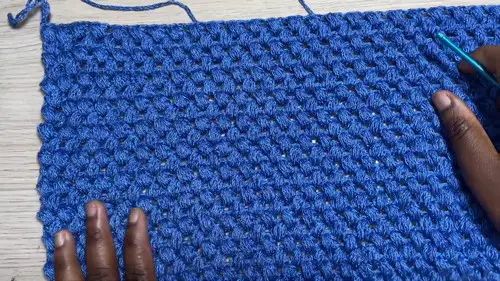
Pattern Body
Row 1:
Chain one and turn your work.
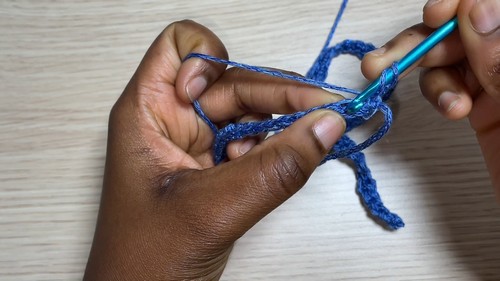
Skip the first single crochet. In the second single crochet space, yarn over and insert your hook, then pull through (you should now have 3 loops on your hook).
Yarn over again and insert your hook into the same space, pulling through (you should have 5 loops on your hook). Continue this until you have 9 loops on your hook.
Yarn over and pull through all 9 loops to complete the puff stitch. Chain one to close off the puff stitch.
Skip the next single crochet and repeat the puff stitch pattern across the rest of the row.
Row 2 and Onwards:
Chain one and turn your work. Execute a puff stitch in the first space, following the same pattern as in Row 1.
Chain one, then continue with the puff stitch pattern throughout the row.
End the row with a slip stitch.
Repeat from Row 2 until you reach your desired length for the body of the sweater or top.
Sleeves
Chain one and turn your work.
Start the row by decreasing the first puff stitch: skip the first space and make a puff stitch in the second space.
Make one puff stitch in every space until you reach the center of the sleeve, then decrease the next puff stitch in the same manner as before.
Continue this decrease pattern until you achieve the desired sleeve length.
For the final rows, chain one and turn, then make a puff stitch in every space across the row.
Continue until you reach the desired length of the sleeve.
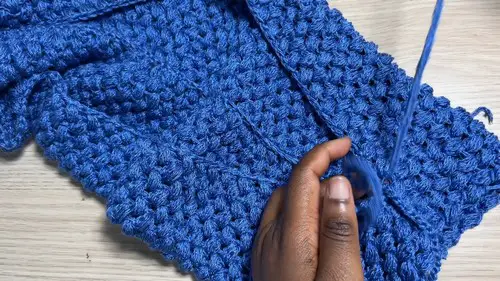
Attach the sleeves to the main body of the sweater or top by single crocheting them together.
Lace-Up Feature
Cut a long piece of yarn and make a slip knot, followed by a few chains.
Thread this chain through the bottom of the sleeve opening and lace up the sleeve in a crisscross fashion, similar to lacing a shoe.
Repeat the same steps for the other sleeve.
Finishing Touches
Chain one and apply a single crochet around the neckline.
Continue for a few rows to create a clean and neat finish around the neckline.
Your puff stitch sweater or top is now complete! Enjoy wearing your new creation or gift it to a loved one.