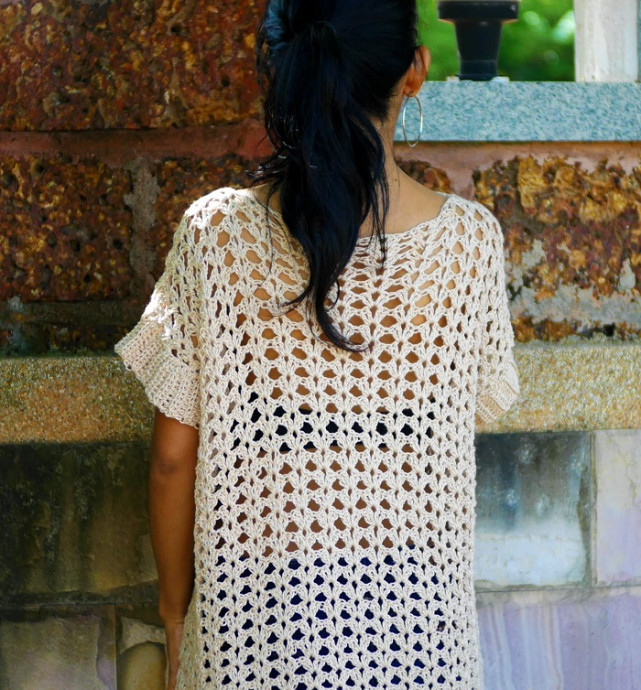
How to Crochet a Stylish Tunic


You'll Need:
1200 yards of Lion Brand 24/7 cotton yarn;
Crochet hook 4 mm;
Sewing needle;
Stitch marker.
Size Options:
S, M, L, XL, 2XL.
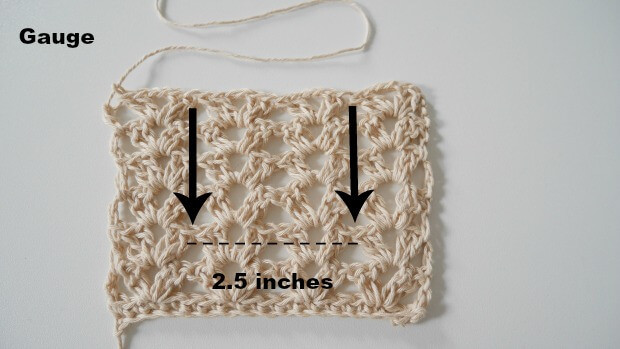
Stitch Control:
2 groups of fancy lace stitch = 2.5 inches.
Instructions:
Pick up crochet hook size 4.0 mm and start by making a slip knot. Then make 72+2= 74 chains for size small and medium (foundation chain multiple of 4+2).
For size L make 80+2 chains, size XL make 92+2 chains, and size 2XL make 100+2 chains.
Row-by-Row Instructions:
Row 1: Sc across, ch 3, turn.
Row 2: Skip the first stitch and make 2dc, ch2, 2dc all in the same next stitch. Then, *skip 3 and make 2dc, ch2, 2dc all in the next stitch* repeat * to * across until the end of the row. You will have 2 stitches left; skip 1 and make 1dc in the last stitch. Ch3 and turn.
Row 3: Now you will make *2dc, ch2, 2dc in the chain space of the previous row* repeat * to * across until the end of the row. At the end, make 1dc in ch3 space of the previous row. Ch3 and turn.
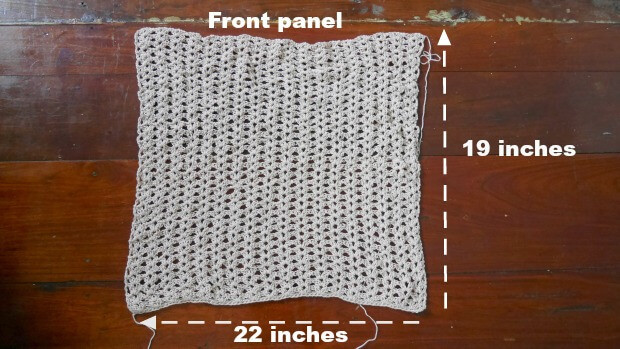
Repeat Row 3 until you get around 19 inches long for the front panel.
Repeat the same process for the back panel until you get around 23 inches long for the back panel.
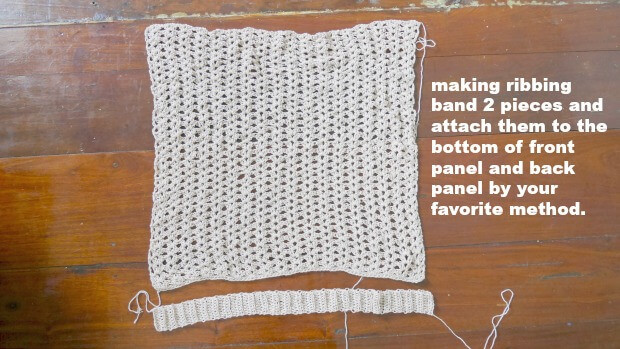
Making the Ribbing Band:
Now we are going to make a separate ribbing band to attach at the bottom (the wide part) of the front panel and back panel.
Pick up your 4.0 mm crochet hook and start by making a slip knot and 10 chains. Crochet row by row in the back loop only until you get the length that matches the length of the wide part of both panels.
Ribbing Band Instructions:
Row 1: Crochet 1hdc in each of the next 9 chains from the hook, ch1, turn (9).
Row 2: Crochet 1hdc in each of the next stitches from the hook (blo only), ch1, turn (9).
Repeat Row 2 until you get the length matching around 22 inches.
After you have the length of the band that matches the width, now it's time to attach them. I attach them by sc or you can attach them with your favorite method (whip stitch) or any other.
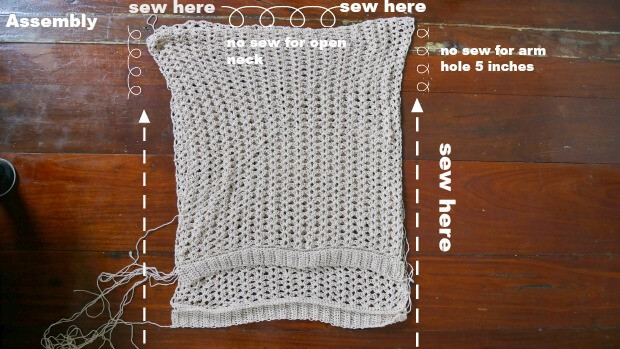
Assembly:
For side seams to create the armhole:
Lay back panel first, then front panel on top. Seam up each side of the tunic with a whip stitch or your preferred stitching method. Leave for the armhole about 5 inches long at the top upper end. You may adjust the length of the armhole to fit your size.
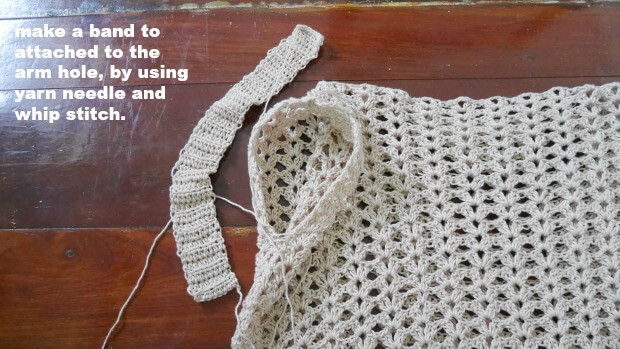
Making the Armhole Ribbing:
Now we are going to make a separate ribbing band to attach to the armhole.
Pick up your 4.0 mm crochet hook and start by making a slip knot and 10 chains. Crochet row by row in the back loop only until you get the length that matches the armhole.
Armhole Ribbing Instructions:
Row 1: Crochet 1hdc in each of the next 9 chains from the hook, ch1, turn (9).
Row 2: Crochet 1hdc in each of the next stitches from the hook (blo only), ch1, turn (9).
Repeat Row 2 until you get the length matching the armhole.
After you have the length of the band that matches the armhole, now it's time to attach them. I attach them by sc or you can use your favorite method (whip stitch) or else.