Crochet Round Boho Bag Tutorial

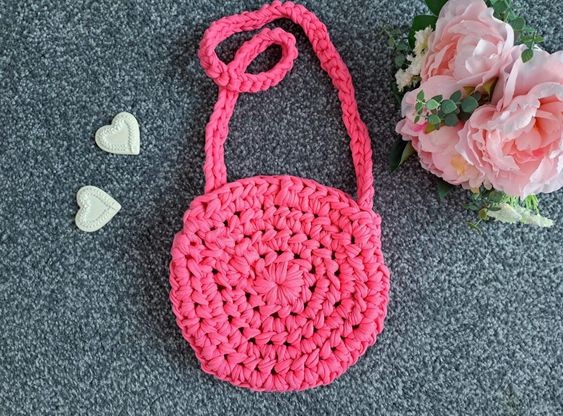
Discover the enchanting world of the Crochet Round Boho Bag, a true masterpiece of craftsmanship and style. This exquisite bag is meticulously handcrafted using the ancient art of crochet, resulting in a unique and eye-catching accessory that is sure to turn heads wherever you go. The round shape of the bag adds a touch of whimsy and playfulness, while the boho-inspired design exudes a sense of free-spirited elegance. The boho aesthetic is brought to life through the use of earthy tones, vibrant colors, and delicate embellishments, making this bag a true statement piece. Whether you're strolling through a bustling city or lounging on a sandy beach, the Crochet Round Boho Bag is the perfect companion for those who appreciate the beauty of handmade craftsmanship and the allure of bohemian style.
Level
Easy
Size of Finished Project (Excluding Strap)
8.5” (21 cm) x 8.5” (21 cm)
Gauge
4” (10 cm) x 4” (10 cm) = 2 rounds
General Notes
I will be using US terms (British terms in brackets).
Materials
- 1 skein of Hooked Zpagetti yarn in shade Pink (or any t-shirt yarn of your preference)
- A 12 mm crochet hook
- A pair of scissors
- A tapestry needle
- 2 stitch markers
Abbreviations
- Ch: chain
- Sl st: slip stitch
- St: stitch
- Sk: skip
- HDC: Half Double Crochet (UK Half Treble Crochet)
- EOR: End of round
Pattern Begins Here
For this project, we will start by making the front and back panels (which are identical); then we will be making the single strap.
Once all these pieces are crocheted, we will be assembling them together using the mattress stitch (everything will be explained in detail below).
Front and Back Panels (Identical)
Ch 4, sl st to form a ring.
1: Ch 2 (=HDC), place 9 HDC inside the ring (=10 HDC total). Sl st to 1st ch 2 to close off round.
2: Ch 2 (=HDC), place another HDC inside the first stitch (=2 HDC together in one stitch). Place 2 HDC inside next HDC until eor (=20 HDC total). Sl st to 1st ch 2 to close off round.
3: Ch 2 (=HDC), place another HDC inside the first stitch (=2 HDC together in one stitch). Place HDC in next st, [2 HDC in next st, 1 HDC in next st] until eor (=30 HDC total). Sl st to 1st ch 2 to close off round.
4: Ch 2 (=HDC), place another HDC inside the first stitch (=2 HDC together in one stitch). Place HDC in next 2 st, [2 HDC in next st, HDC in next 2 st] until eor (=40 HDC total). Sl st to 1st ch 2 to close off round.
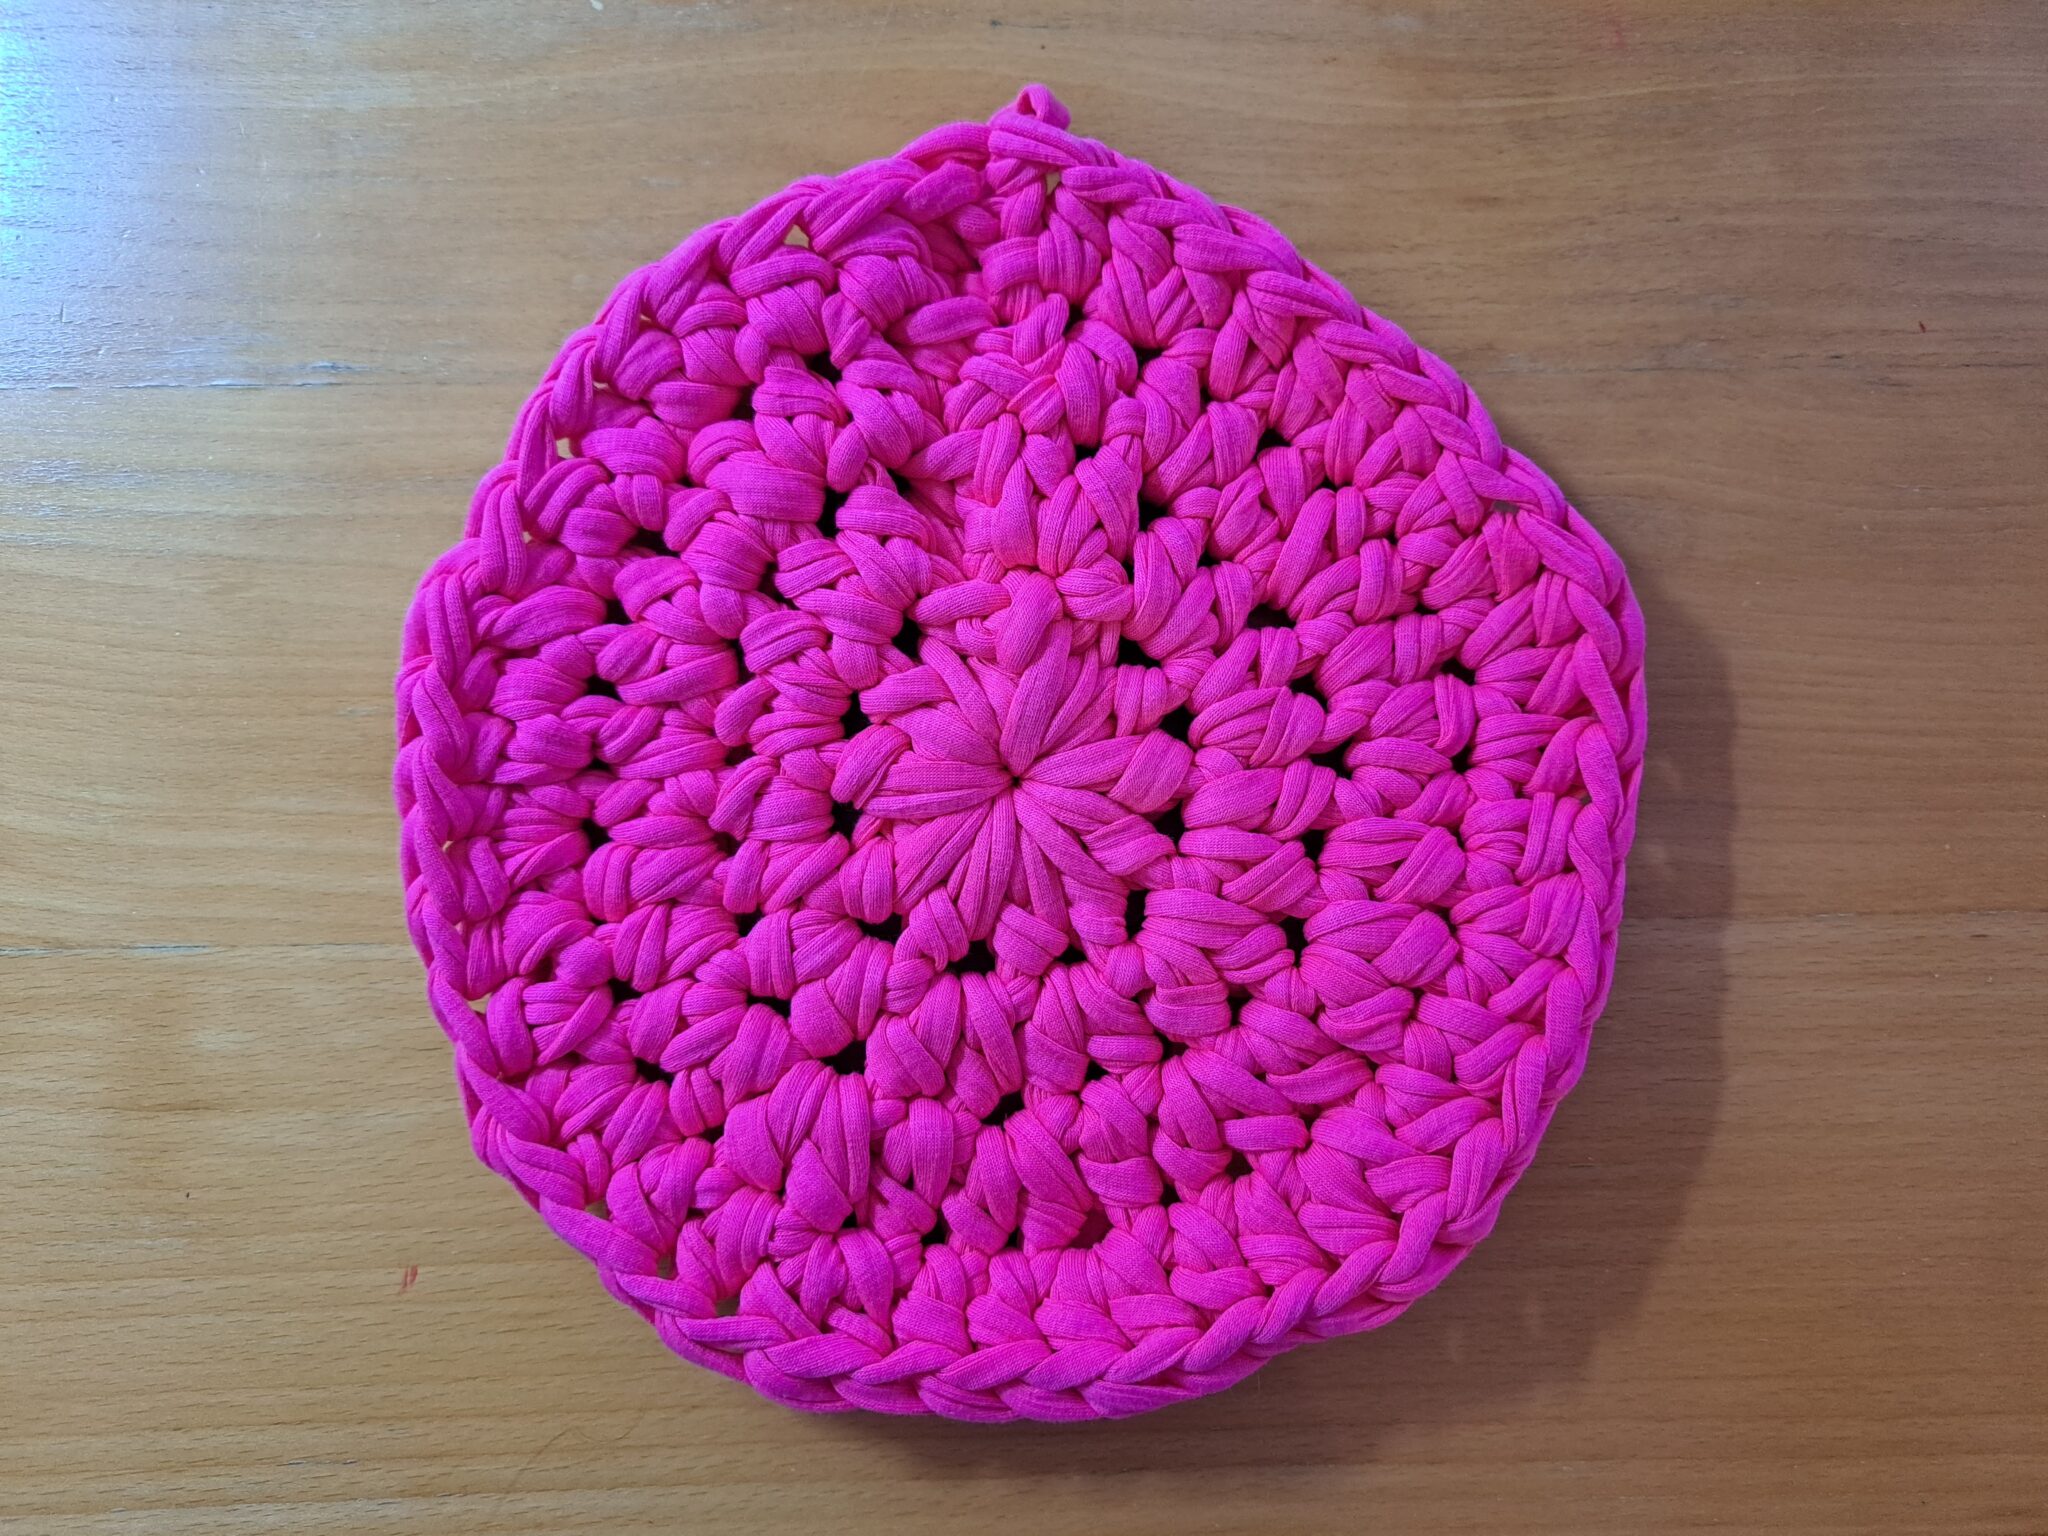
Front panel
Fasten off and tidy up all loose ends.
Create Strap
Ch 70. Slip stitch through 2nd chain, and each chain across until the eor.
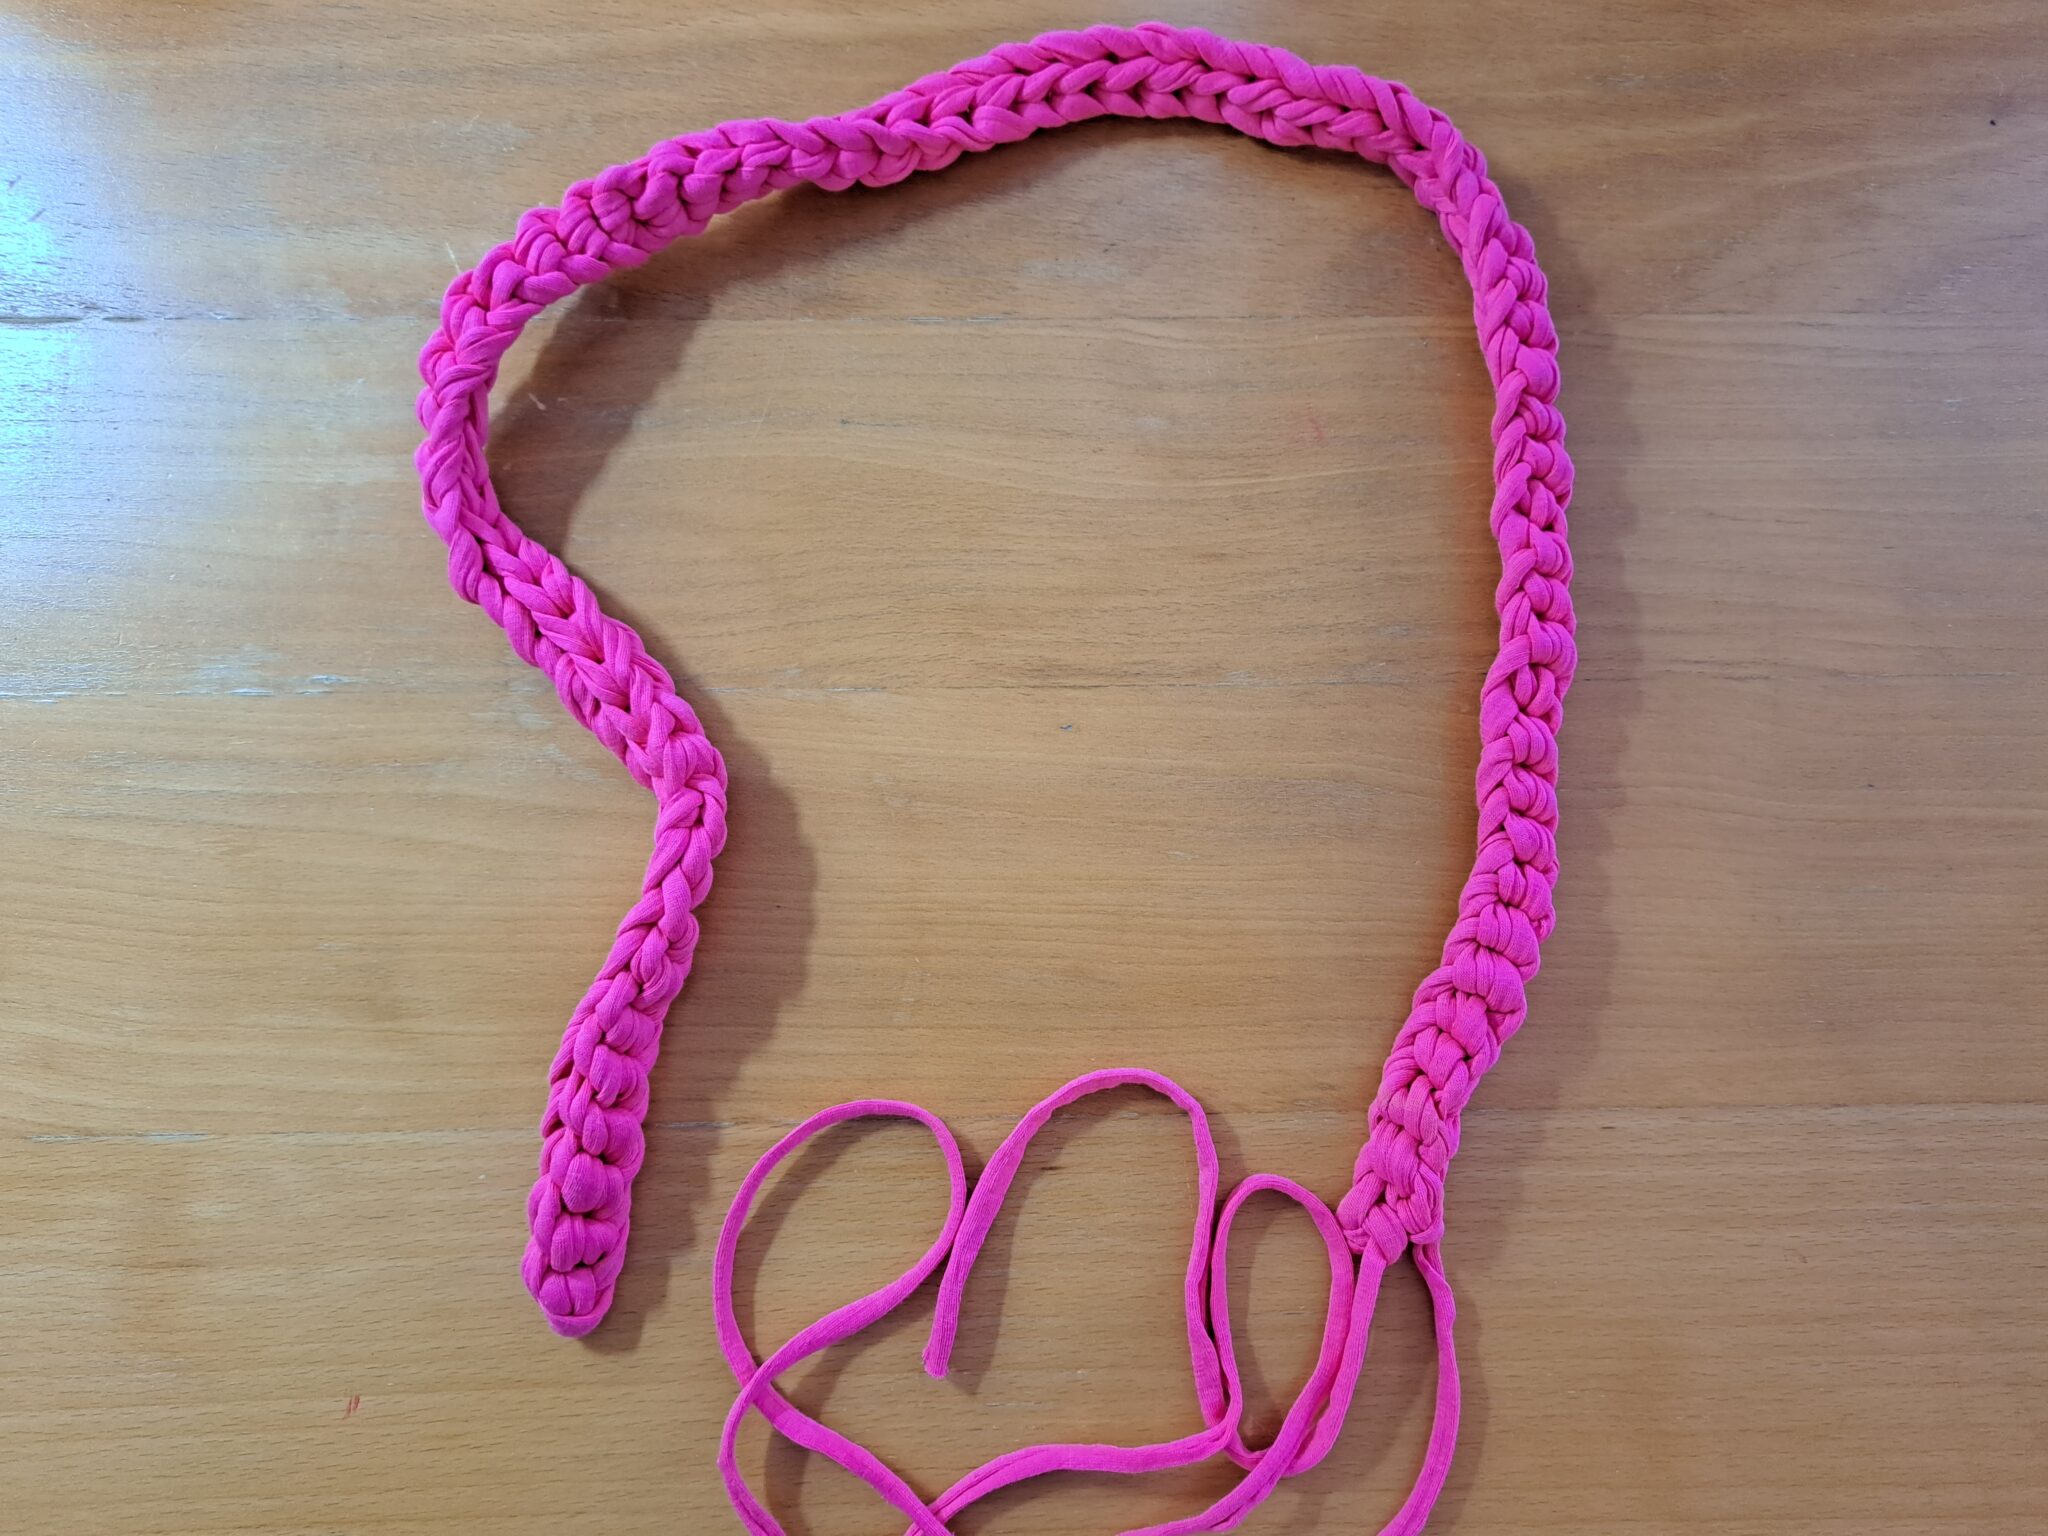
Strap
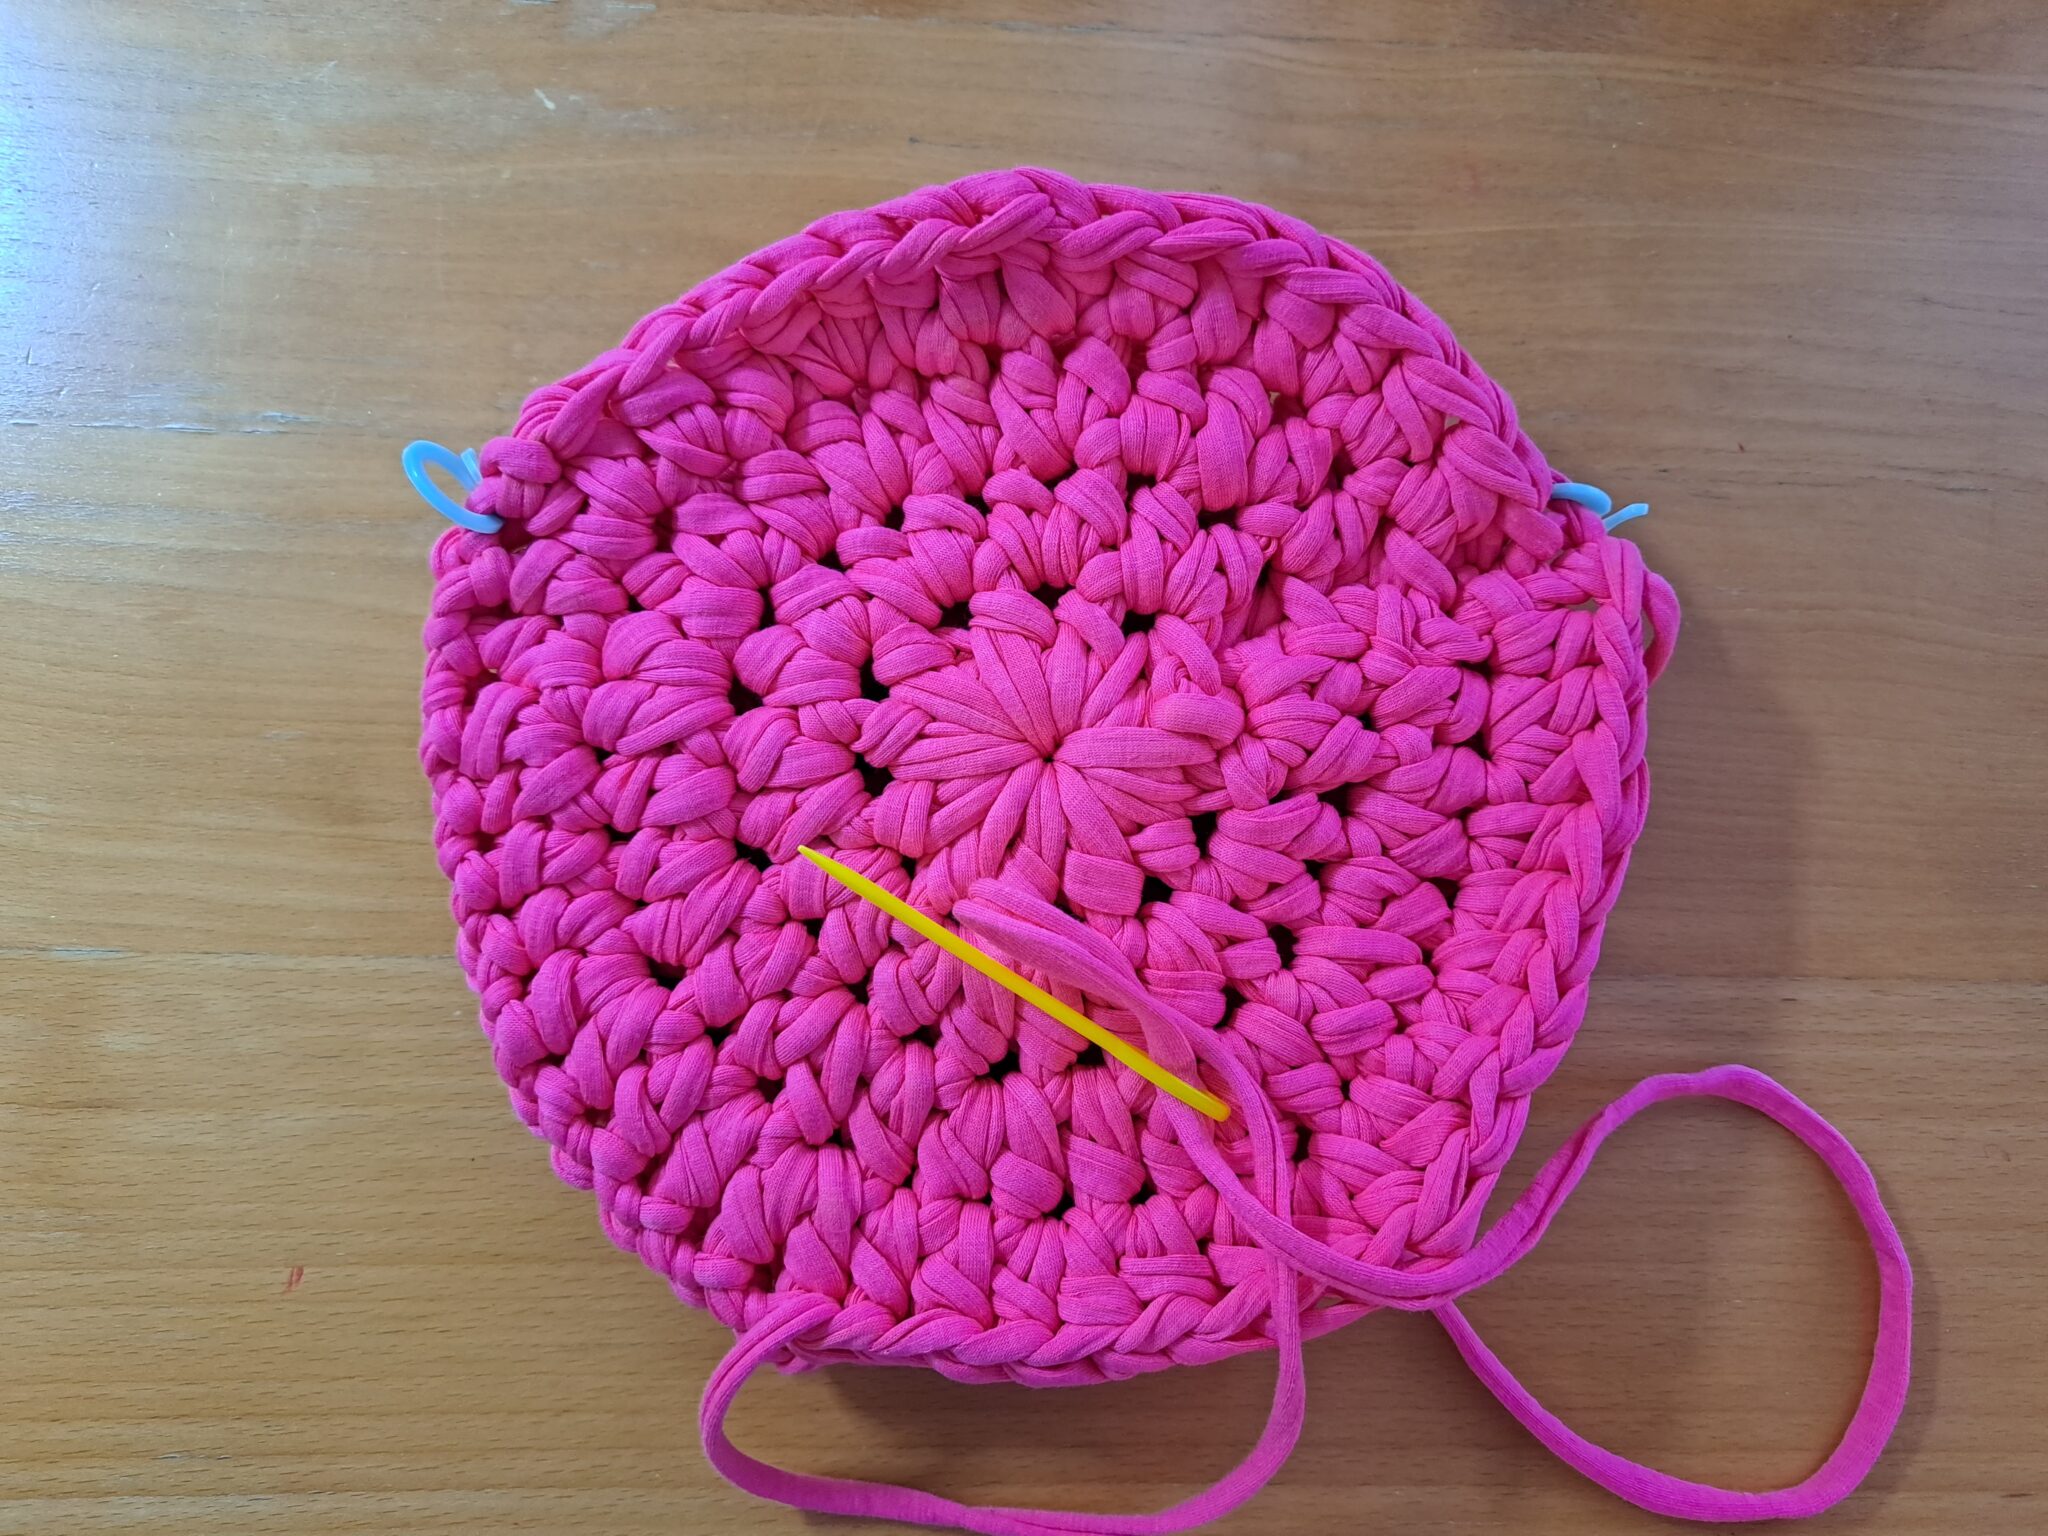
Sew Bag Together
Place both panels on top of each other symmetrically (see photo). Place the two stitch markers on each top side to outline the top opening of this bag.
You can either use a loose end, or attach a piece of yarn to the stitch next to the stitch marker. Now with your tapestry needle, start sewing your project in using the mattress stitch.
Place stitches until you reach the second stitch marker.
Fasten off and tidy up all loose ends.
Sew front and back panels together
Sew Your Strap Onto the Bag
Place your bag on a flat surface, and sew your strap onto your project.
Place strap into bag, inside the side of each side of the project, making sure you have 4 cm (=1.5 inches) of strap inside the bag.
Sew into the project with yarn, making sure you do not twist the strap when sewing it onto both sides of the project.
Sew your straps into the project securely, making sure your stitching will not be apparent once the bag is turned inside out so that the right side is facing (after all the sewing has been done).
Repeat this process on each side of your bag to secure the strap.
Fasten off and tidy up all loose ends.
Turn your project inside out, so that the right side is now facing out.
Hay, could we have pictures of the completed item, not the first step on the opening page, and also on the instructions page.