

Crochet Adagio Throw Pattern — 50" Cozy Square with Pompom Fringe

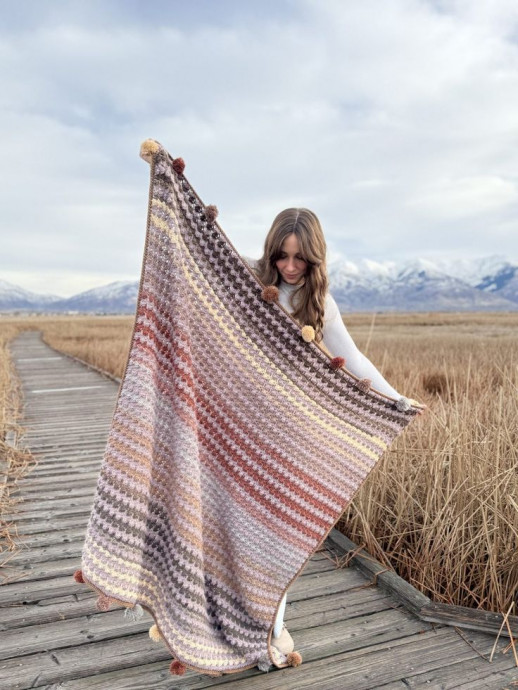
Make a cozy, textured 50" x 50" Crochet Adagio Throw to brighten your living space. This pattern uses two yarn weights and an alternating color scheme to create a striking motif; it finishes with playful pompoms along the top and bottom edges. Worked from the bottom up and switching colors every two rows, the construction minimizes ends by carrying floats that are crocheted over when you add the border.
The instructions below include materials, gauge, stitch explanations, the full row-by-row pattern, border directions and pompom placement. Read the Notes and Special Stitch section before you begin so you understand the color-carrying method and how the special stitch is worked.
Materials
- Light (3) weight yarn, Mandala Bonus Bundle in Cyclops, 2 skeins or 1700 yards
- Worsted (4) weight yarn, Re-spun Bonus Bundle in Hazelwood, 2 skeins or 1290 yards
- H / 5.00 mm crochet hook
- Needle
- Scissors
- PomPom maker (2"–2.5" size)
Gauge
15.5 sts by 8.5 rows = 4×4"
To make a gauge swatch, crochet 21 Fsc sts and work rows 2–10 of blanket. Measure a 4×4" area within that swatch to check gauge.
Finished Measurements
50" x 50"
Notes
This blanket is worked in rows from the bottom up.
You will be switching your yarn colors every 2 rows. Do not cut your yarn after switching colors. Simply drop your yarn and leave it; when you work your way back to switch colors again, pick it back up. This will create a small float on the side of your work. When you crochet the border, you will work directly over the float to hide it. This drastically reduces any ends to weave.
The starting Ch 3 counts as 1 st.
The starting Ch 4 counts as 1 st and 1 ch sp.
The Ch 3’s within the row do not count towards the st count.
Stitches and Abbreviations (US Terms)
- Ch(s) – Chain(s)
- Fsc – Foundation Single Crochet
- Sc – Single Crochet
- Sp – Space
- St(s) – Stitch(es)
- Sk – Skip
- YO – Yarn Over
- Dc – Double Crochet
- Sl St – Slip Stitch
- RS – Right Side
- Hdc – Half Double Crochet
Special Stitch
YO, insert hook in the first Dc of the set of 3, YO and pull up a loop, YO, pull through 2 loops on hook, YO, insert hook in next Dc, YO and pull up a loop, YO, pull through 2 loops on hook, YO, insert hook in SAME Dc, YO, pull up a loop, YO and pull through 2 loops on hook, YO, insert hook in last Dc, YO, pull up a loop, YO and pull through 2 loops on hook, YO and pull through all 5 loops on hook.
Legend
- Color A – Hazelwood
- Color B – Cyclops
Pattern
With Color A
Row 1: 189 Fsc, turn. (189 Sc) Alternatively, you can Ch 1 more than the number listed above, work 1 Sc in the second Ch from the hook and each Ch across for the same st count.
Row 2 (RS): Ch 3, 3 Dc in first st, *Sk 3 sts, 1 Sc in next Sc st, Ch 3, 3 Dc in the same st as the Sc*, repeat from * to * across row until 4 sts remain, Sk 3, 1 Sc in final st, turn. (189 sts) Switch to Color B.
Row 3: Ch 4, *Special St in next 3 Dc, Ch 1, 1 Sc in Ch-3 sp, Ch 1*, repeat from * to * across row until 4 sts remain, Special St in last 3 Dc, Ch 1, 1 Sc in top of last st (the starting Ch 3), turn. (189 sts)
Row 4: Ch 3, 3 Dc in first st, *Sk 3 sts, 1 Sc in next Sc st, Ch 3, 3 Dc in same st as the Sc*, repeat from * to * across row until 4 sts remain, Sk 3, 1 Sc in final st (the 3rd Ch of the starting Ch 4), turn. (189 sts)
Switch back to Color A. You will switch your colors back and forth every 2 rows from here on out.
Rows 5–105: Repeat Rows 3 & 4. You will end on a Row 3 repeat; don’t forget to switch your colors every 2 rows.
Row 106: Ch 1, 1 Sc in each st across, turn. Don’t forget your Ch 4 counts as 1 st and 1 ch sp so be sure to work 1 Sc into both the 3rd and 4th Ch. (189 Sc)
Fasten off Color A only. Do not turn after last row; go directly to border instructions.
Border
Exact st count for the border is not crucial. You will be working approximately 3 Sc for every 2 rows along the sides of the blanket and 1 Sc into each st along the top and bottom of the blanket, plus 3 in each corner. If you need to adjust your sts slightly, feel free to do so. Too many sts will cause your blanket to become wavy.
Do not turn after your last row. Your blanket should be RS up. Insert your hook into the last st made of Row 106. Bring Color B up, creating your final float, place it on your hook and pull through the st.
Round 1: Ch 1, 3 Sc into the same st (a SM placed into the center of the 3 sts at each corner is helpful if you have a hard time locating without), Sc evenly down the left side of your blanket, working your sts directly over the floats to hide them. When you reach the next corner, work 3 Sc into the same st. 1 Sc in each st along the bottom. When you reach the next corner, work 3 Sc into the same st. Sc evenly up the side. When you reach the next corner, work 3 Sc into the same st. 1 Sc in each st along the top of the blanket. If you want both rounds of the border to be a different color, cut your yarn at the last st, pick your new color from Yarn B for the next round and join into your last Sc. Sl St to the first Sc made to join with your new color. Do not turn.
Round 2: Ch 2, 1 Hdc in same st as join, 3 Hdc in next st, 1 Hdc in each st until you reach the next corner st, 3 Hdc into same st, 1 Hdc in each st along the bottom until you reach the next corner st, 3 Hdc into same st, 1 Hdc in each st up the side until you reach the next corner st, 3 Hdc in same st, 1 Hdc in each remaining st along the top. Sl St to first Hdc to join.
Fasten off and weave in any remaining ends.
Pompoms
Using a pompom maker between 2"–2.5", create 20 pompoms. The pattern maker chose 5 leftover colors from the Mandala yarn and made 4 pompoms in each. Sew 10 pompoms, evenly distributed along the top of the blanket and 10 pompoms along the bottom. Feel free to place them in any order you prefer.
Quick Tips
- Keep floats loose enough to avoid puckering, then hide them under the border.
- Place stitch markers at corners while working the border to help count corner groups of 3 Sc/Hdc.
- Make a small gauge swatch before starting if you want to adjust hook size for your tension.
- Funny Pictures
-
 Parenting Tweets for the Ones Out There Doing Their Best
-
 Mom Memes That Will Make You Laugh So Hard it Will Wake up Your Kids
-
 Too True Memes Just to Have a Great Evening
- Recipes
-
 Mango “Burrito” Bowls with Crispy Tofu and Peanut Sauce
-
 Baked Beignets
-
 Balsamic Caramelized Shallot Pasta
- Lifehacks
-
 Crochet Pineapple Stitch
-
 Crochet Creative Shell Stitch Tutorial
-
 Crochet Leaf Stitch Tutorial
- Crochet Ideas
-
 Crochet Pumpkin Bear
-
 Crochet Santa Placemat
-
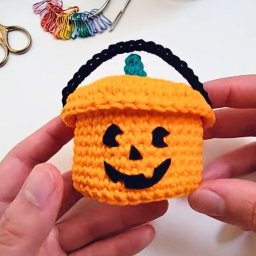 Crochet Mini Boo Bucket for Treats and Decor
- DIY
-
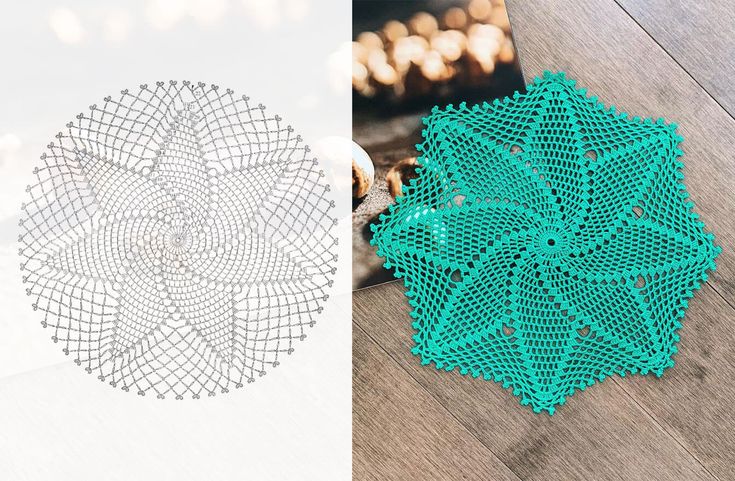 Make a Crochet Spiral Star Doily — Free US-Term Pattern & Tips
-
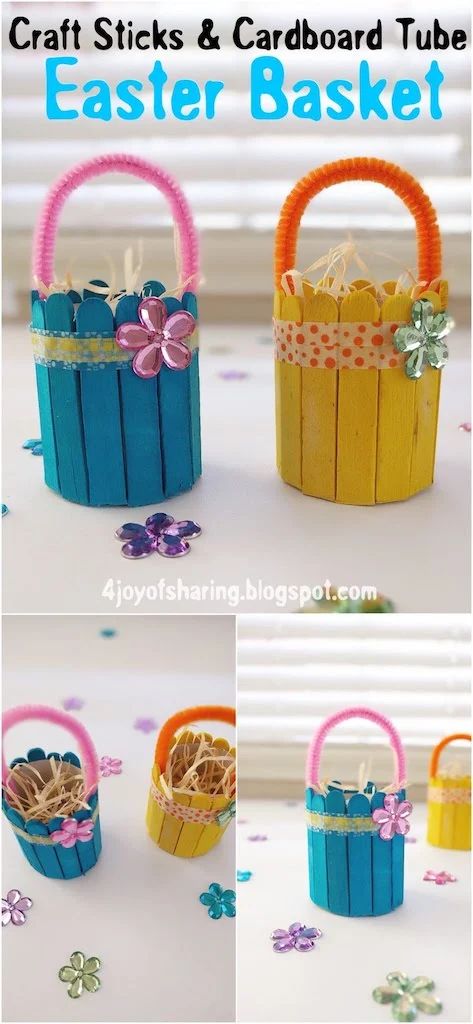 Easy DIY Easter Basket from Craft Sticks and a Cardboard Tube — Step-by-Step
-
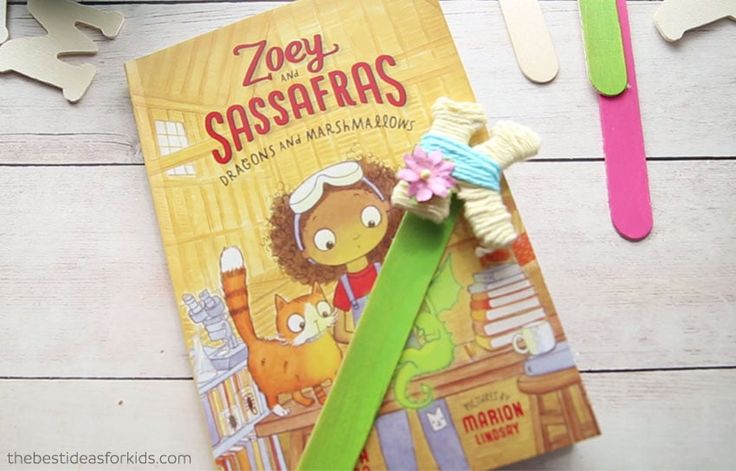 DIY Yarn-Wrapped Letter Bookmarks — Cute Personalized Bookmarks in Minutes
- Knitting Ideas
-
 DIY Knitted Waffle Kitchen Towel — Easy Pattern for a Textured, Absorbent Cotton Towel
-
 Breezy Knitted Summer Stitch — Lightweight Lace Pattern for Warm-Weather Knits
-
 DIY Cozy Knitted Drink Can Cover — Simple Garter-Stitch Pattern with Corner Weights