Crochet Your Very Own Cabled Hat with Pompom


Crochet your very own cabled hat with a delightful pompom! This project is perfect for those looking to add a touch of elegance and warmth to their winter wardrobe. The intricate cable pattern adds a unique texture to the hat, making it a true standout piece. With just a few skeins of your favorite yarn and a crochet hook, you'll be able to whip up this fashionable accessory in no time. This project is a fantastic opportunity to experiment with different stitches and techniques, allowing you to create a hat that truly reflects your personal style. The cabled design adds a touch of sophistication, while the pompom adds a fun and whimsical element. Whether you choose a vibrant color or a more subdued shade, this hat is sure to turn heads and keep you cozy during the chilly months. So grab your crochet hook and get ready to embark on a delightful crochet adventure!
Skill Level
Intermediate
Required Supplies
- RED HEART With Love: 1 skein each 1401 Pewter A, 1502 Iced Aqua B, and 1303 Aran C
- Note: Only a small quantity of C is needed for this project.
- Susan Bates Crochet Hooks: 5.5mm [US I-9] and 6.5mm [US K-10½]
- Yarn needle
- Pompom maker (optional) or a 2½” (6.5 cm) piece of heavy cardboard
This hat may have added slouch, but it’s no slouch in the style department! It has interesting crochet cables made with chain loops and a pompom to top them off—so fun!
Gauge/Tension
GAUGE: 6 sc = 2” (5 cm); 6 rows = 2” (5 cm) with a larger hook. CHECK YOUR GAUGE. Use any size hook to obtain gauge.
Directions are for size Small. Changes for sizes Medium and Large are in parentheses.
Hat measures 18 (20, 22)” [45.5 (51, 56) cm] circumference at brim.
Notes
- Hat is made in joined rounds with the right side facing at all times.
- Eight vertical cables are made around the hat, each from 8 chain-12 loops. Hold each chain-12 loop in front of subsequent rounds and do not work into each loop until instructed.
- To change color, work the last stitch of the old color to the last yarn over. Yarn over with the new color and draw through all loops on the hook to complete the stitch. Proceed with the new color. Cut the old color.
Special Technique
Adjustable-Ring Method
Wrap yarn into a ring, ensuring that the tail falls behind the working yarn. Grip the ring and tail firmly between middle finger and thumb. Insert the hook through the center of the ring, yarn over (with working yarn) and draw up a loop. Work stitches of the first round in the ring, working over both strands (the tail and the ring). After the first round of stitches is worked, pull gently, but firmly, on the tail to tighten the ring.
Join with sc
Place a slip knot on hook, insert the hook in the indicated stitch, yarn over and draw up a loop, yarn over and draw through both loops on the hook.
Hat Instructions
With a larger hook and A, make an adjustable ring.
Round 1
Ch 1, 8 sc in ring; join with slip st in first sc—8 sc.
Round 2
Ch 1, 2 sc in each st around; join with slip st in first sc—16 sc.
Round 3
Ch 1, 2 sc in first st, ch 12, sc in next st, [2 sc in next st, ch 12, sc in next st] 7 times; join with slip st in first sc—24 sc and 8 ch-12 loops.
Note
Hold ch-12 loops in front of rounds and do not work into loops until instructed.
Round 4
Ch 1, 2 sc in first st, sc in next 2 sts, [2 sc in next st, sc in next 2 sts] 7 times; join with slip st in first sc—32 sc.
Round 5
Ch 1, 2 sc in first st, sc in next 3 sts, [2 sc in next st, sc in next 3 sts] 7 times; join with slip st in first sc—40 sc.
Round 6
Ch 1, 2 sc in first st, sc in next 4 sts, [2 sc in next st, sc in next 4 sts] 7 times; join with slip st in first sc—48 sc.
Round 7
Ch 1, 2 sc in first st, sc in next 4 sts, ch 12, sc in next st, [2 sc in next st, sc in next 4 sts, ch 12, sc in next st] 7 times; join with slip st in first sc—56 sc and 8 ch-12 loops.
Rounds 8–10
Ch 1, sc in each st around; join with slip st in first sc—56 sc.
Size Small Only
Round 11
Ch 1, sc in the first 6 sts, ch 12, sc in next st, [sc in the next 6 sts, ch 12, sc in next st] 7 times; join with slip st in first sc—56 sc and 8 ch-12 loops.
Round 12
Repeat Round 8—56 sc.
Size Medium Only
Round 11
Ch 1, 2 sc in first st, sc in next 5 sts, ch 12, sc in next st, [2 sc in next st, sc in next 5 sts, ch 12, sc in next st] 7 times; join with slip st in first sc—64 sc and 8 ch-12 loops.
Round 12
Repeat Round 8—64 sc.
Size Large Only
Round 11
Work the same as Round 11 of size Medium.
Round 12
Ch 1, 2 sc in first st, sc in next 7 sts, [2 sc in next st, sc in next 7 sts] 7 times; join with slip st in first sc—72 sc.
All Sizes
Rounds 13 and 14
Repeat Round 8.
Round 15
Ch 1, sc in first 6 (7, 8) sts, ch 12, sc in next st, [sc in next 6 (7, 8) sts, ch 12, sc in next st] 7 times; join with slip st in first sc—56 (64, 72) sc and 8 ch-12 loops.
Rounds 16–18
Repeat Round 8.
Rounds 19–34
Repeat Rounds 15–18 four times.
Fasten off.
Beginning at the top of the hat, draw the 2nd ch-12 loop through the first ch-12 loop, draw the 3rd ch-12 loop through the 2nd ch-12 loop; repeat in this manner down the side of the hat until all 8 ch-12 loops are worked (cable made), then repeat for each remaining set of 8 ch-12 loops around—8 cables.
Round 35
With the right side facing, join B with sc in first sc, sc in next 5 (6, 7) sts, inserting hook in the first ch-12 loop, sc in the next st, [sc in next 6 (7, 8) sts, inserting hook in next ch-12 loop, sc in the next st] 7 times; join with slip st in first sc—56 (64, 72) sc.
Rounds 36 and 37
With a smaller hook, repeat Round 8; change to C at the end of Round 37.
Rounds 38 and 39
Repeat Round 8.
Fasten off.
Finishing
Pompom
With B, following pompom maker directions, make a 2½” (6.5 cm) pompom or make the pompom as follows: Wrap yarn around a 2½” (6.5 cm) piece of heavy cardboard (the more wraps, the fuller the pompom). Gently remove wraps from cardboard. Cut a 12” (30.5 cm) length of B and tie it tightly around the center of the wraps. Do not cut the ends of this center tie. Cut ends of wraps. Fluff and trim pompom. Use ends of center tie to attach the pompom to the top of the hat. Weave in ends.
Abbreviations
- A, B, C = Color A, Color B, Color C, etc.;
- ch = chain;
- sc = single crochet;
- st(s) = stitch(es);
- [ ] = work directions in brackets the number of times specified.
- Funny Pictures
-
 Relatable and Funny Memes to Distract You From the Routine
-
 Hilarious Cat Snapchats That Will Leave You With the Biggest Smile
-
 Today’s Top Funny Tweets to Scroll Before Bed
- Recipes
-
 Cappuccino Brownies
-
 Chicken Mushroom Tortellini Bake
-
 Spinach Pie
- Lifehacks
-
 8 Necessary Tips for Baking Bread
-
 Tips & Hacks for Clean Carpets
-
 10 Uses For Old TV Armoires
- Crochet Ideas
-
 Crochet Watermelon Amigurumi
-
 Crochet Flower Hat for your Pet
-
 Crochet Shark Applique
- DIY
-
 Crochet Titus the Barn Owl
-
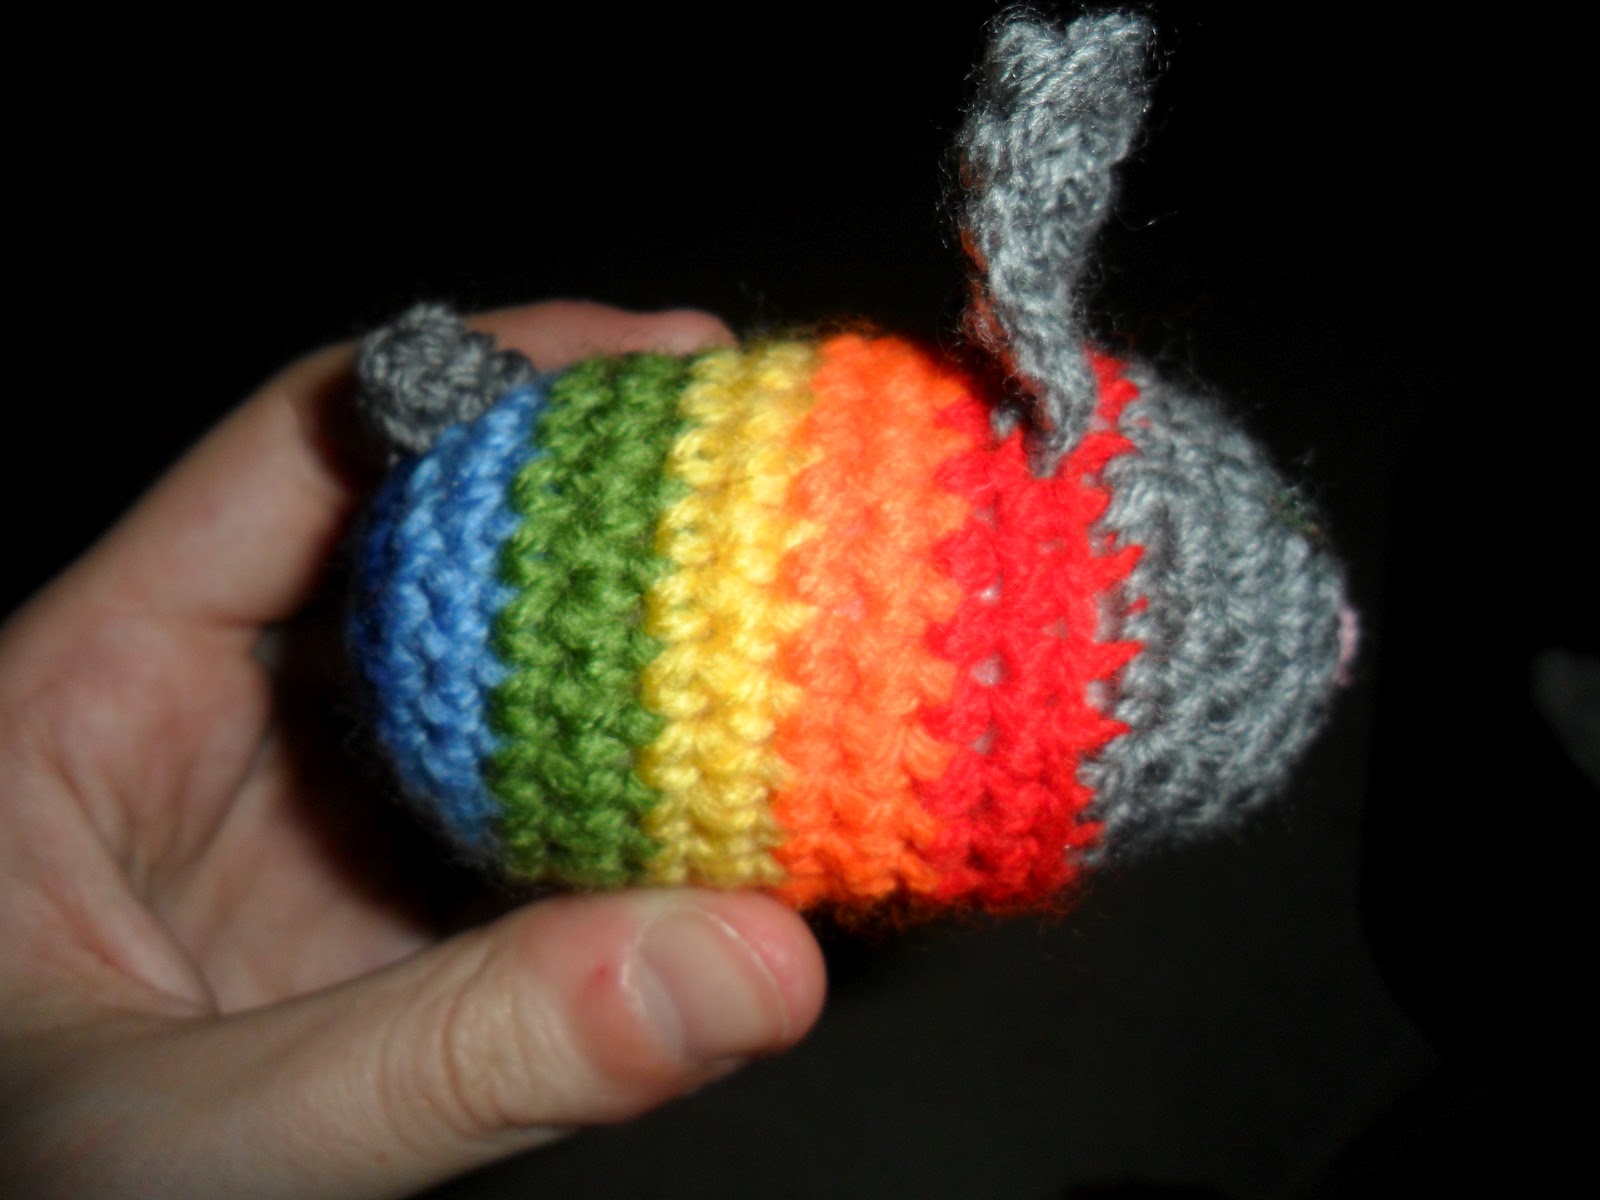 Crochet Rainbow Bunny
-
 DIY Washer Ornaments
- Knitting Ideas
-
 Knitted Star Square Dishcloth
-
 Knitted Free 2025 Year Dishcloth
-
 Knitted Ribbed Adult Hat