

How to Crochet an Adorable Tiger Amigurumi — Complete Pattern & Step-by-Step Guide

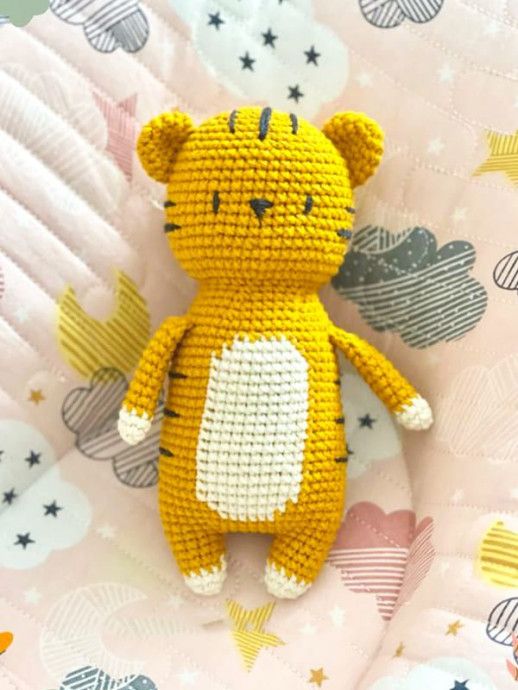
Create a charming tiger amigurumi with this complete pattern and clear round-by-round instructions. This guide includes materials, abbreviations, and assembly notes so you can finish a cute striped tiger to give as a gift or keep as a cozy handmade decoration. Suitable for crocheters who know basic amigurumi techniques.
Tip: Work with consistent tension, stuff firmly but not overstuffed, and sew parts on securely. Use safety eyes or embroider the face for a child-safe toy.
Crochet Tiger Amigurumi is a delightful and adorable craft project that brings a touch of whimsy to your home decor or as a thoughtful handmade gift. With its charming stripes and endearing face, this cute tiger amigurumi pattern is perfect for both beginners and experienced crocheters alike. Whether you're looking to add a touch of cuteness to your shelves or seeking a fun project to hone your crochet skills, creating a crochet tiger amigurumi is sure to bring a smile to your face and warmth to your heart. So grab your hooks and yarn, and let the creative magic begin!
Materials
- Thread; yellow, white, black
- Fiber for filling
- Scissors
Abbreviations
- MR – magic ring
- Sc – single crochet
- Inc – increase
- Dec – decrease
- Y – yellow
- W – white
Let's Start Crocheting the Amigurumi Tiger Pattern
Ears
Rnd 1: 6sc in MR (6)
Rnd 2: inc*6 (12)
Rnd 3: (sc, inc)*6 (18)
Rnd 4: 18sc (18)
Rnd 5: (sc, dec)*6 (12)
We have completed the ears of the amigurumi tiger pattern. Now let’s crochet arms and legs.
Arms
White yarn
Rnd 1: 6sc in MR (6)
Rnd 2: (sc, inc)*3 (9)
Rnd 3: 9sc (9)
Change to yellow
Rnd 4-12: 9sc (9)
Crochet on both sides 4sc
Legs
White yarn
Rnd 1: 6sc in MR (6)
Rnd 2: inc*6 (12)
Rnd 3: 12sc (12)
Change to yellow
Rnd 4-6: 12sc (12)
The head of the amigurumi toy will be crocheted together with the body part.
Body
From the 2nd leg, chain 6, join to the 1st leg
Rnd 1: 12sc, 6sc in chain, 12sc, 6sc in chain (36)
Rnd 2: (5sc, inc)*6 (42)
Rnd 3: 42sc (42)
Rnd 4: (6sc, inc)*6 (48)
Rnd 5: Y 16sc, W 6sc, Y 26sc (48)
Rnd 6: Y 15sc, W 8sc, Y 25sc (48)
Rnd 7-20: Y 14sc, W 10sc, Y 24sc (48)
Rnd 21: (6sc, dec)*6 (42)
Rnd 22: 42sc (42)
Rnd 23: (5sc, dec)*6 (36)
Rnd 24: 36sc (36)
Rnd 25: (4sc, dec)*6 (30)
Rnd 26: (3sc, dec)*6 (24)
Rnd 27: inc*24 (48)
Rnd 28: (7sc, inc)*6 (54)
Rnd 29-30: 54sc (54)
Rnd 31: (7sc, dec)*6 (48)
Rnd 32-39: 48sc (48)
Rnd 40: (6sc, dec)*6 (42)
Rnd 41: 42sc (42)
Rnd 42: (5sc, dec)*6 (36)
Rnd 43: (4sc, dec)*6 (30)
Rnd 44: (3sc, dec)*6 (24)
Rnd 45: (2sc, dec)*6 (18)
Rnd 46: (sc, dec)*6 (12)
Rnd 47: dec*6 (6)
Finishing Touches
Sew the ears on R37-R42
Sew the arms on R22
Sew the eyes on R34-R35
Assembly tips: Arrange parts before sewing to check placement. Weave in ends neatly and securely sew stripes or other facial details with black thread as desired.
- Funny Pictures
-
 Fresh Animal Memes to Mix in Your Morning Coffee
-
 The Funniest Tweets of the Day
-
 Hilarious Tweets to Get Your Thoughts Clear
- Recipes
-
 Crispy Bean Tostadas with Smashed Avocado and Jicama-Cilantro Slaw
-
 Mango “Burrito” Bowls with Crispy Tofu and Peanut Sauce
-
 Baklava Granola
- Lifehacks
-
 Crochet Tutorial: Textured Bobble Stitch
-
 Crochet Tutorial: Brick Stitch
-
 Crochet Wheat Stitch Tutorial
- Crochet Ideas
-
 Crochet Pumpkin Bear
-
 Crochet Santa Placemat
-
 Crochet Mini Boo Bucket for Treats and Decor
- DIY
-
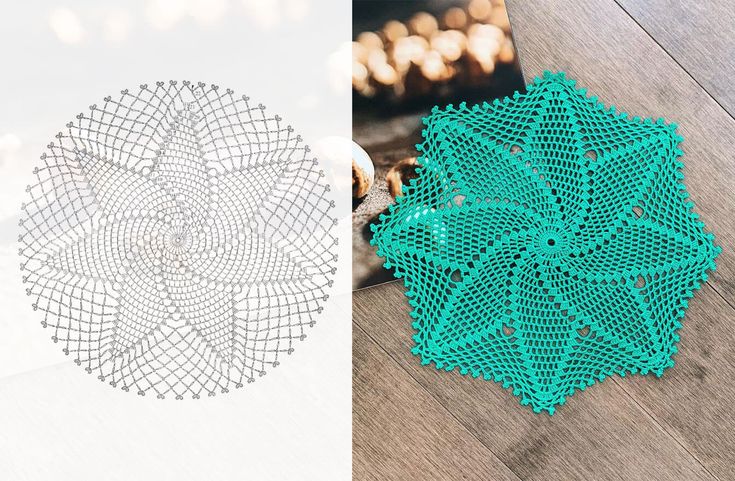 Make a Crochet Spiral Star Doily — Free US-Term Pattern & Tips
-
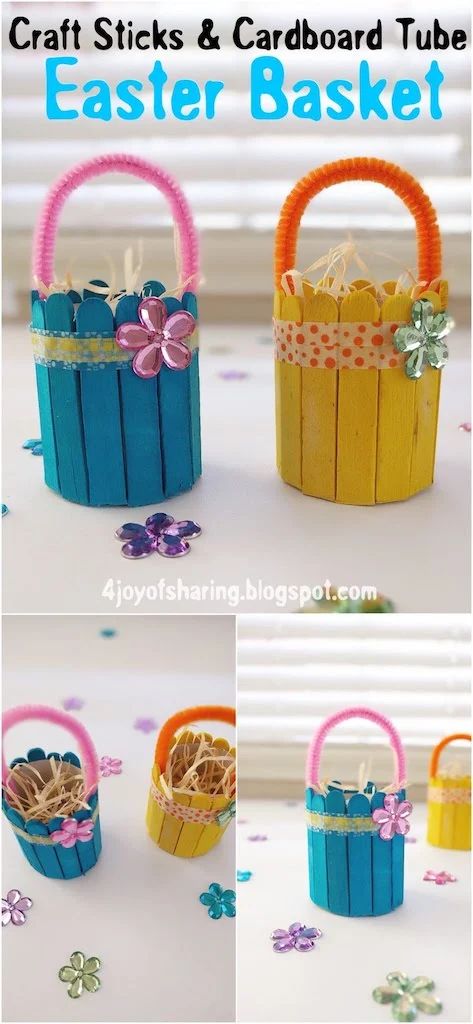 Easy DIY Easter Basket from Craft Sticks and a Cardboard Tube — Step-by-Step
-
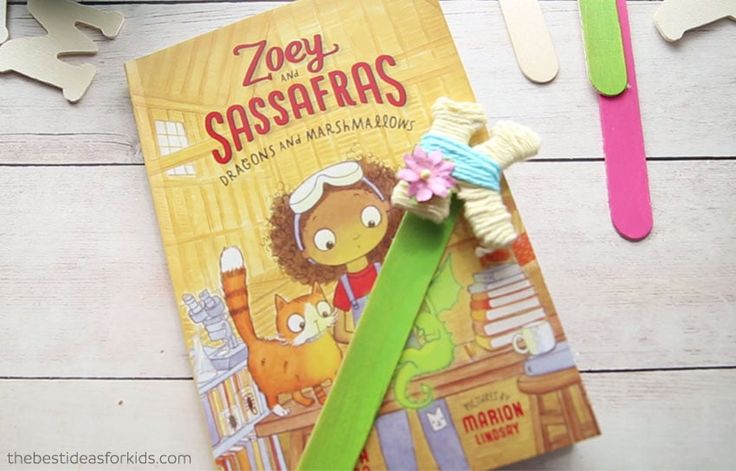 DIY Yarn-Wrapped Letter Bookmarks — Cute Personalized Bookmarks in Minutes
- Knitting Ideas
-
 DIY Knitted Waffle Kitchen Towel — Easy Pattern for a Textured, Absorbent Cotton Towel
-
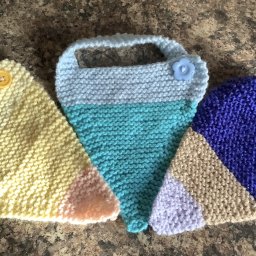 Make an Adorable Knitted Scrappy Bandana Bib — Easy Garter-Stitch Baby Pattern
-
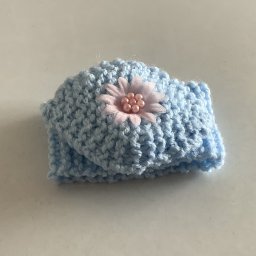 Quick & Cozy Knitted Wrist Pincushion — Easy Pattern and Step‑by‑Step Instructions