Crochet Baby Scarves: A Cozy and Stylish Accessory for Your Little Ones

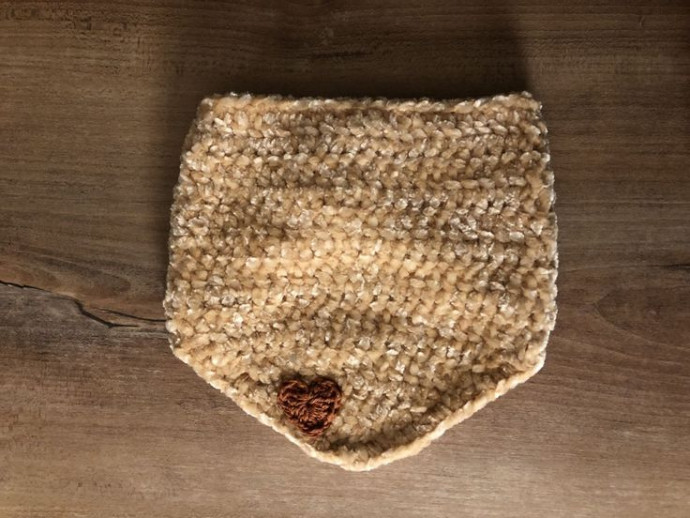
Crochet baby scarves are the perfect way to keep your little ones warm and stylish during the chilly months. These adorable accessories are not only cozy but also add a touch of cuteness to any outfit. Whether you opt for a classic design or go for a fun and colorful pattern, there is a crochet baby scarf to suit every baby's unique style. Plus, with the soft and snug materials used, you can rest assured that your precious bundle will stay comfortable and cozy all day long. So, get ready to bundle up your baby in the sweetest way possible with a handmade crochet baby scarf!
Material Requirements
The following applies to every wool: If you want to be on the safe side, then follow the recommendations of the respective pattern or instructions. The designers usually thought about which yarn is best suited for the respective product.
Today's Crochet Project
For this project, we need:
- Chenille yarn with a thickness of 3.5 mm
- Crochet hook number 5
- A button to sew on
- A small heart applique
Steps to Crochet the Baby Scarf
Step 1: Create the Foundation Chain
1st step: Crochet 52 chain stitches.
Step 2: Begin the Double Crochet
2nd step: Insert the fourth chain stitch from the needle (the first three chain stitches replace the first double crochet) and crochet double crochet stitches to the end of the chain of chain stitches. (49 pieces left)
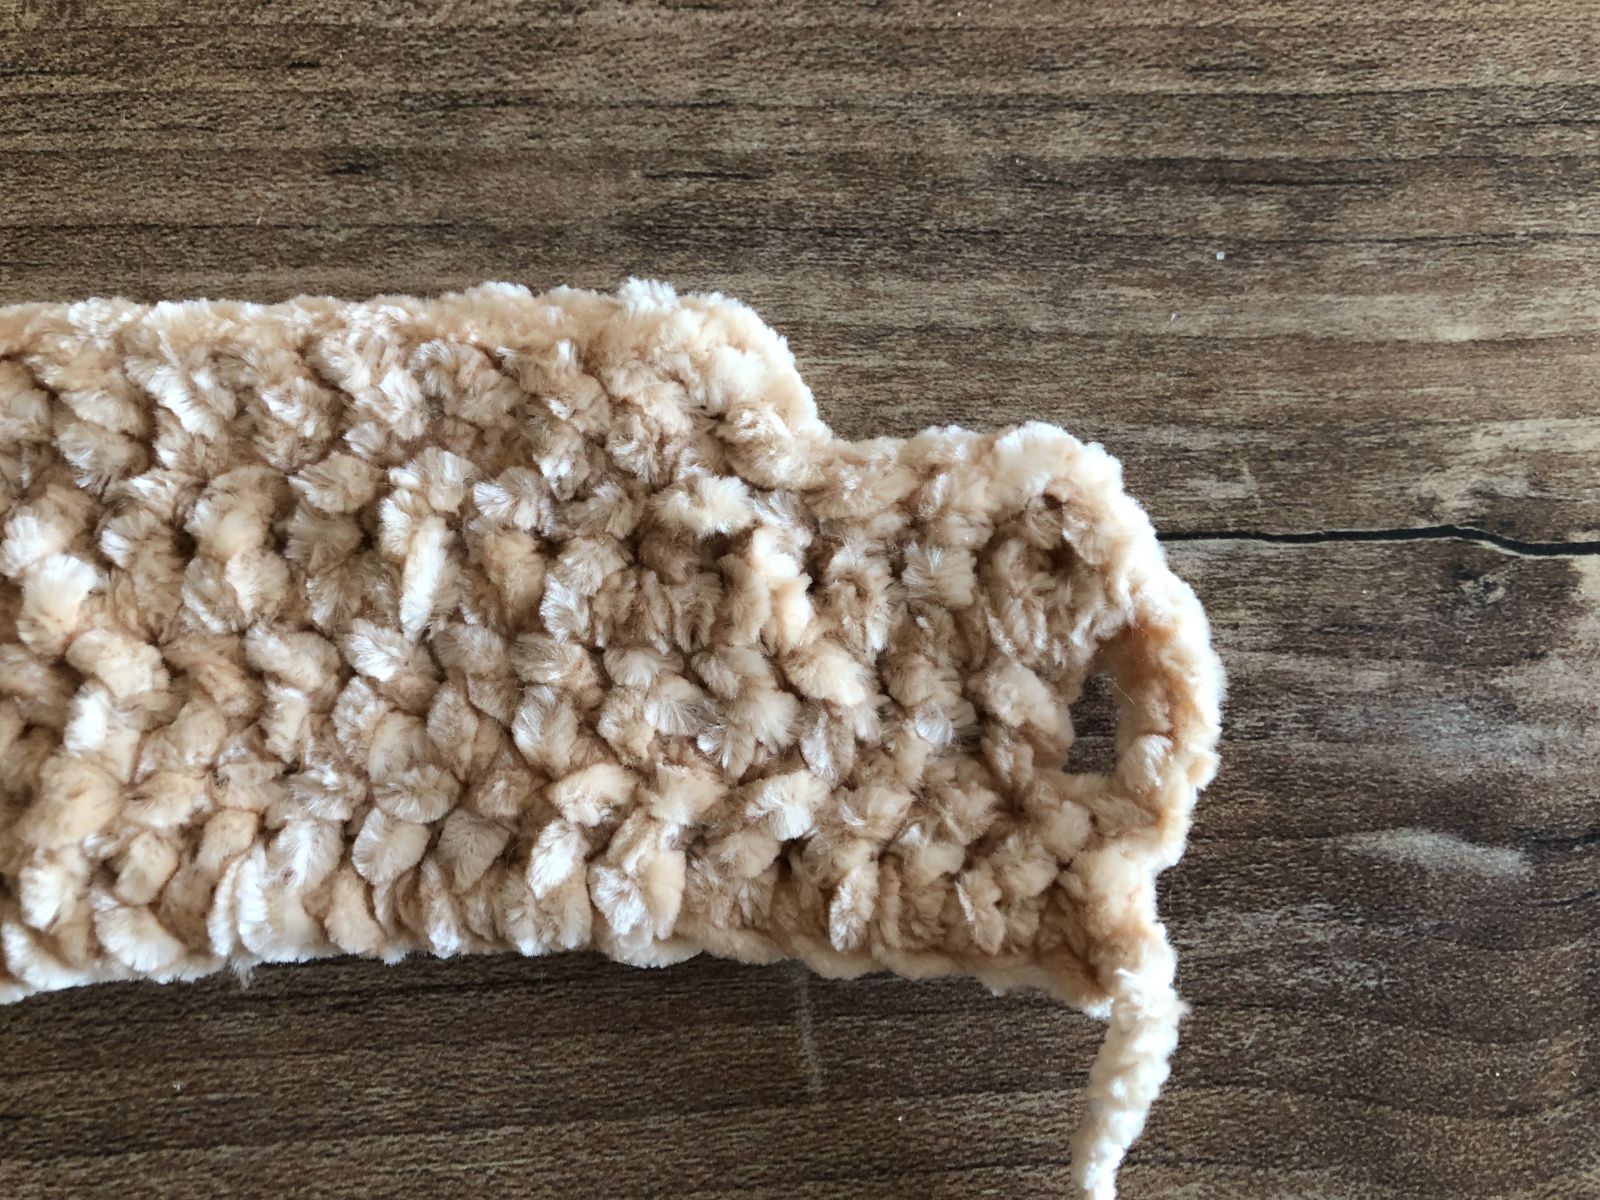
Step 3: Create the Buttonhole
3rd step: Turn with five chain stitches (this will be the buttonhole). Then crochet a double crochet in each stitch as before. (49 pieces)

Step 4: Continue Crocheting Double Crochet
4th step: Turn with three chain stitches and crochet a double crochet in each stitch again. (49 pieces)
Step 5: Introduce Slip Stitches
5th step: Turn and crochet slip stitches on the first four stitches. From there, stitch two double crochet stitches together. Then crochet a double crochet 40 times on each stitch. At the end of the row, crochet two double crochets together again (the last three double crochets remain uncrocheted).
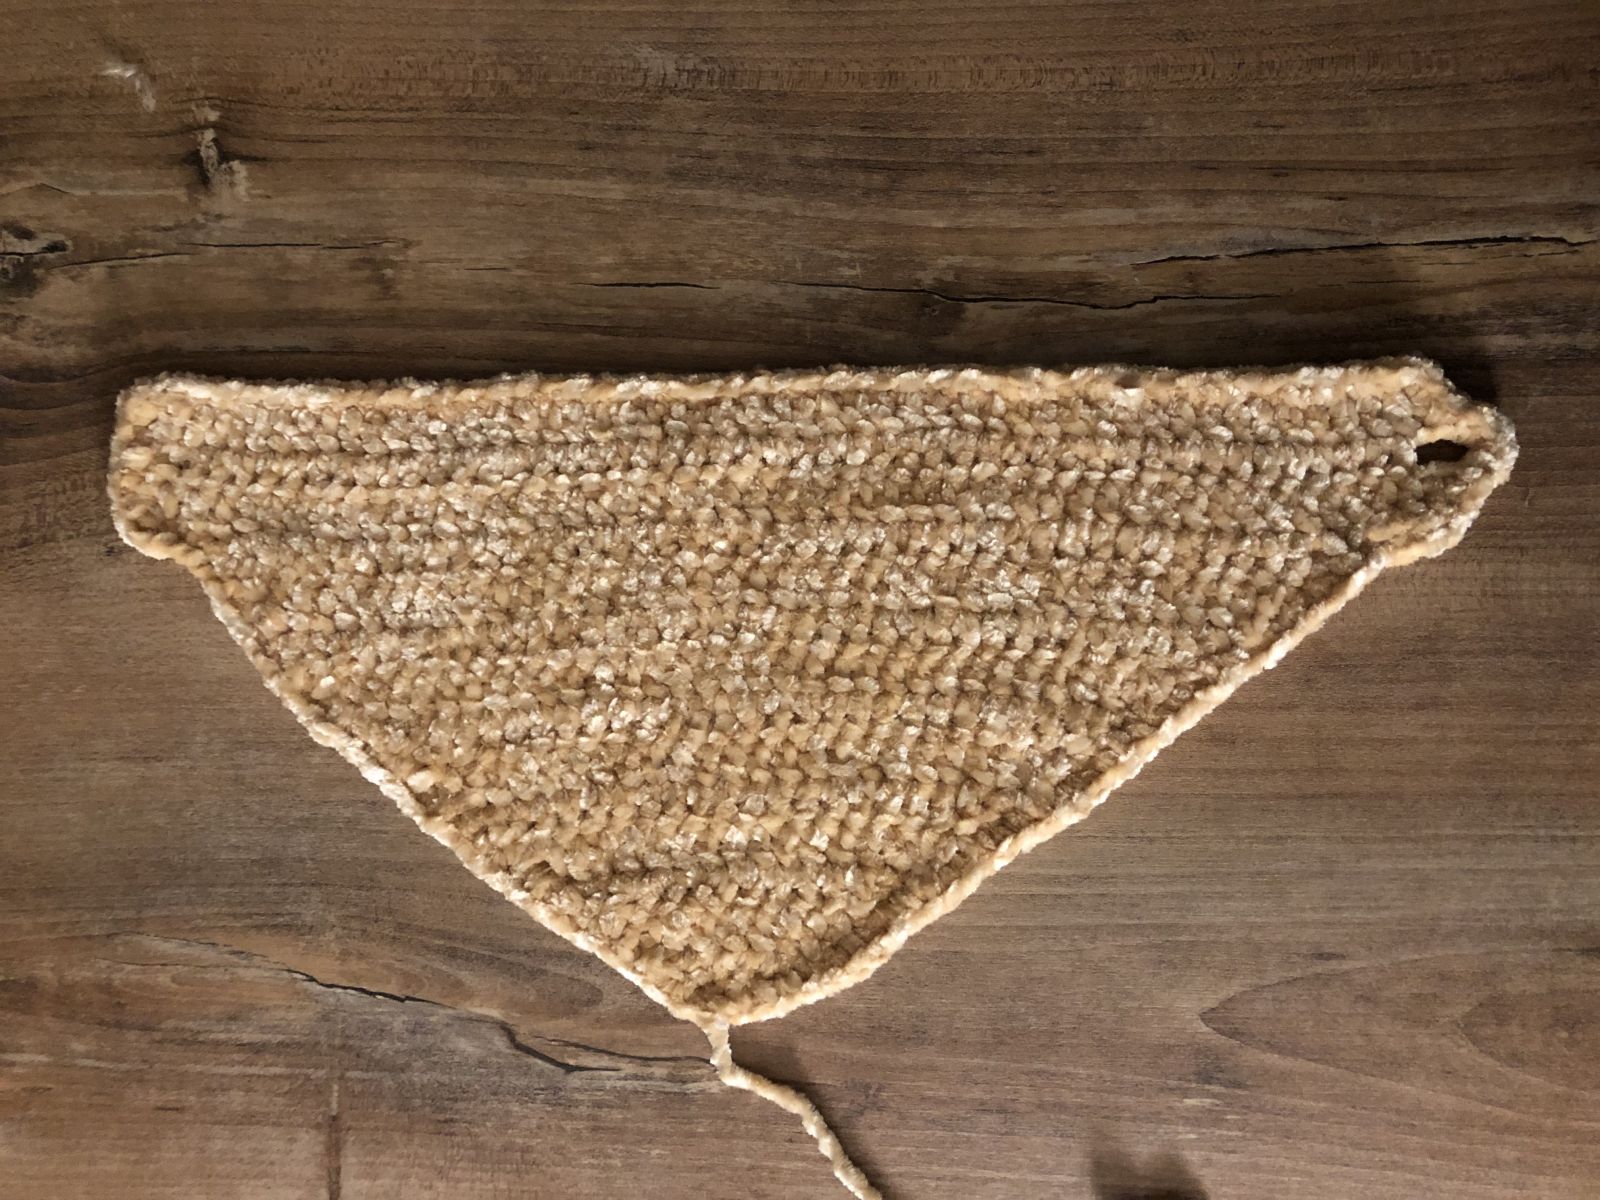
Step 6: Start Shaping the Scarf
From now on, the first and last three double crochets in each row are crocheted together and the rest of the row is crocheted with one double crochet each. That means:
- 5th row: three double crochets stitched together, 36 double crochets, three double crochets stitched together
- 6th row: three double crochets stitched together, 32 double crochets, three double crochets stitched together
- 7th row: three double crochets stitched together, 28 double crochets, three double crochets stitched together
- 8th row: three double crochets stitched together, 24 double crochets, three double crochets stitched together
- 9th row: three double crochets stitched together, 20 double crochets, three double crochets stitched together
- 10th row: three double crochets stitched together, 16 double crochets, three double crochet stitches stitched together
- 11th row: three double crochets stitched together, 12 double crochets, three double crochets stitched together
- 12th row: three double crochets stitched together, 8 double crochets, three double crochets stitched together
- 13th row: three double crochets stitched together, 4 double crochets, three double crochets stitched together
- 14th row: three double crochets stitched together, no more double crochets, three double crochets stitched together
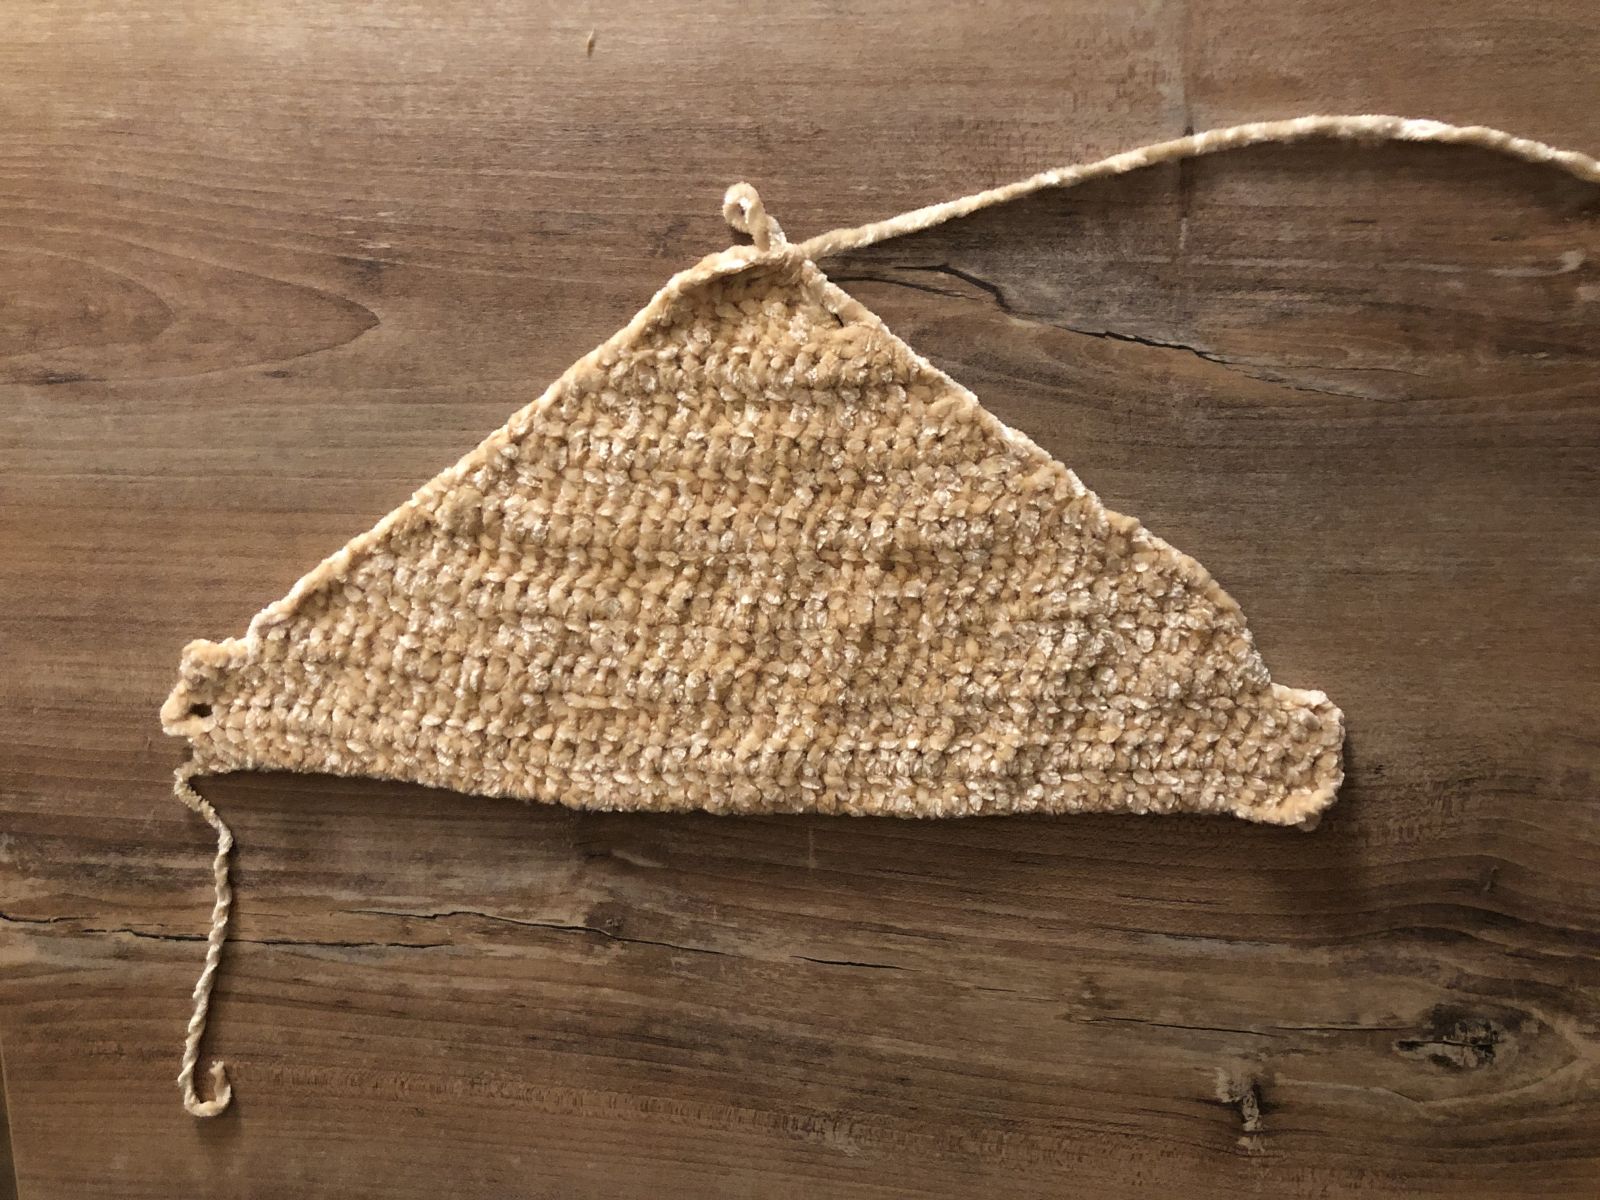
Step 7: Finish with Single Crochets
7th step: Don't cut the thread! Instead, continue crocheting single crochet stitches for a round.
Creating the Appliqué
For the appliqué like I used, you need a cotton yarn that goes well with your scarf. With this, you simply have to crochet 3 chain stitches, 3 double double crochet stitches, 3 double crochet stitches, 1 ch, 1 double double crochet stitch, 1 ch, 3 double crochet stitches, 3 double double crochet stitches, 2 chain stitches, and 1 slip stitch into a thread ring.
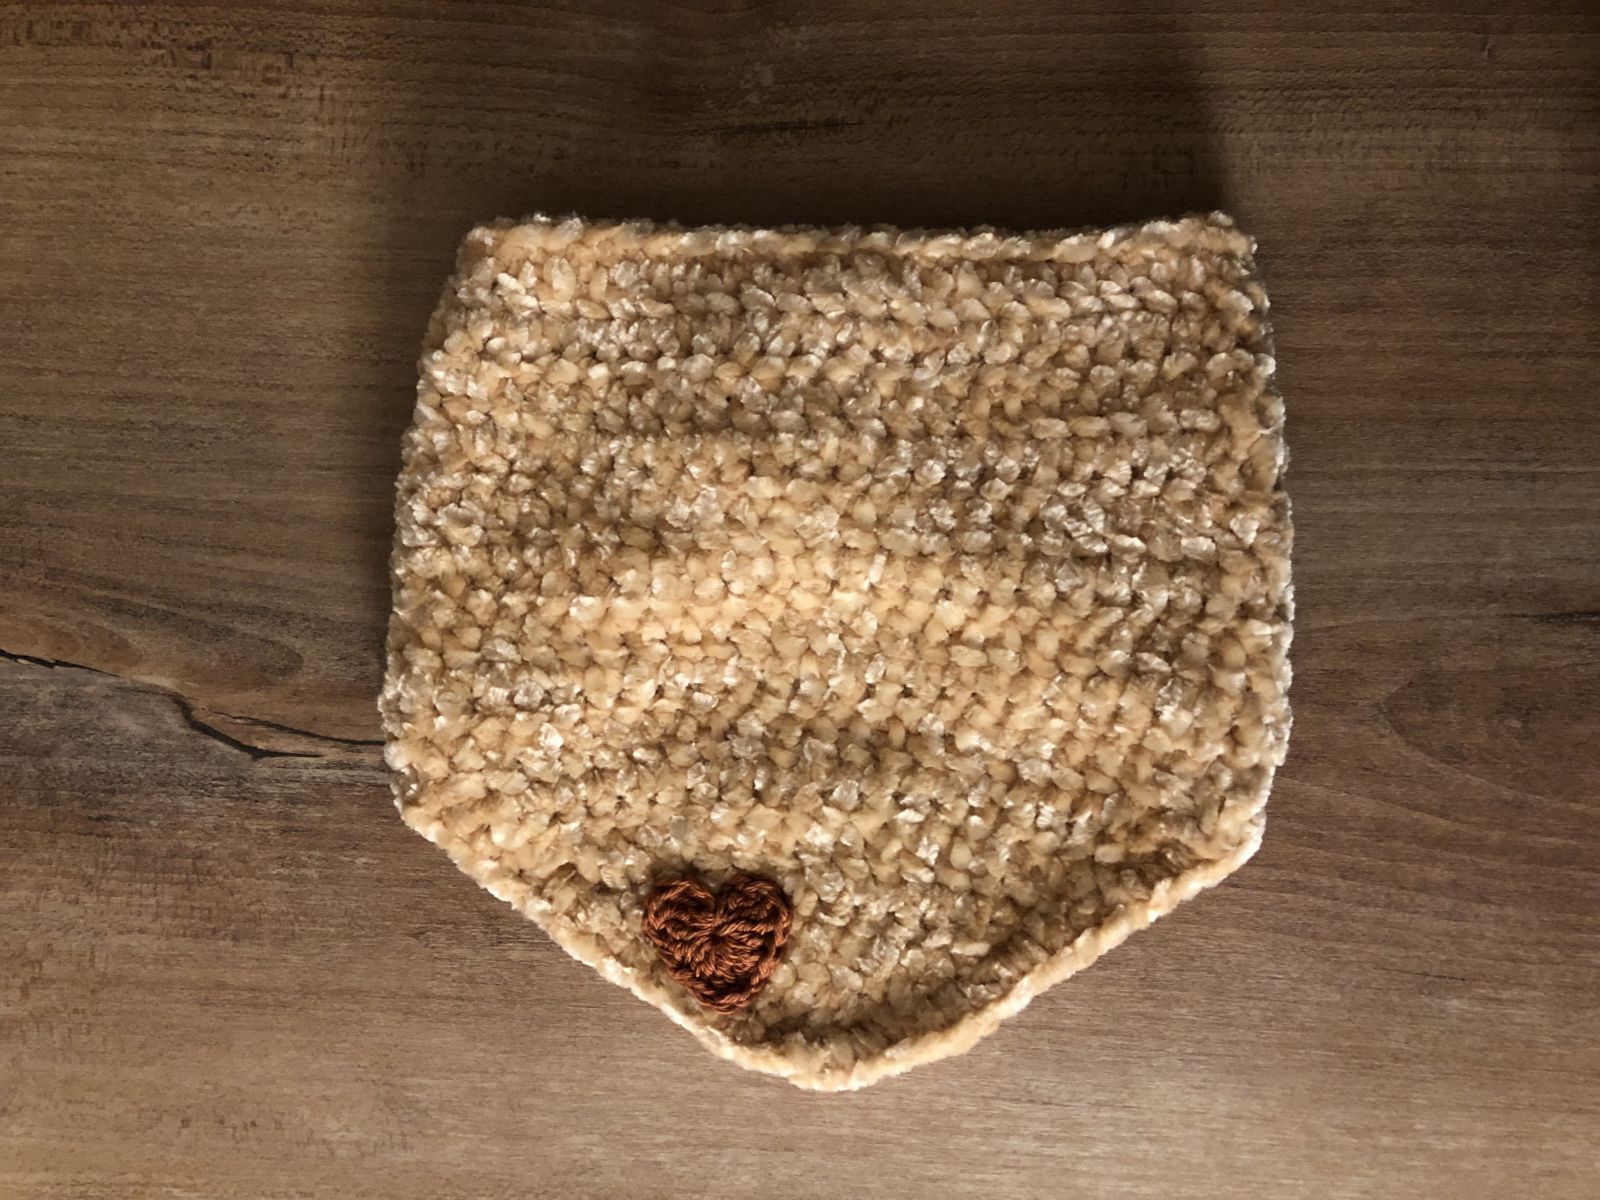
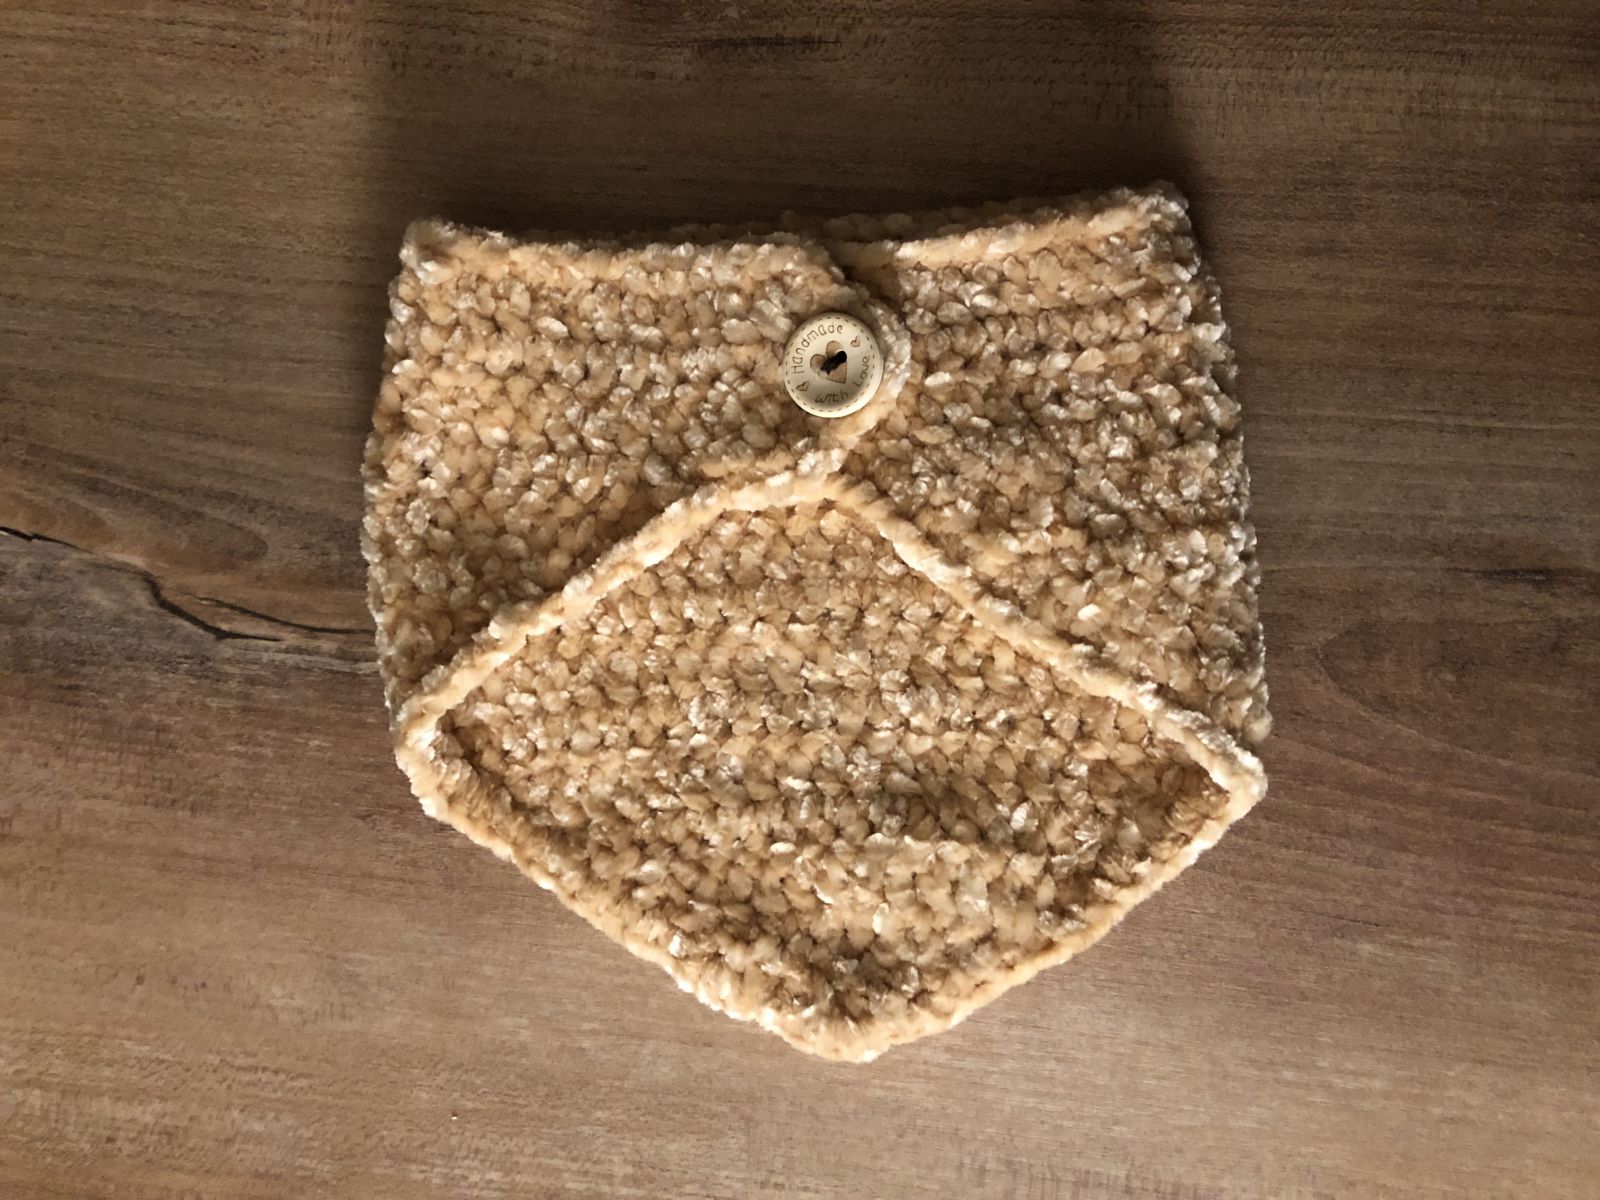
Once you have sewn on your appliqué and the button, the baby scarf is already finished and tied with love!
- Funny Pictures
-
 Relatable and Funny Memes to Distract You From the Routine
-
 Hilarious Cat Snapchats That Will Leave You With the Biggest Smile
-
 Today’s Top Funny Tweets to Scroll Before Bed
- Recipes
-
 Cappuccino Brownies
-
 Chicken Mushroom Tortellini Bake
-
 Spinach Pie
- Lifehacks
-
 8 Necessary Tips for Baking Bread
-
 Tips & Hacks for Clean Carpets
-
 10 Uses For Old TV Armoires
- Crochet Ideas
-
 Crochet Watermelon Amigurumi
-
 Crochet Flower Hat for your Pet
-
 Crochet Shark Applique
- DIY
-
 Crochet Titus the Barn Owl
-
 Crochet Rainbow Bunny
-
 DIY Washer Ornaments
- Knitting Ideas
-
 Knitted Star Square Dishcloth
-
 Knitted Free 2025 Year Dishcloth
-
 Knitted Ribbed Adult Hat