How to Create Crochet Car Appliques

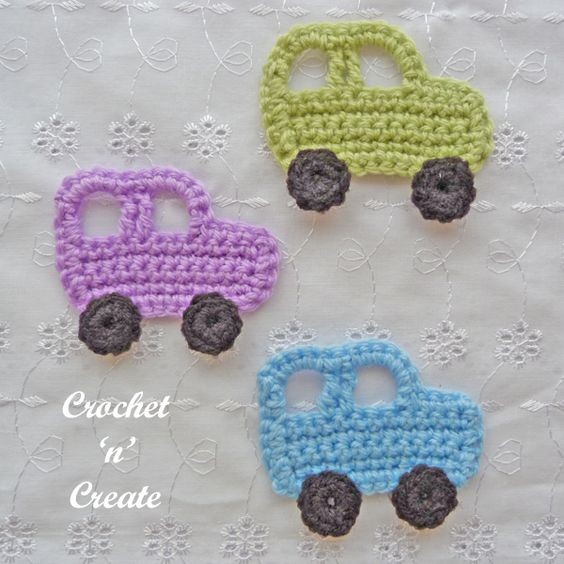
Crochet car appliques are a delightful way to add a touch of creative charm to any project. These small crochet creations are perfect for embellishing items like blankets, bags, or even clothing. With their intricate details and colorful design possibilities, crochet car appliques can bring a fun and whimsical element to your handmade creations. Whether you're a seasoned crocheter looking to add a unique flair to your work or a beginner eager to try your hand at something new, crochet car appliques are a great way to add personality and character to your handmade pieces. So grab your yarn and hook, and let your creativity drive as you create charming crochet car appliques to adorn your projects!
Abbreviations UK
- ch. - Chain
- dc. - Double Crochet
- tr. - Treble Crochet
- dtr. - Double Treble Crochet
- rpt. - Repeat
- ss. - Slip Stitch
- tch. - Turning Chain
- Base of ch. - Work into first stitch
Approx Finished Size
3 x 2 Inches
Materials
For great results, it is always best to use the recommended yarn I have used approximately:
- Small amount of Stylecraft Special DK in color 1
- Small amount of black yarn for wheels
- 4.00mm Clover Crochet Hook
Crochet Instructions
Starting the Car Body
Make 13ch with color 1, 1dc into second ch from hook, 1dc into each ch to end. Turn. (12dc)
Building the Body Rows
2nd Row – 1ch, 1dc into base of 1ch, 1dc into each dc to end. Turn.
Rpt 2nd Row twice. Turn.
Fasten off.
Creating the Undercarriage
5th Row – Miss first 4dc, rejoin yarn to next dc, make 6ch, miss 2dc, 1dtr into each of next 2dc, make 4ch, miss 2dc, 1tr into last dc. Turn.
Adding the Edge
Edge – 1ch, 1dc into base of 1ch, 4dc into 4ch space, 1dc into each of next 2dtr, 6dc into 6ch space, 1dc into next 4dc, work 4dc evenly into row ends down first side of car, 1dc into each of next 12ch along starting ch edge, work 4dc evenly into row ends up second side of car, 2dc around side of tr, ss to first dc. Fasten off.
Making the Wheels
Wheels x 2 – With black yarn make 4ch, ss to first ch to form a ring, work 1ch, 8dc into ring, ss to first dc. Fasten off.
Finishing Touches
Weave in and trim off any loose ends of yarn, attach wheels to bottom of car.
Abbreviations USA
- ch. - Chain
- sc. - Single Crochet
- dc. - Double Crochet
- trc. - Treble Crochet
- rpt. - Repeat
- sl st. - Slip Stitch
- tch. - Turning Chain
- Base of ch. - Work in first stitch
Approx Finished Size
3 x 2 Inches
Materials
For great results, it is always best to use the recommended yarn I have used approximately:
- Small amount of Lion Brand Baby Soft in color 1
- Small amount of black yarn for wheels.
- 4.00mm Clover Crochet Hook
Crochet Instructions (USA)
Starting the Car Body
ch13 with color 1, 1sc in second ch from hook, 1sc in each ch to end. Turn. (12sc)
Building the Body Rows
2nd Row – ch1, 1sc in base of ch1, 1sc in each sc to end. Turn.
Rpt 2nd Row twice. Turn.
Fasten off.
Creating the Undercarriage
5th Row – Skip first 4sc, rejoin yarn to next sc, ch6, skip 2sc, 1trc in each of next 2sc, ch4, skip 2sc, 1dc in last sc. Turn.
Adding the Edge
Edge – ch1, 1sc in base of ch1, 4sc in ch4 space, 1sc in each of next 2trc, 6sc in ch6 space, 1sc in next 4sc, work 4sc evenly in row ends down first side of car, 1sc in each of next 12ch’s along starting ch edge, work 4sc evenly in row ends up second side of car, 2sc around side of dc, sl st to first sc. Fasten off.
Making the Wheels
Wheels x 2 – With black yarn ch4, sl st to first ch to form a ring, ch1, 8sc in ring, sl st to first sc. Fasten off.
Finishing Touches
Weave in and trim off any loose ends of yarn, attach wheels to bottom of car.
- Funny Pictures
-
 Feline Memes to Feel Better
-
 Best Funny Pics of the Day Especially for You
-
 Pictures That Have No Right to be This Funny
- Recipes
-
 Strawberry Banana Bread
-
 Kraut-Tots
-
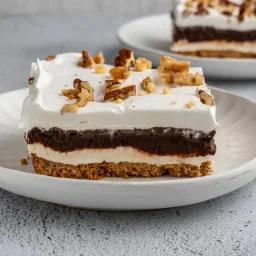 Chocolate Delight Dessert
- Lifehacks
-
 7 Crochet Tips & Tricks
-
 Raspberry Crochet Stitch
-
 Crochet Tutorial: Popcorn Stitch + Printed PDF
- Crochet Ideas
-
 Crochet Snorlax Plushie Doll
-
 Crochet Cat in 1 Row
-
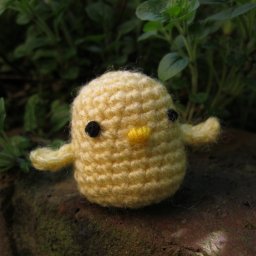 Crochet Tiny Chick Amigurumi
- DIY
-
 Popsicle Stick and Jingle Bell Christmas Tree Ornament
-
 Upcycled Mason Jar Chicken Vase
-
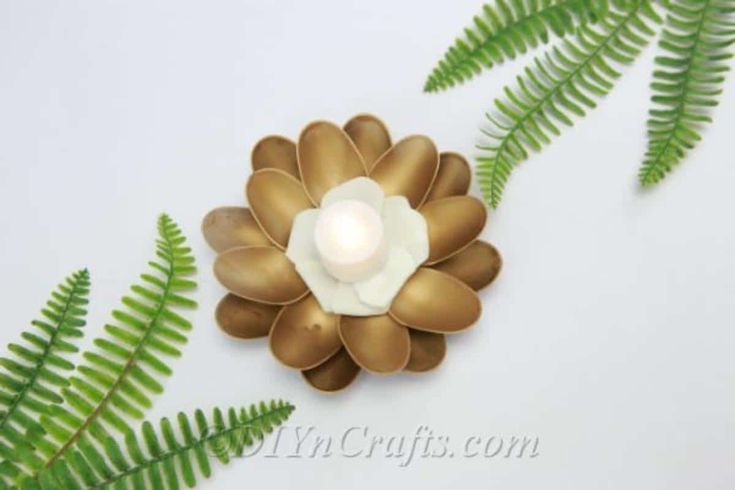 Make A Candle Holder From Plastic Spoons
- Knitting Ideas
-
 Knitted Newborn Striped Beanie
-
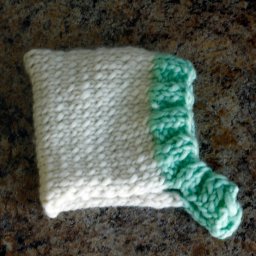 Knitted Chunky Newborn Pixie Hat
-
 Knitted Big Bow Hat