

Stylish Crochet Cluster Stitch Bag — Free Pattern & Step-by-Step Guide

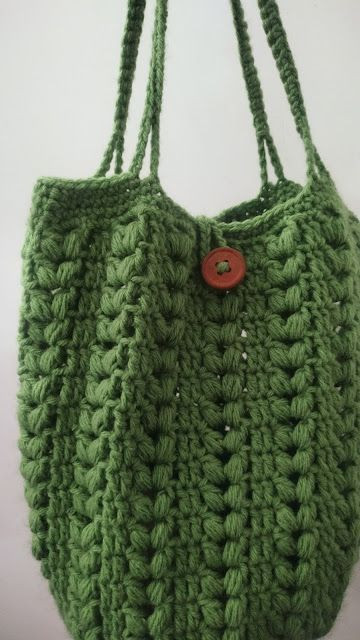
Make a charming, handmade accessory with this Crochet Cluster Stitch Bag pattern. The bag features a textured cluster stitch body, sturdy handles, and a simple button closure — a satisfying project for crocheters who enjoy textured stitches and practical accessories. Below is a clear materials list and the full round-by-round instructions to guide you through making a bag about 10" wide and 11" high (without handles).
Materials Needed:
- Medium worsted weight yarn, about 370 meters
- G/4 (4 mm) crochet hook
- Button
- Stitch markers
- Yarn needle
Size:
About 10 inches wide and 11 inches high without handles.
Stitches/Abbreviations Used:
- ** - Repeat instructions within asterisks as many times as instructed
- [ ] - Repeat instructions within brackets as a set as many times as directed
- st/sts - stitch/stitches
- ch - chain
- sc - single crochet
- hdc - half double crochet
- dc - double crochet
- cluster - double crochet 2 sts together in same stitch/space
Instructions:
Round 1:
Make a magic ring, ch 1, 12 hdc into ring. Join with a sl st to 1st st. (12 sts).
Round 2:
Ch 1, 2 hdc in each st around. Join with a sl st to the 1st hdc. (24 sts).
Round 3:
Ch 1, repeat [hdc in next st, 2 hdc in next st] around. Join. (36 sts).
Round 4:
Ch 1, repeat [hdc in next 2 sts, 2 hdc in next st] around. Join. (48 sts).
Round 5:
Ch 1, repeat [hdc in next 3 sts, 2 hdc in next st] around. Join. (60 sts).
Round 6:
Ch 1, repeat [hdc in next 5 sts, 2 hdc in next st] around. Join. (70 sts).
Round 7:
Ch 1, hdc in each st around. Join. (70 sts).
Round 8:
Ch 3 (counts as 1st st), dc in next st, skip next st, [cluster, ch 3, cluster] in next st, skip next st, dc in next 2 sts, skip next st, [cluster, ch 3, cluster] in next st. Repeat from to around. Join with a sl st to the 1st st.
Round 9:
Ch 3 (counts as 1st st), dc in next dc, [cluster, ch 3, cluster] in next ch-3 space, dc in next 2 dc, [cluster, ch 3, cluster] in next ch-3 space. Repeat from to around. Join with a sl st to the 1st st.
Repeat round 9 until the total height of the bag is about 12 inches or 30 cm.
Edging and Handles:
Round 1:
Ch 1, repeat [sc in 2 sts, 3 sc in ch-3 space] around. Join with a sl st to 1st sc. (70 sc).
Round 2:
Ch 1, sc in each st around. Join with a sl st to 1st sc. (70 sc).
Dividing for Handles:
Place a st marker in the sc that's above the dc after the 2nd set of clusters from each end. Repeat on the other side.
Round 3:
Ch 1, sc in each st up to the marked st, ch 56 (or more depending on how long you want the handles to be), sc in the next marked st and rest of the sts up to the next marked st, ch 56, sc in next marked st and in rest of the sts around. Join with a sl st to the 1st sc.
Round 4:
Ch 1, sc in each st up to 2 sts before the chains, ch 5, sc in the 5th ch, sc in each ch up to the 5th ch from the other end, ch 5, skip the next st and sc in rest of the sts up to 2 sts before the other handle. Repeat the instructions for the 2nd handle and finish the round working sc in rest of the sts. Fasten off.
Finishing Touches:
Sew a button to the front of the bag at the center. Join yarn at the back just behind the button and make chains enough to go around the button, sl st in the same st. Fasten off and weave in all the loose ends of yarn.
Notes & Tips:
- Adjust handle chain length in Round 3 to make shoulder or hand-carry straps.
- Use stitch markers to mark your rounds and handle placement to keep shaping even.
- For a firmer bag, consider lining it with fabric before attaching the button for a clean finish.
- Funny Pictures
-
 Fresh Animal Memes to Mix in Your Morning Coffee
-
 The Funniest Tweets of the Day
-
 Hilarious Tweets to Get Your Thoughts Clear
- Recipes
-
 Crispy Bean Tostadas with Smashed Avocado and Jicama-Cilantro Slaw
-
 Mango “Burrito” Bowls with Crispy Tofu and Peanut Sauce
-
 Baklava Granola
- Lifehacks
-
 Crochet Tutorial: Textured Bobble Stitch
-
 Crochet Tutorial: Brick Stitch
-
 Crochet Wheat Stitch Tutorial
- Crochet Ideas
-
 Crochet Pumpkin Bear
-
 Crochet Santa Placemat
-
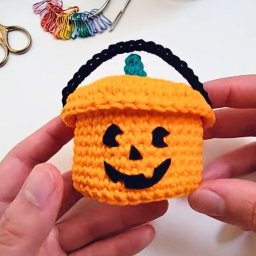 Crochet Mini Boo Bucket for Treats and Decor
- DIY
-
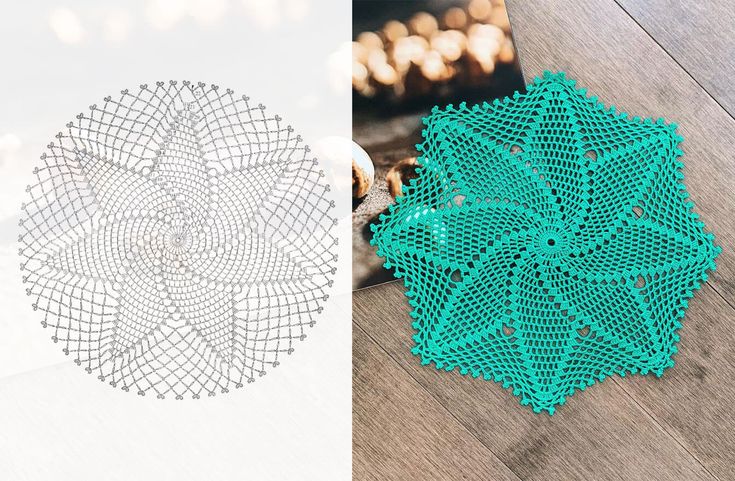 Make a Crochet Spiral Star Doily — Free US-Term Pattern & Tips
-
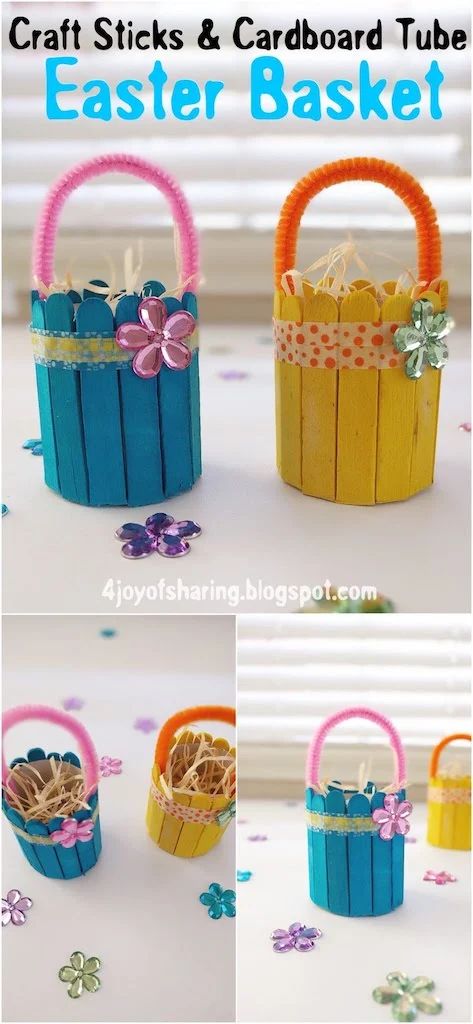 Easy DIY Easter Basket from Craft Sticks and a Cardboard Tube — Step-by-Step
-
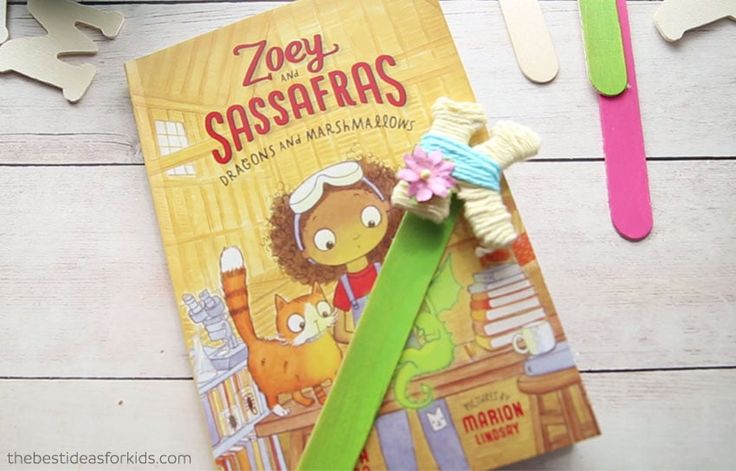 DIY Yarn-Wrapped Letter Bookmarks — Cute Personalized Bookmarks in Minutes
- Knitting Ideas
-
 DIY Knitted Waffle Kitchen Towel — Easy Pattern for a Textured, Absorbent Cotton Towel
-
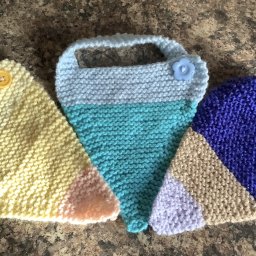 Make an Adorable Knitted Scrappy Bandana Bib — Easy Garter-Stitch Baby Pattern
-
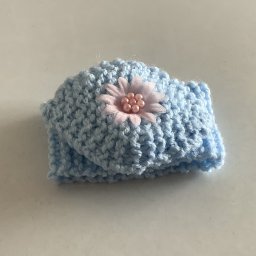 Quick & Cozy Knitted Wrist Pincushion — Easy Pattern and Step‑by‑Step Instructions