

Cozy Crochet Faux-Fur Aviator Earflap Hat Pattern (Baby to Adult)

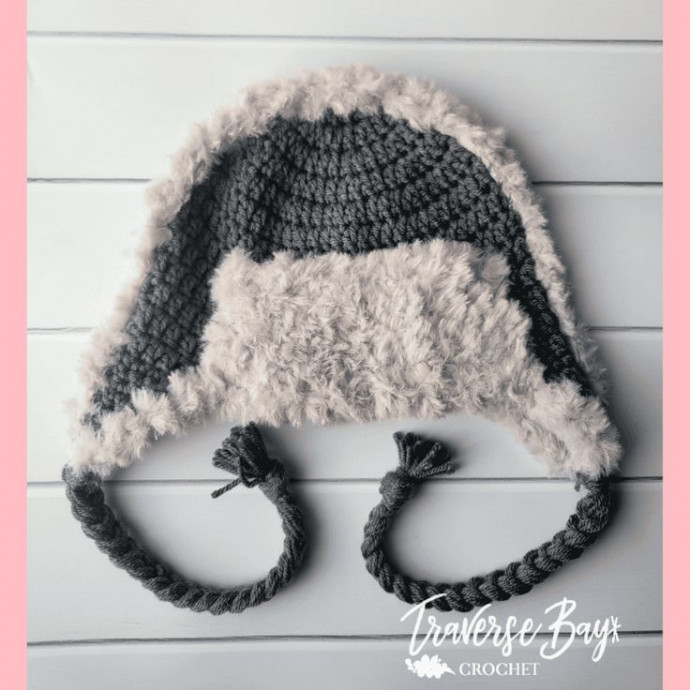
Keep warm in style with this cozy Crochet Faux-Fur Aviator Earflap Hat — a quick, fashionable project worked from the crown down with optional faux-fur trim and braided ties. The pattern includes three size options (Baby, Toddler/Child, Teen/Adult) and uses medium (worsted) weight yarn plus a fuzzy faux yarn for the trim. Below you'll find materials, abbreviations, gauge, full hat and earflap instructions, and simple finishing steps.
Quick overview: worked in rounds from a magic circle, increasing to size, then adding side earflaps and faux-fur trim. Adjust rounds to fine-tune fit.
The Crochet Faux Fur Aviator Earflap Hat is an absolute winter must-have!
This cozy and stylish accessory not only keeps you warm but also adds a touch of cuteness to your outfit. With its faux fur details and earflaps, this hat brings both fashion and function together seamlessly. Whether you're out for a stroll in the snow or running errands, this hat will be your new favorite go-to piece. Stay warm and chic all winter long with the Crochet Faux Fur Aviator Earflap Hat!
Materials:
- Size H, 5.00 mm crochet hook
- Medium weight (size 4) yarn in grey and fuzzy faux off-white yarn, I used Lion Brand’s Go For Faux
- Tapestry needle
Abbreviations:
- ch - chain
- st(s) - stitch(es)
- sc - single crochet
- dc - double crochet
- sl st - slip stitch
- sc2tog - single crochet two together
Gauge:
12 sts x 7 rows = 4″ square
Note:
– The width is measured at the crown.
Hat:
Baby Size (5″ wide x 6.5″ tall):
Make a magic circle and ch 2.
Round 1: 10 dc in circle, pull to close, sl st to join (10).
Round 2: Ch 2, 2 dc in each st around, sl st to join (20).
Round 3: Ch 2, *2 dc, dc,* repeat from * around, sl st to join (30).
Round 4: Ch 2, *2 dc, dc next 2 sts,* repeat from * around, sl st to join (40).
Rounds 5-11: Ch 2, dc in each st around, sl st to join (40).
Fasten off, weave in end.
Optional: Continue with “side earflaps” section.
Toddler/Child Size (6″ wide x 7.5″ tall):
Make a magic circle and ch 2.
Round 1: 10 dc in circle, pull to close, sl st to join (10).
Round 2: Ch 2, 2 dc in each st around, sl st to join (20).
Round 3: Ch 2, *2 dc, dc,* repeat from * around, sl st to join (30).
Round 4: Ch 2, *2 dc, dc next 2 sts,* repeat from * around, sl st to join (40).
Round 5: Ch 2, *2 dc, dc next 3 sts,* repeat from * around, sl st to join (50).
Rounds 6-13: Ch 2, dc in each st around, sl st to join (50).
Fasten off, weave in end.
Optional: Continue with “side earflaps” section.
Teen/Adult Size (7″ wide x 8.5″ tall):
Make a magic circle and ch 2.
Round 1: 10 dc in circle, pull to close, sl st to join (10).
Round 2: Ch 2, 2 dc in each st around, sl st to join (20).
Round 3: Ch 2, *2 dc, dc,* repeat from * around, sl st to join (30).
Round 4: Ch 2, *2 dc, dc next 2 sts,* repeat from * around, sl st to join (40).
Round 5: Ch 2, *2 dc, dc next 3 sts,* repeat from * around, sl st to join (50).
Round 6: Ch 2, *2 dc, dc next 4 sts,* repeat from * around, sl st to join (60).
Rounds 7-14: Ch 2, dc in each st around, sl st to join (60).
Fasten off, weave in end.
Optional: Continue with “earflap” section.
Side Earflaps:
Right Flap:
Row 1: Sc next 10 sts, turn (10).
Row 2: Ch 1, sc2tog, sc 6, sc2tog, turn (8).
Row 3: Ch 1, sc in each st across, turn (8).
Row 4: Ch 1, sc2tog, sc 4, sc2tog, turn (6).
Row 5: Ch 1, sc in each st across, turn (6).
Row 6: Ch 1, sc2tog, sc 2, sc2tog, turn (4).
Row 7: Ch 1, sc in each st across (4).
Fasten off, weave in ends.
Left Flap:
Lay the hat on its side with the left ear side facing you. Line up the side with the earflap you just made with slightly more stitches in the front than in the back.
Faux Yarn:
Pick up a st on the front of the hat before the earflap.
Sc in each st across until you reach the other earflap.
Ch 1, turn, sc in each st across.
Repeat rows of sc until you have 5 rows for the baby size, 6 rows for the toddler/child size, and 7 rows for the teen/adult size.
Fasten off.
Fold flap up and with tapestry needle and faux yarn, attach to the hat.
Fasten off on the inside of the hat and weave in ends.
Pick up a st on the hat where the earflap starts and sc evenly around the hat.
Fasten off when you reach the other end.
Fasten off and weave in ends.
Side Braids:
Cut 12 strands of 40″ long pieces of yarn.
Fold in half and pull the middle through the bottom of the earflap.
Yarn over and pull all strands through.
Braid strands and tie at the bottom.
Repeat on the other side, make sure they are even.
Trim ends.
Finishing tips: If the fit feels too snug or loose, add or remove rounds of dc in the main body before working earflaps. Use the faux-fur trim to cover any joining seams for a neater finish. Weave in ends securely and block lightly if desired to shape the hat.
- Funny Pictures
-
 Fresh Animal Memes to Mix in Your Morning Coffee
-
 The Funniest Tweets of the Day
-
 Hilarious Tweets to Get Your Thoughts Clear
- Recipes
-
 Crispy Bean Tostadas with Smashed Avocado and Jicama-Cilantro Slaw
-
 Mango “Burrito” Bowls with Crispy Tofu and Peanut Sauce
-
 Baklava Granola
- Lifehacks
-
 Crochet Tutorial: Textured Bobble Stitch
-
 Crochet Tutorial: Brick Stitch
-
 Crochet Wheat Stitch Tutorial
- Crochet Ideas
-
 Crochet Pumpkin Bear
-
 Crochet Santa Placemat
-
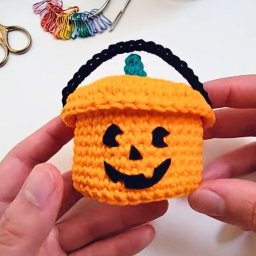 Crochet Mini Boo Bucket for Treats and Decor
- DIY
-
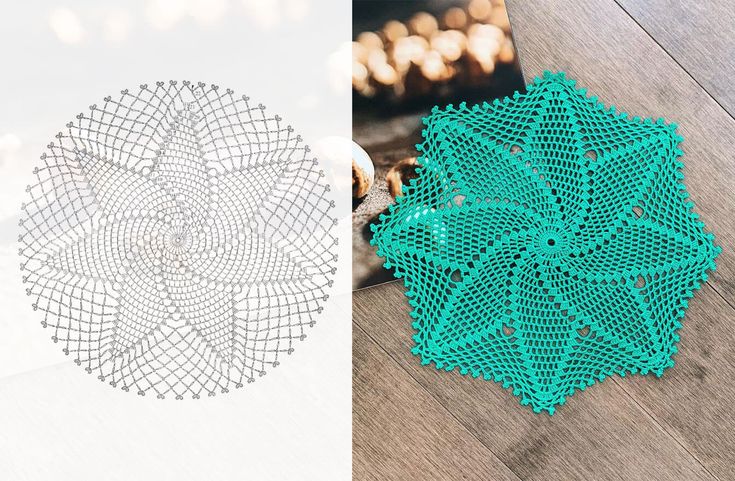 Make a Crochet Spiral Star Doily — Free US-Term Pattern & Tips
-
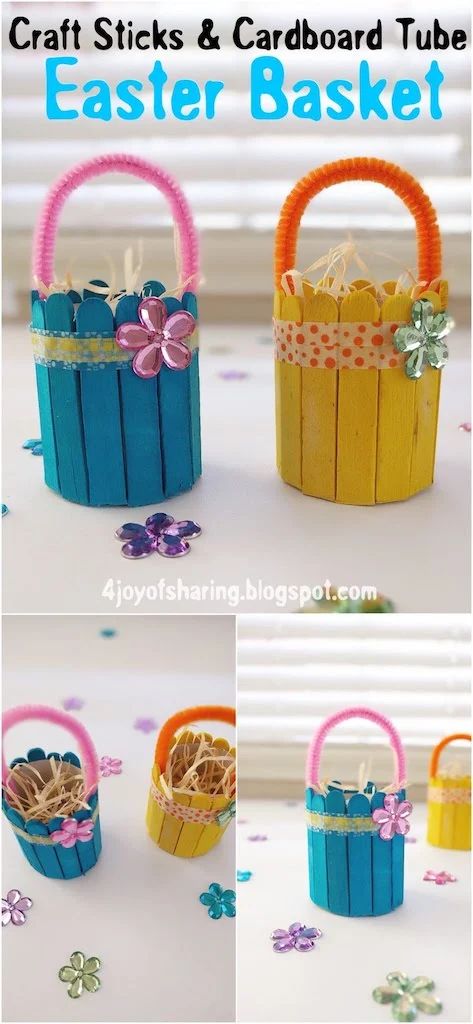 Easy DIY Easter Basket from Craft Sticks and a Cardboard Tube — Step-by-Step
-
 DIY Yarn-Wrapped Letter Bookmarks — Cute Personalized Bookmarks in Minutes
- Knitting Ideas
-
 DIY Knitted Waffle Kitchen Towel — Easy Pattern for a Textured, Absorbent Cotton Towel
-
 Make an Adorable Knitted Scrappy Bandana Bib — Easy Garter-Stitch Baby Pattern
-
 Quick & Cozy Knitted Wrist Pincushion — Easy Pattern and Step‑by‑Step Instructions