Crochet Beautiful Rose Tutorial

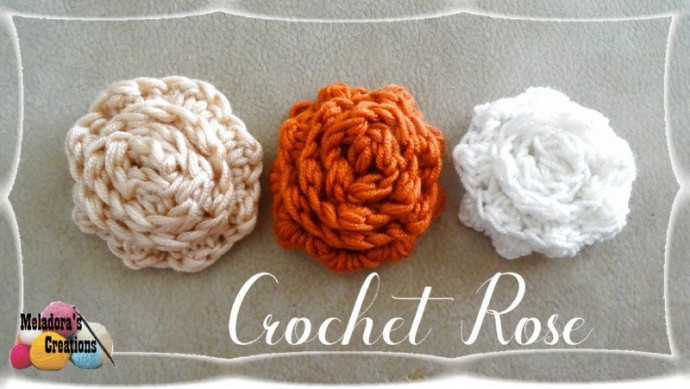
Creating a beautiful crochet rose is a delightful and rewarding craft project that allows you to express your creativity and add a touch of whimsy to your home decor or gifts for loved ones. With just a hook, some yarn, and a bit of patience, you can bring to life these charming flowers that never wilt. Whether you're a seasoned crocheter or a beginner, the process of crafting a crochet rose is both relaxing and fulfilling. The intricate loops and stitches come together to form a stunning flower that can be used as a decorative embellishment on hats, scarves, or even as standalone pieces. So grab your materials, put on some soothing music, and let your imagination bloom as you crochet your own beautiful rose!
Materials Needed
For this project you’ll need:
- Hook: 5 mm hook or size H hook for the US
- Yarn: A small amount of Medium 4 worsted weight yarn / Aran 10 ply. This would make a great scrap yarn project
Abbreviations
- ch = Chain
- sl st = Slip Stitch
- st = Stitch
- SC = Single Crochet
- DC = Double Crochet
Repeat what’s in between * for the rest of the round.
Tips
- Make sure to leave a small tail before you make your slip knot, that can be worked in later.
Instructions to Start Crocheting
Step 1: Initial Chains
Ch 50
Step 2: Row 1
sc in 2nd ch from hook. * Ch 2, skip 1 ch, sc into next * repeat for the row. You should end perfectly on a sc. Ch 1 and turn.
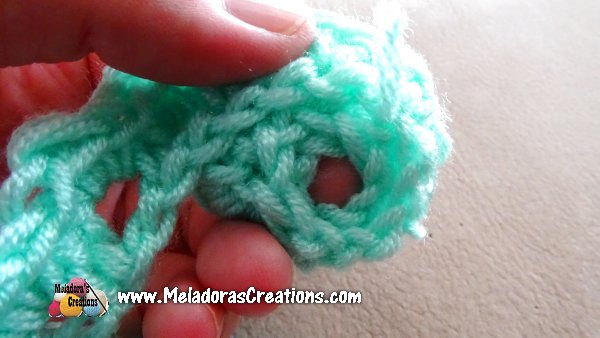
Step 3: Row 2
We’ll be working in the ch 2 spaces from the last row.
Sc, dc, sc into ch 2 space. Repeat for the row.
You will notice your row starting to curve. That is what you want. Just a tip: Make sure the sc that you do after your dc won’t be loose. You want it to curve slightly to make your petals look better.
Step 4: Finishing the Row
At the end of the row ch 1 and cut your yarn, leaving a long tail for sewing. Leave even more of a tail if you plan on sewing the flower onto something.
Assembling the Rose
Step 1: Hiding the Tail
The first thing you should do is hide your first tail.
Step 2: Preparing to Roll the Flower
Then I highly recommend you thread your needle through the long tail because once you start rolling your flower, you’ll only have one hand!
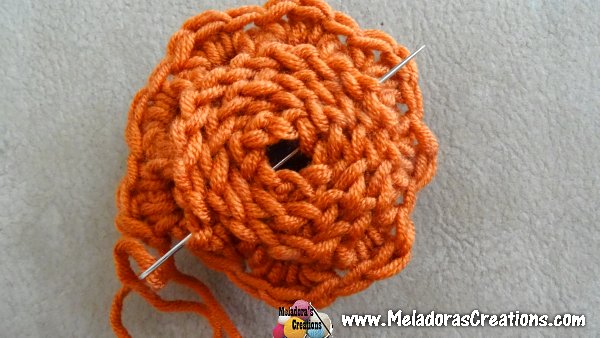
Step 3: Starting to Form the Flower
Make sure the front side of your work is facing you. Then using your finger, start to wrap your piece around your finger.
The trick is always making sure that all your rows are showing as you wrap it.
Really take your time here and make sure you can keep all your rows in view.
Step 4: Securing the Last Petal
Then going through the bottom ch of the ending tip and into all of your rows on the back.
Pull through and * repeat but move over 2 sts then insert your hook again through all the stitches.*
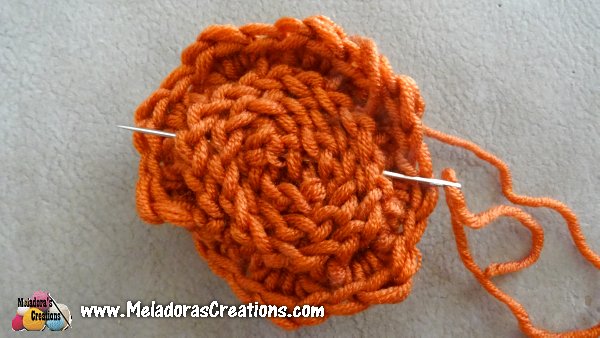
Keep repeating until none of your petal rows are loose. Then turn it over.
- Funny Pictures
-
 These are the Pics That Simply Describe Your Life
-
 Hilariously Accurate Parenting Memes That Show the Other Side of Parenthood
-
 Great Pics That Just Depict Our Lives
- Recipes
-
 Crispy Baked Avocado Fries
-
 Baked Beans and Hot Dogs with Biscuit Topping
-
 Roasted Rosemary Lemon Chicken Breasts
- Lifehacks
-
 Crochet Basics: Twisted Fringe
-
 7 Crochet Tips And Tricks
-
 How To Work Crochet Into Denim
- Crochet Ideas
-
 Crochet Snorlax Plushie Doll
-
 Crochet Cat in 1 Row
-
 Crochet Beautiful Penguin Toy
- DIY
-
 Popsicle Stick and Jingle Bell Christmas Tree Ornament
-
 Upcycled Mason Jar Chicken Vase
-
 Crochet Namaste Stephanie Doll
- Knitting Ideas
-
 Knitted Keepsake Bag
-
 Knitted Textured Heart Dishcloth
-
 Knitted Snowfall Dishcloth