Crochet Birthday Cake Pin Cushion Tutorial

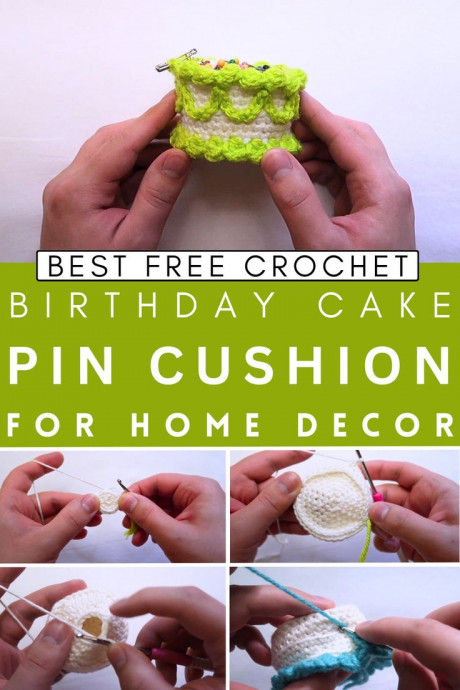
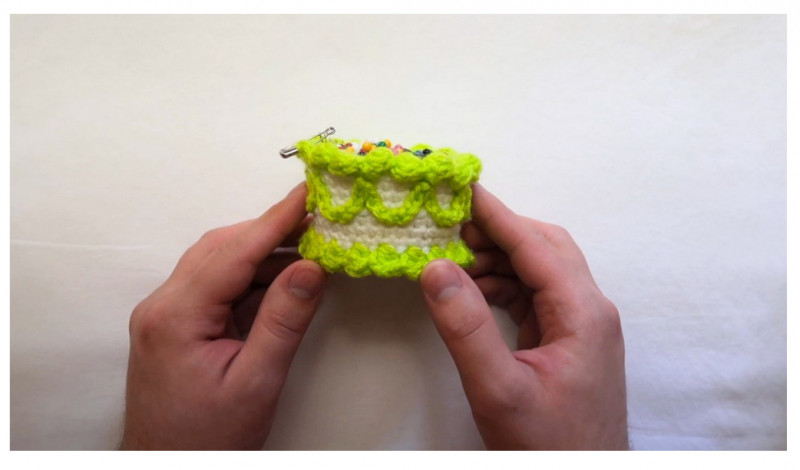
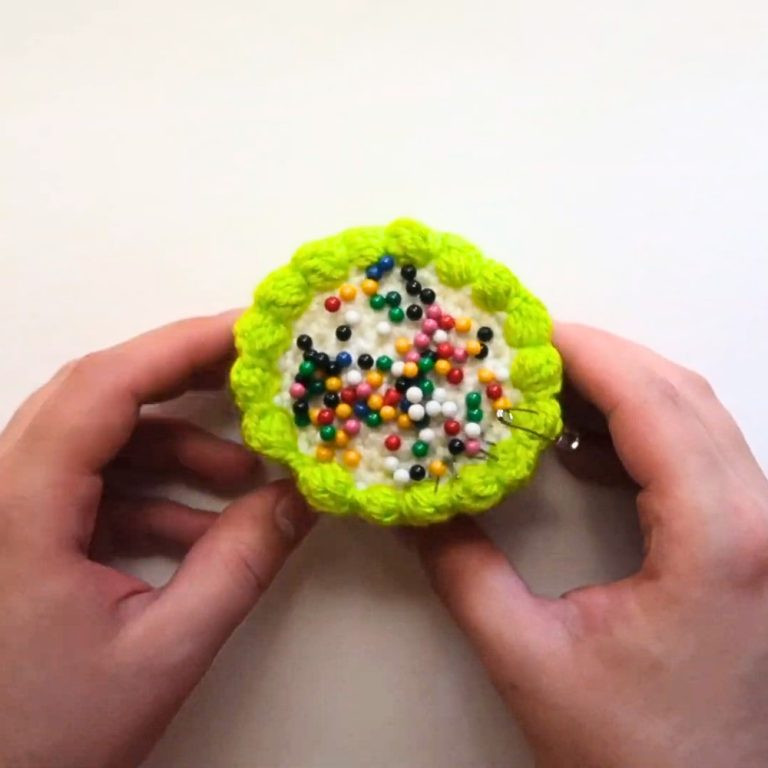
How adorable is the Crochet Birthday Cake Pin Cushion? It's not just a handy sewing accessory; it's a charming addition to your crafting corner! With its vibrant colors and intricate details, this pin cushion brings a touch of whimsy to your workspace. Imagine reaching for a pin and being greeted by a tiny crochet slice of cake - that's sure to bring a smile to your face every time! It's the perfect blend of practicality and cuteness, making it a delightful gift for any crafting enthusiast.
Step-by-Step Instructions
1. Introduction
2. Materials Needed
- 3.25 mm crochet hook
- Worsted weight yarn (at least two colors)
- Stuffing (preferably scrap yarn)
- Tapestry needle
- Marker (optional, scrap piece of yarn recommended)
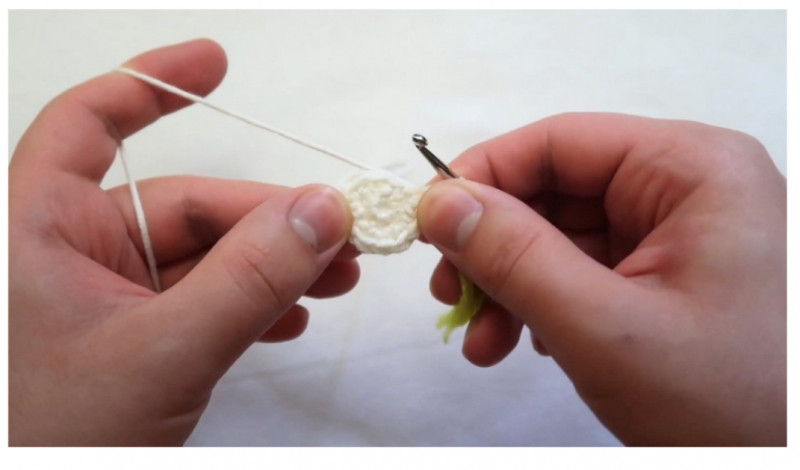
3. Creating the Base of the Pin Cushion
Magic Loop
Begin by creating a magic loop and crocheting six single crochets into it.
Increase Rounds
Round 1: Increase six times (12 stitches).
Round 2: Single crochet one, increase six times (18 stitches).
Round 3: Single crochet two, increase six times (24 stitches).
Round 4: Single crochet three, increase six times (30 stitches).
Round 5: Unique increase – Single crochet two, increase, then single crochet four, increase five times, and single crochet two (36 stitches).
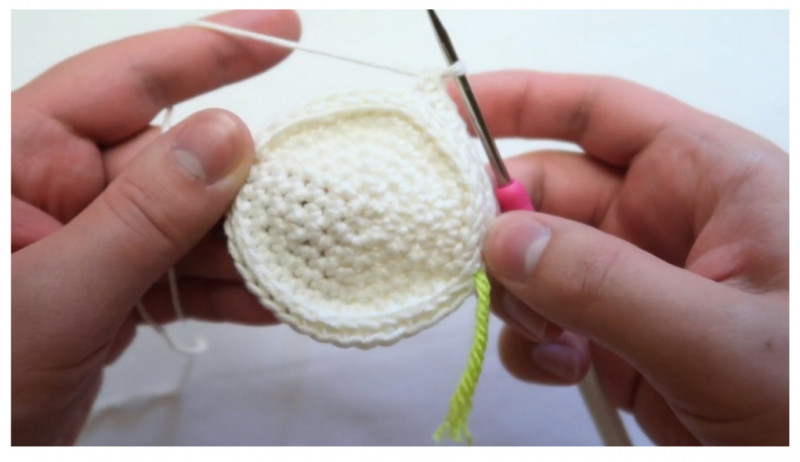
Building the Height
Single Crochets in the Back Posts
Create a round of 36 single crochets in the back posts only.
Single Crochets in the Back Loops
Follow with a round of single crochets in the back loops only.
Plain Rounds
Crochet two rounds of regular single crochets.
Center Round
Another back loops only round to divide the cake into layers.
Bottom Cake Round
Crochet two plain rounds.
Turning Corner
Create a round of single crochets in the back posts only.
Decreasing for the Bottom
Decrease Rounds
Round 1: Single crochet four, decrease six times (30 stitches).
Round 2: Single crochet three, decrease six times (24 stitches).
Round 3: Single crochet two, decrease six times (18 stitches).
Round 4: Single crochet one, decrease six times (12 stitches).
6. Stuffing and Closing
Stuff the cake firmly but not overly so to maintain its shape.
Final decrease round to close off with six stitches.
Use a tapestry needle to weave through and close the hole.
Adding the Frosting
Top Frosting
Attach a secondary color and create clusters:
Chain three, four double crochet clusters. Skip one stitch, slip stitch into the next. Continue this pattern all the way around.
Frosting Tassels
Chain five, slip stitch between clusters.
Chain another five, slip stitch two stitches over in the next round, and repeat until done.

Bottom Frosting
Repeat the same frosting process on the bottom layer but work from the outside in.
8. Finishing Touches
Secure any loose ends.
Use auxiliary yarn to neatly secure and shape the frosting.
Trim excess yarn and finalize the shape by adjusting the u-shape frosting arrangements.
- Funny Pictures
-
 Cute Cat Memes That Will Make Your Day Brighter
-
 Spot-on and Funny Memes About Introverts Struggles
-
 Top Wonderful Cat Memes on Their Way to Better Your Day
- Recipes
-
 Creamy Old Fashioned Rice Pudding
-
 Russian Tea Cakes (Snowball Cookies)
-
 Rigatoni with Sausage, Tomatoes, and Zucchini
- Lifehacks
-
 How to Crochet a Harlequin Stitch
-
 Removing The Toughest Stains
-
 Crochet Basics: Crumpled Griddle Stitch
- Crochet Ideas
-
 Crochet Christmas Tree
-
 Crochet Goblet of Fire
-
 Crochet Adorable Ammonite
- DIY
-
 DIY Snowman Wreath
-
 Mini Santa Sleigh Ornament
-
 Crochet Gingerbread House Blanket
- Knitting Ideas
-
 Knitted Easter Bunny
-
 Knitted Mobile Phone/Glasses Case
-
 Knitted Cabled Wallet