Crochet Birds: Whimsical Handmade Decorations

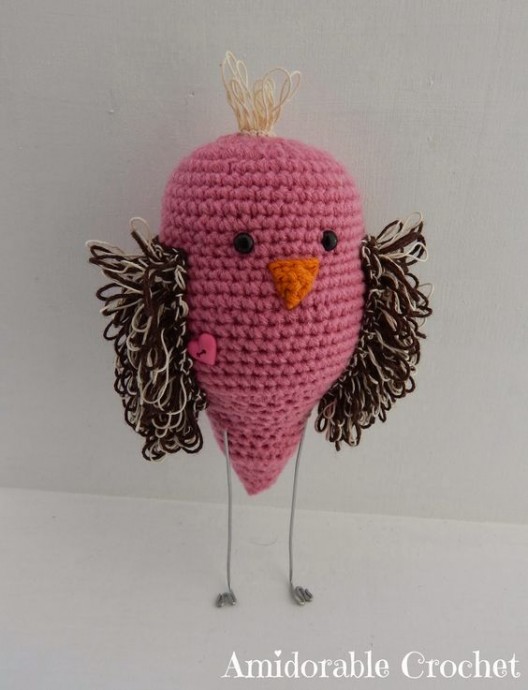
Crochet birds are not just charming decorations; they are a delightful way to add a touch of whimsy to your space. These handmade creations come in all shapes and colors, making them the perfect choice for brightening up any room. The intricate details and soft textures of crochet birds make them irresistible to touch and admire. Whether you hang them from a mobile, use them as keychains, or display them on a shelf, these little feathered friends are sure to bring a smile to your face. So next time you're looking to add a bit of playful cheer to your home, consider welcoming a crochet bird into your life.
Supplies
- 3mm Crochet Hook
- 2mm Crochet Hook (You will use this Hook to crochet the Beak and Hair only)
- 8mm Safety Eyes
- Worsted Weight Yarn (For The Bird and Beak)
- Crochet Thread (For The Wings and Hair)
- Scissors
- Needle
- Stuffing
- 9 Gauge Craft Wire
- Small Pliers
Abbreviations
- Ch - Chain
- Sc - Single Crochet
- Inc - Increase
- Dec - Decrease
- Lpst - Loop Stitch
- Fo - Fasten Off
Bird
RND 1: You will be starting at the top of your Bird's head. With worsted weight yarn, 6sc in magic ring (Or ch2, 6sc in the second ch from the hook) (6)
RND 2: Inc x 6 (12)
RND 3: Inc x 12 (24)
RND 4: Sc x 24 (24)
RND 5: Inc x 24 (48)
RND 6-16: Sc x 48 (48)
RND 17: [Sc x 5, dec] x 6, sc x 6 (42)
RND 18-23: Sc x 42 (42)
RND 24: Sc x 16, dec x 13 (29)
RND 25-26: Sc x 29 (29)
RND 27: Sc x 16, [sc, dec] x 4, sc (25)
RND 28: Sc x 25 (25)
RND 29: Sc x 15, [sc, dec] x 3, sc (22)
RND 30-32: Sc x 22 (22)
RND 33: Sc x 13, dec x 4, sc (18)
RND 34: Dec x 3, sc x 6, dec x 3 (12)
Now insert your eyes. The stitch that is on your hook now is the front of your doll. Use this as a guide as to where to place the eyes. I placed my eyes 11 rows down and 6 rows apart. Then stuff your doll firmly, continuing to stuff it as you work throughout the rest of the pattern.
RND 35-36: Sc x 12 (12)
RND 37: Dec x 2, sc x 6, dec (9)
RND 38: Sc x 9 (9)
RND 39: Dec x 4, sc (5)
RND 40: Dec x 2 (2), fo and sew closed
Wing (Make 2)
Row 1: To make the wings you use two strands of crochet thread at the same time. I chose to use two different colors. Ch2 (2)
Row 2: Turn, 2 sc in second ch from hook (2)
Row 3: Turn, ch, inc x 2 (4)
Row 4: Turn, ch, sc x 4 (4)
Row 5: Turn, ch, lpst x 4 (4)
Row 6: Turn, ch, inc, sc x 2, inc (6)
Row 7: Turn, ch, lpst x 6 (6)
Row 8: Turn, ch, inc, sc x 4, inc (8)
Row 9: Turn, ch, lpst x 8 (8)
Row 10: Turn, ch, sc x 8 (8)
Row 11-20: Repeat Row 9-10 (8)
Row 21: Turn, ch, lpst x 8 (8), leave a long tail and fo
Hair
RND 1: With a 2mm hook and crochet thread, 6sc in magic ring (Or ch2, 6sc in the second ch from the hook) (6)
RND 2: Inc x 6 (12)
RND 3: lpst x 12 (12), leave a long tail and fo
Beak
Row 1: With a 2mm hook and worsted weight yarn, ch4 (4)
Row 2: Turn, sc x 3 (3)
Row 3: Turn, ch, dec, sc (2)
Row 4: Turn, ch, dec (1), leave a long tail and fo
Legs
To make the legs, cut a long piece of 9 gauge wire to the desired length for both legs. I made each leg on my doll about 4" tall. Remember to add a bit more length because you will bend the ends of the wire to create your doll's feet and you need some for the wire that will be positioned between both legs. Bend the wire and poke it through your Doll where you want the legs placed. Then bend the legs straight and shape the feet. Small jewelry pliers are handy for bending the craft wire, especially when making the feet.
Assembly
Now sew the wings onto your Bird. Sew on the beak and hair, and weave in all ends.
- Funny Pictures
-
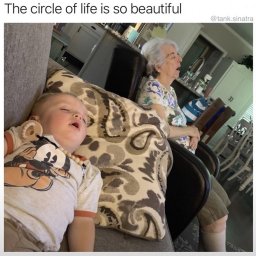 An Assortment of Fresh Memes to Offer the Entertainment you Crave
-
 Parenting Tweets for the Ones Out There Doing Their Best
-
 Mom Memes That Will Make You Laugh So Hard it Will Wake up Your Kids
- Recipes
-
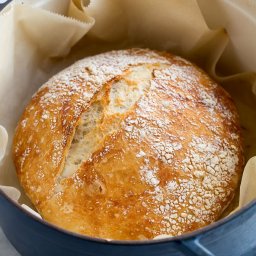 No Knead Bread
-
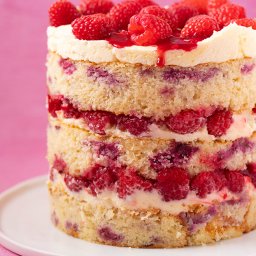 Raspberry Ripple Cake
-
 Vegan Buffalo Cauliflower Tacos
- Lifehacks
-
 Crochet Basics: Sedge Stitch
-
 7 Quick & Easy Kitchen Time-Savers
-
 Knitting Basics: Italian Tubular Cast On
- Crochet Ideas
-
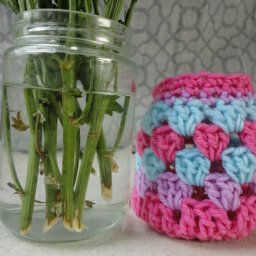 Crochet Granny Mason Jar Cover
-
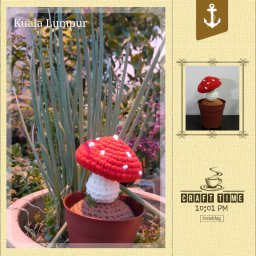 Crochet Amigurumi Mushroom Plant
-
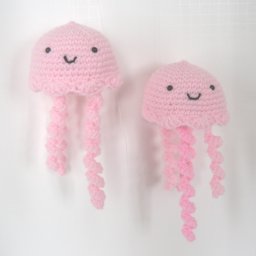 Crochet Adorable Jellyfish
- DIY
-
 DIY Snowman Wreath
-
 Mini Santa Sleigh Ornament
-
 Crochet Adorable Baked Cake
- Knitting Ideas
-
 Knitted Mobile Phone/Glasses Case
-
 Knitted Wrist Warmers
-
 Knitted Garter Snake Toy