Crafting an Adorable Goose Bird Amigurumi

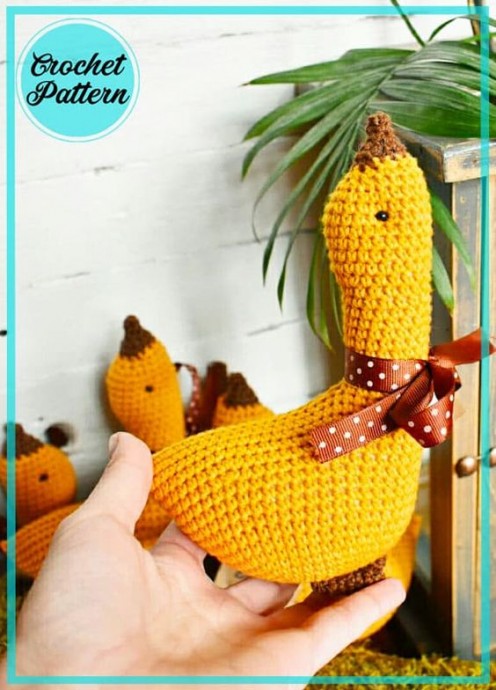
Discover the enchanting world of crochet with this adorable Goose Bird Amigurumi! Immerse yourself in the art of creating intricate designs using just a hook and some yarn. This delightful project will not only challenge your creativity but also provide a sense of accomplishment as you watch your crochet goose come to life. With every stitch, you'll feel a sense of tranquility and joy, as the soft yarn glides through your fingers, transforming into a whimsical creature. Whether you're a seasoned crocheter or a beginner, this project is perfect for honing your skills and exploring the limitless possibilities of crochet. So grab your hook, choose your favorite colors, and let your imagination take flight with this delightful crochet goose bird amigurumi!
Abbreviations
AR – Amigurumi Magic ring
MR – Amigurumi Magic ring
App – Application
ll – Lift loop
sc : Single Crochet
inc : Increase
dec : Decrease
tr : Triple Crochet/ Treble Crochet
st: Stitch
dc : Double Crochet
hdc: Half Double Crochet
sl-st : Slip Stitch
ch : Chain
..in : Make increase into the same stitch as many as given in front of “inc” abbreviation (e.g., 3inc, 4inc...).
FLO : Crochet into front loops only
BLO : Crochet into back loops only
Special Stitches
BL : Bobble Stitch – Do 5dc all in the same stitch and then yarn over and pull through all the loops on your hook (the original loop + 1 loop for each partially completed dc).
You Will Need
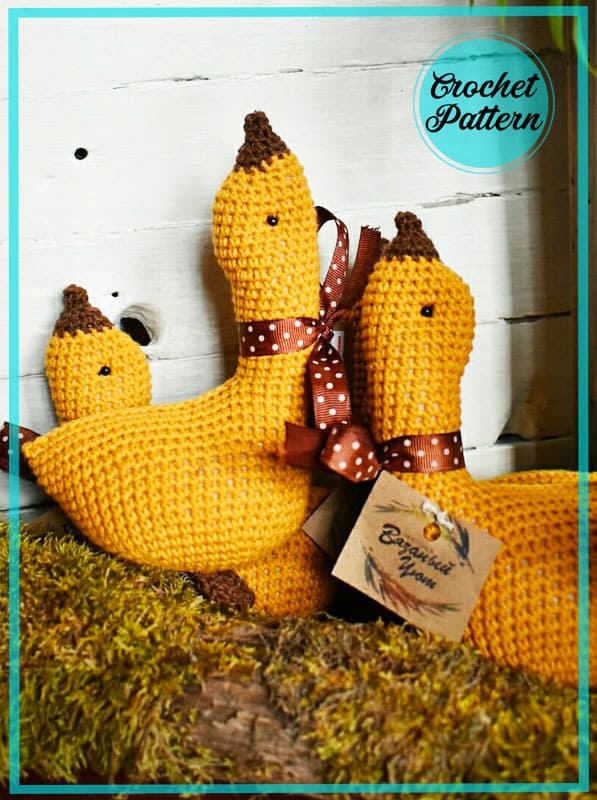
- YarnArt Jeans yarn (mustard color) as the main color of the toy;
- YarnArt Jeans yarn (chocolate color) for the beak and legs;
- A piece of brown ribbon for a bow;
- Filler – holofiber;
- Hook number 3-4;
- Black beads for the eyes;
- Scissors;
- Needle for stitching parts.
Body, Neck, and Head Instructions
We begin to knit with mustard color from below, then move on to the neck and head.
1. 6 sc in MR (6);
2. 6 inc (12);
3. (sc, inc)*6 (18);
4. (2 sc, inc)*6 (24);
5. (3 sc, inc)*6 (30);
6. (4 sc, inc)*6 (36);
7. (5 sc, inc)*6 (42);
8. (6 sc, inc)*6 (48);
9-15. 48 sc;
16. (7 sc, inc)*6 (54);
17. (8 sc, inc)*6 (60);
18-21. 60 sc.
Next, we fold the resulting part in half and connect the two sides together with connecting posts. We crochet 21 connecting posts. We fill the goose’s body through the remaining hole. Next, we will shape the neck.
22. Knit around the remaining hole 18 sc;
23-33. 18 sc;
34. At the beginning of the row, make 4 increments in a row (to form the head), continue row 14 sc;
35-41. 22 sc;
42. At the beginning of the row, make 4 decreases in a row (to move on to knitting the beak), continue row 14 sc;
43. (1 sc, dec)*6 (12).
In the course of knitting, we stuff the neck of the goose with holofiber. Change the thread of the base color to chocolate or whatever color you choose for the beak.
44-45. 12 sc;
46. 6 dec (6);
47-48. 6 sc;
49. 3 slst.
Legs Instructions
We crochet with yarn of the same color as the beak. We make two parts.
1. 6 sc in MR;
2-6. 6 sc.
Sew the legs in the lower part of the body. Sew the eyes symmetrically on both sides, making a tightening. Tie a ribbon or lace bow around your neck for decoration.

- Funny Pictures
-
 True and Simple Pics That Describe All of Us
-
 Fresh Animal Memes to Mix in Your Morning Coffee
-
 The Funniest Tweets of the Day
- Recipes
-
 Creamy Old Fashioned Rice Pudding
-
 Cream of Mushroom Soup
-
 Homemade Breakfast Sausage
- Lifehacks
-
 Crochet Basics: Crumpled Griddle Stitch
-
 Crochet Basics: Sedge Stitch
-
 Surprising Ways to Use Dryer Sheets
- Crochet Ideas
-
 Crochet Goblet of Fire
-
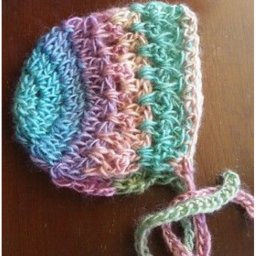 Crochet Sweet Baby Bonnet
-
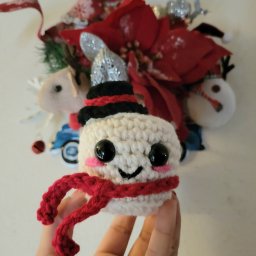 Crochet Festive Marshmallow
- DIY
-
 DIY Snowman Wreath
-
 Mini Santa Sleigh Ornament
-
 Crochet Hot Dog
- Knitting Ideas
-
 Knitted Mobile Phone/Glasses Case
-
 Knitted Spooky Spider
-
 Knitted Adorable Inuk