Crochet Ruffley Granny Square: A Charming Pattern for All Skill Levels

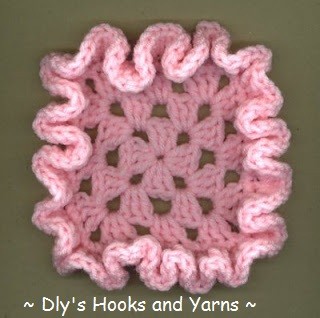
Discover the art of creating a Crochet Ruffley Granny Square, a delightful twist on the classic crochet pattern. This unique design adds a touch of whimsy and texture to your crochet projects. The Ruffley Granny Square features delicate ruffles that cascade around the edges, creating a beautiful and eye-catching effect. With its intricate details and charming appeal, this crochet pattern is sure to impress both beginners and experienced crocheters alike. Whether you're looking to add a unique flair to your home decor or create a one-of-a-kind gift for a loved one, the Crochet Ruffley Granny Square is a versatile and exciting pattern that will inspire you to create something truly special.
Materials
- 4-ply worsted weight acrylic yarn (I used RHSS)
- I hook
Notes:
- I crochet tight, so you may need to adjust the size of your crochet hook.
- You can make this granny any size that you would like - just crochet however many granny stitch rounds you would like and then add Rnd 4 and the ruffle rnd.
Directions
Rnd 1: Ch 4, 2 dc in 4th ch from hook. (Ch 2, 3 dc in same ch) 3 times. Ch 2, join with a sl st to top of beginning ch 3.
Rnd 2: Sl st in next 2 dc, sl st in corner space. (Ch 3, 2 dc, ch 2, 3 dc) in same sp. *Ch 1, (3 dc, ch 2, 3 dc) in next corner sp. Repeat from * 3 times. Ch 1, join as before.
Rnd 3: Sl st in next 2 dc, sl st in corner sp. (Ch 3, 2 dc, ch 2, 3 dc) in same sp. *Ch 1, 3 dc in ch 1 sp, ch 1, (3 dc, ch 2, 3 dc) in next corner sp. Repeat from * 2 more times. Ch 1, 3 dc in ch 1 sp, ch 1, join as before.
Rnd 4: Ch 1, sc in same st. Sc in each dc and ch 1 sp around with 3 sc in each corner sp. Join with a sl st to front loop only of 1st sc.
Ruffle Rnd: (Work this rnd in front loops only) Ch 3, 2 dc in same st, 3 dc in each sc around. Join with a sl st to top of beginning ch 3.
Sl st or sew squares together from the back in the free back loops.
~~This square would work with no-ruffle squares nicely - just place them in a checkerboard pattern. i.e. ruffle square, plain square, ruffle square, plain square - and then switch the order of the squares for the next row.
- Funny Pictures
-
 Cool Memes to Take a Rest
-
 Memes That Describe Parenting the Best
-
 Hilarious and Cute Animals to Upper Your Mood
- Recipes
-
 Lemon Cheesecake Cookies (Soft-Baked)
-
 Instant Pot Cabbage Soup
-
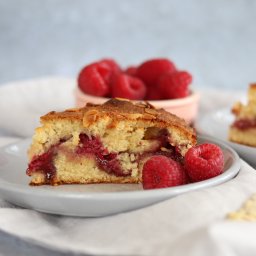 Raspberry Bakewell Cake
- Lifehacks
-
 Russian Join for Crocheting and Knitting
-
 11 Organization Hacks for Clutter Control
-
 Tips for Washing Yellowed Pillows
- Crochet Ideas
-
 Crochet Sophia and Bennet Love Birds
-
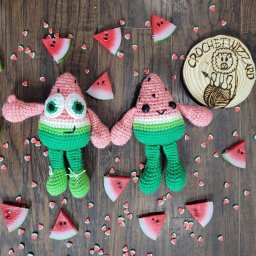 Crochet Watermelon Buddies Toys
-
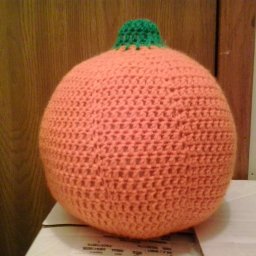 Crochet Large Pumpkin
- DIY
-
 DIY Beaded Christmas Tree
-
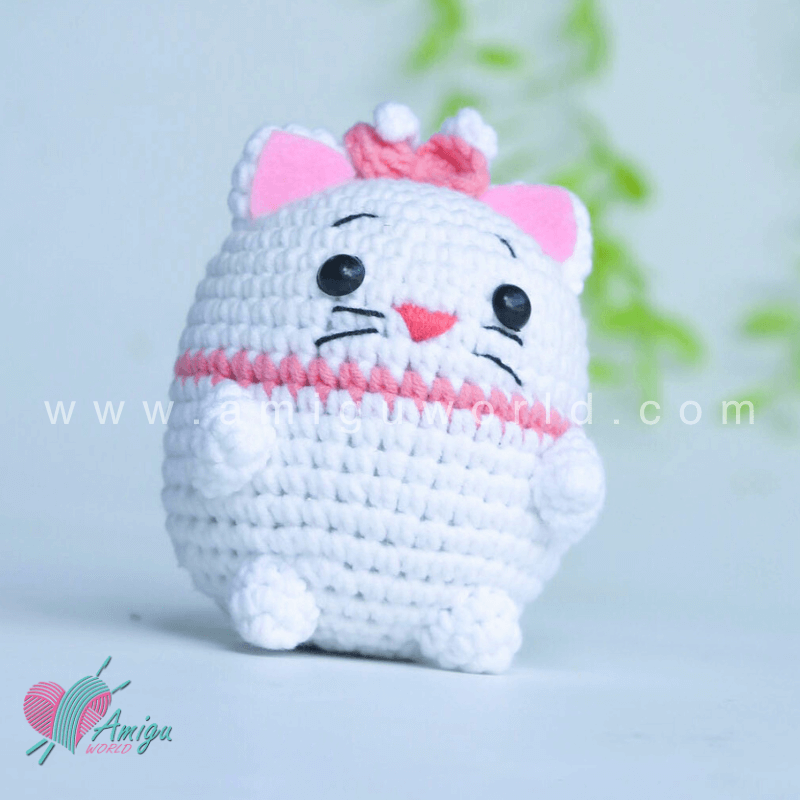 Crochet Chibi Marie Cat Amigurumi
-
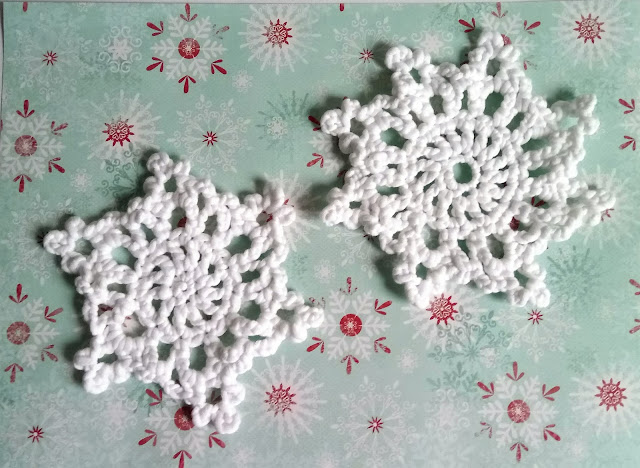 Crochet Beautiful Snowflakes
- Knitting Ideas
-
 Knitted Free 2025 Year Dishcloth
-
 Knitted Ribbed Adult Hat
-
 Knitted Checkers Blanket