Crochet Granny Square Coaster

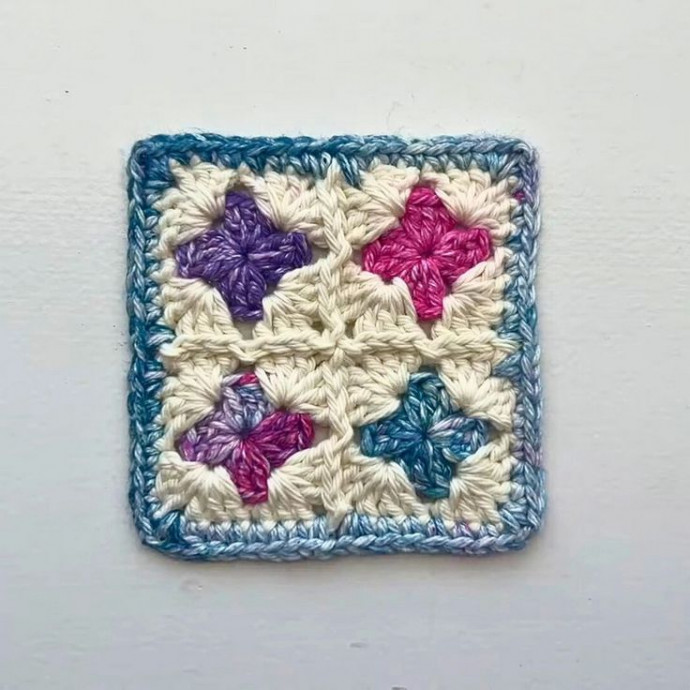
Looking to add a touch of charm to your coffee table? Why not try crocheting some adorable Granny Square Coasters! These cute and practical coasters are perfect for keeping your beverages in check while giving your space a cozy and homemade touch. With simple stitches and countless color combinations to choose from, you can have fun creating your personalized set to impress your guests. So grab your yarn, crochet hook, and let's get crafting these delightful coasters together!
Materials and Preparation
To create your very own granny square coaster, you'll need the following materials:
Yarn:
Worsted weight cotton yarn- First round: Approximately 1.25 yards
- Second round: Approximately 3 yards
- Border: Approximately 4 yards
Hook:
3.5 mm crochet hook
Additional Tools
- Scissors
- Darning needle (for weaving in ends)
Abbreviations and Notes
Here are the abbreviations you'll encounter in this pattern:
- MR: Magic Ring
- CH: Chain
- DC: Double Crochet
- SC: Single Crochet
- SS: Slip Stitch
Important Notes
- This coaster project is perfect for using up leftover yarn, making it an excellent scrap yarn project.
- The video tutorial can provide visual guidance throughout the process.
Gauge, Approximate Size, and Pattern Notes
Gauge:
Not crucial for this project.Finished Dimensions:
Approximately 3.75 inches square.Special Techniques:
Magic Ring (MR) is used at the beginning. A gauge swatch is not necessary.
Step-by-Step Pattern
Granny Square Centers
Make four granny square centers.
- Begin with a MR.
- CH 3 (counts as the first DC), then work 2 DC in the ring, and CH 1.
- Repeat the following three times:
- 3 DC in the ring.
- CH 1.
- Pull the ring tight and SS in the top of the beginning CH 3 to join.
- Cut your yarn and weave in your ends.
- Pause here until you have made four of these centers.
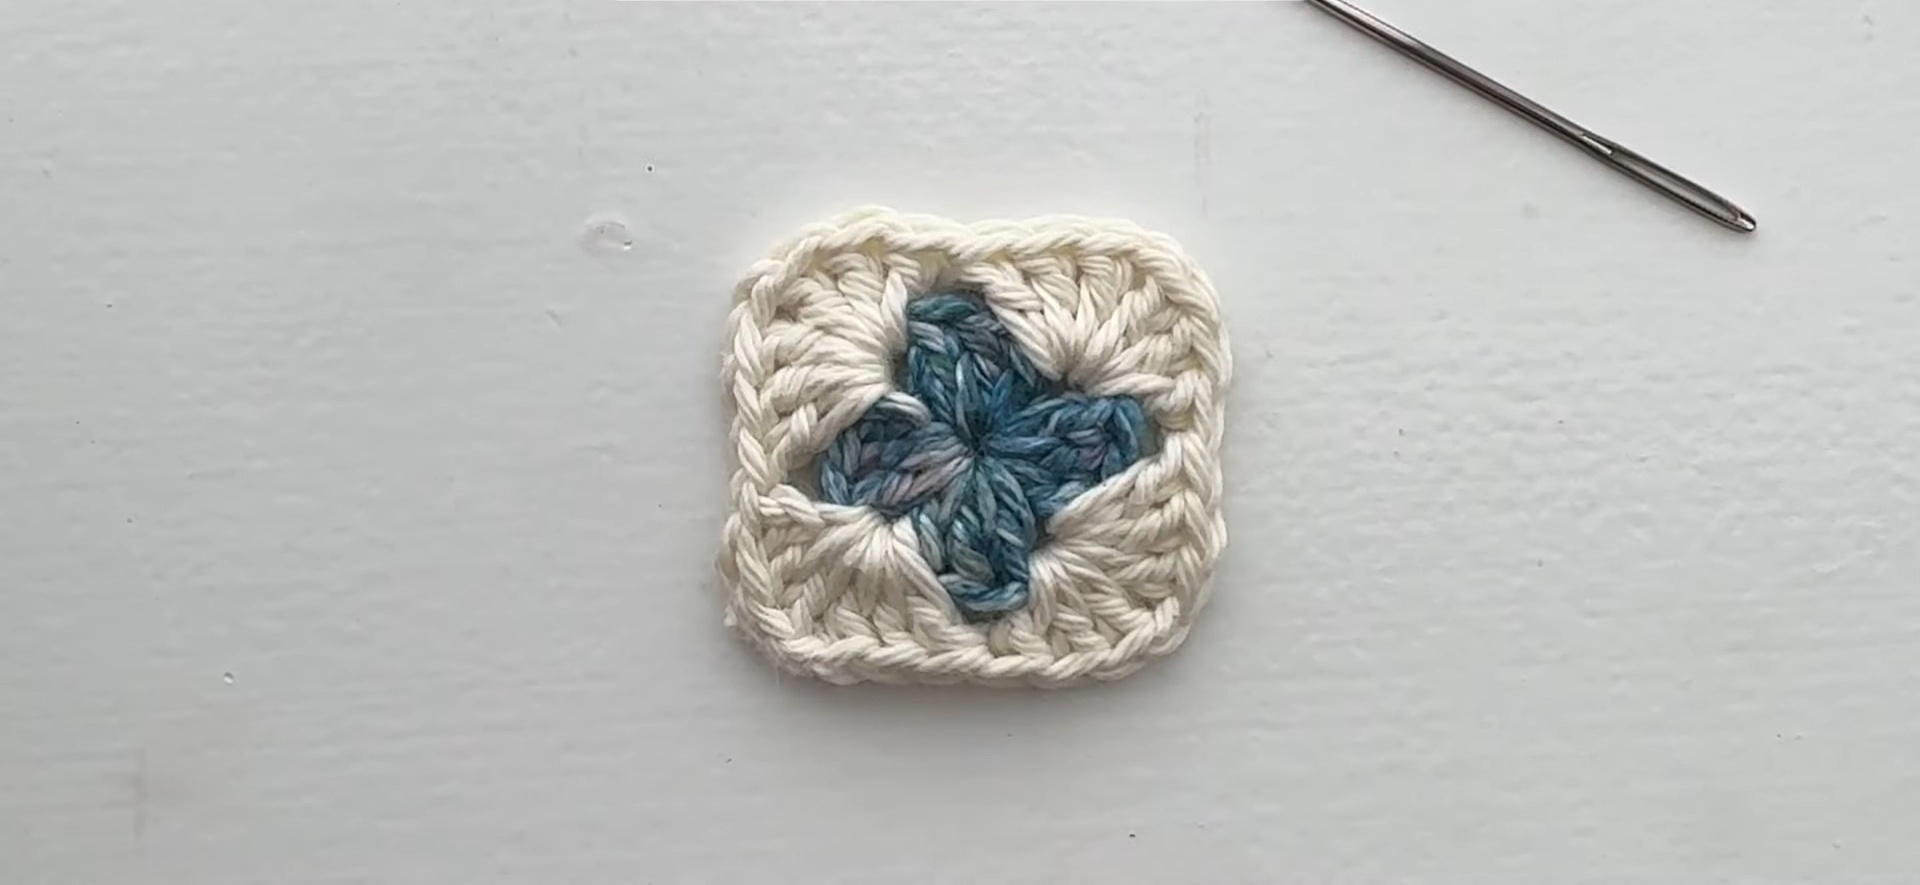
Connecting Squares
Start with one square center and attach new yarn in any CH 1 space to begin forming complete squares:
- CH 3 (counts as DC) in the same CH space, work 2 DC, CH 1, and 3 DC (first corner created).
- In the next CH 1 space, work 3 DC, CH 1, and repeat for three sides to complete corners.
- Join with a SS to the top of the CH 3.
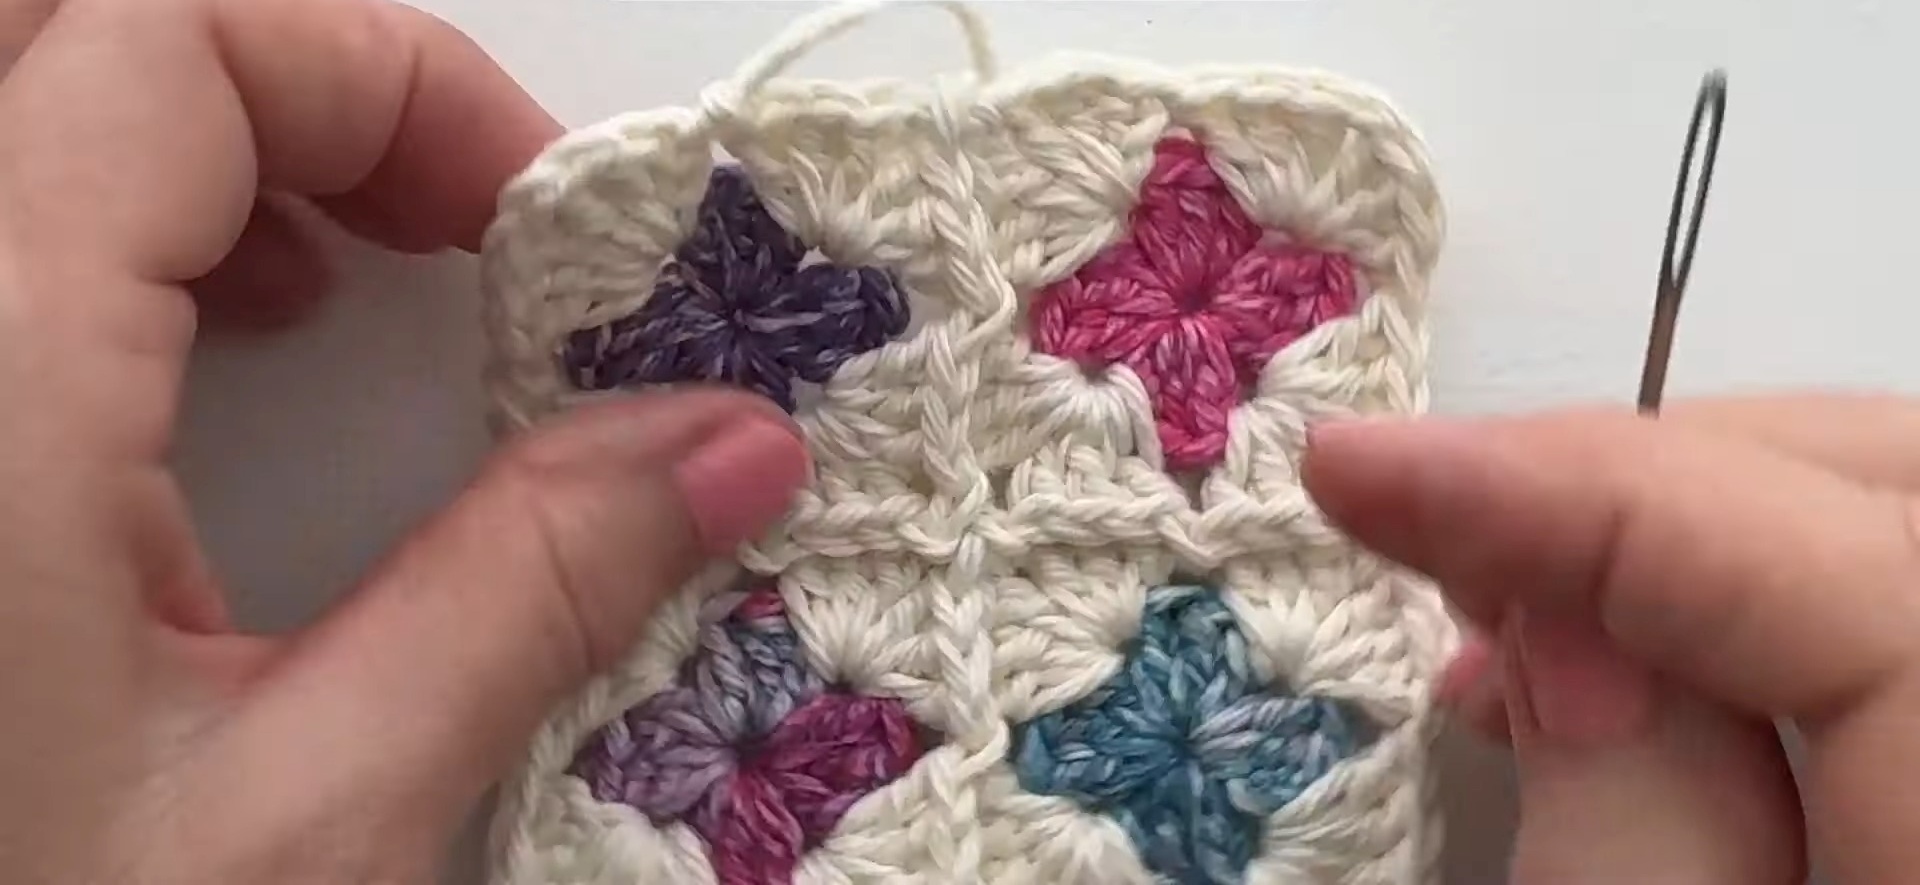
- Repeat the process to connect each of the four centers, joining squares along edges with slip stitches as needed, following the same corner part. Use the invisible join method for a neat finish.
Border Round
After all squares are connected:
- Attach new yarn in any corner space with a SS.
- In each stitch across:
- SC in next 6 stitches.
- SC in the CH 1 space, CH 1, and SC again in the same CH 1 space.
- Repeat this pattern for each side, ensuring each corner consists of SC, CH 1, SC.
- Finish the round by joining with a SS to the first SC.
- Cut your yarn and weave in all ends.
- Funny Pictures
-
 Funny and Cute Dog Snapchats That Will Make Your Day
-
 Funny Quotes and Pics for the First Day of January
-
 Funny Work Memes to Have a Great Day
- Recipes
-
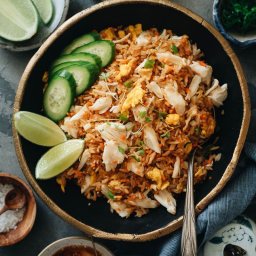 Thai Style Crab Fried Rice
-
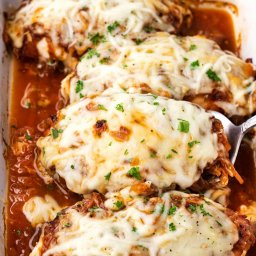 French Onion Baked Chicken
-
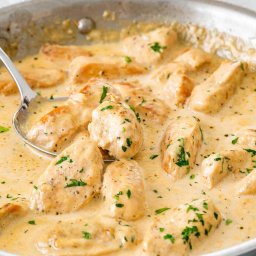 Chicken Lazone
- Lifehacks
-
 Crochet Basics: Working in a Circle Tips
-
 8 Beauty Hints & Hacks
-
 Fitted Sheet Simple & Practical Tips
- Crochet Ideas
-
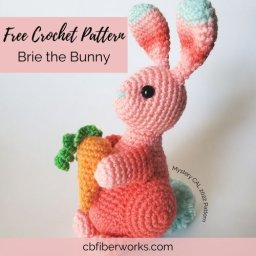 Crochet Brie the Bunny
-
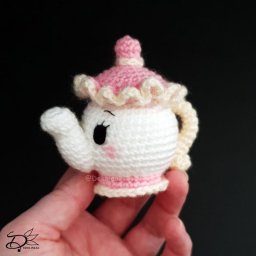 Crochet Mrs. Potts Ufufy Amigurumi Toy
-
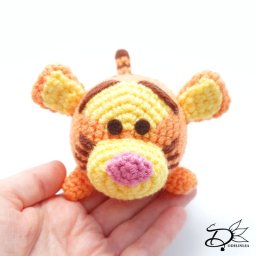 Crochet Tigger Tsum Tsum Amigurumi
- DIY
-
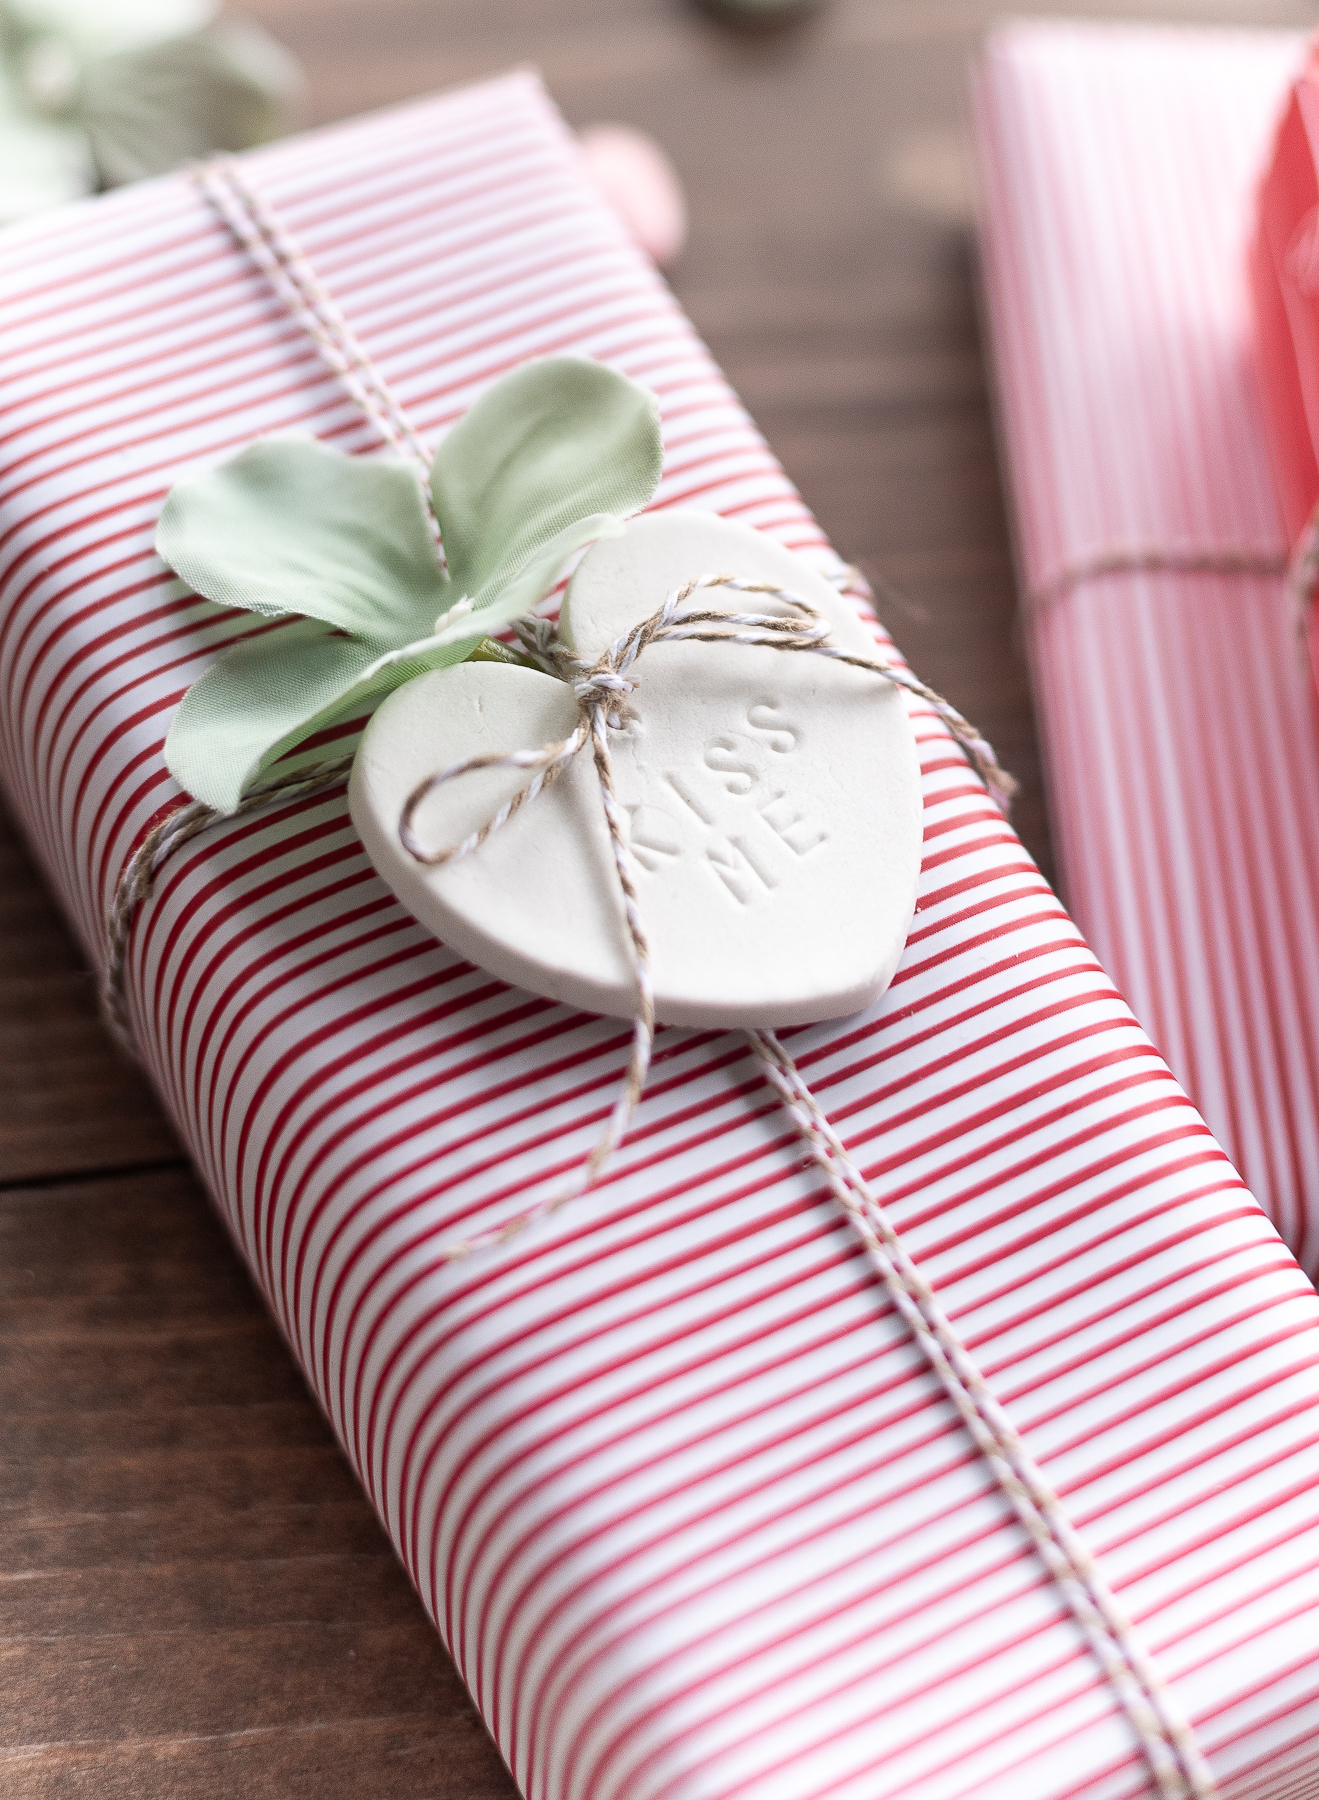 Heart Clay Gift Tags
-
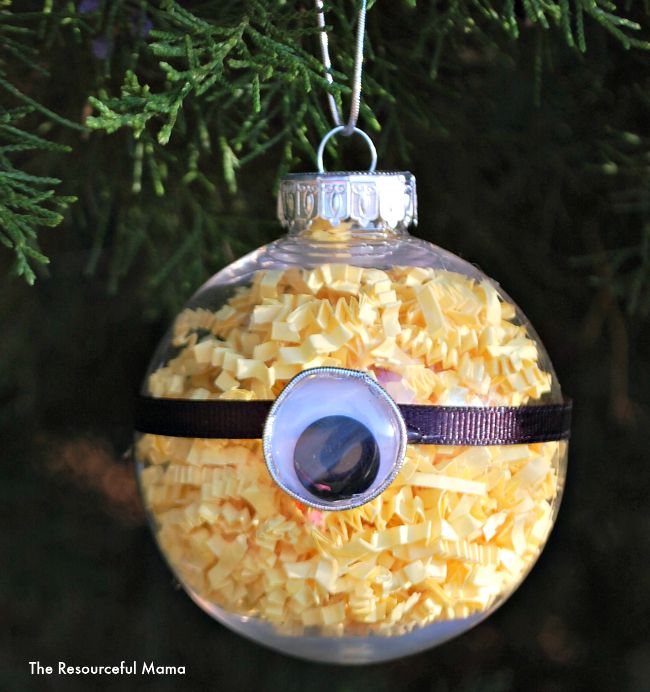 Minion Homemade Christmas Ornament
-
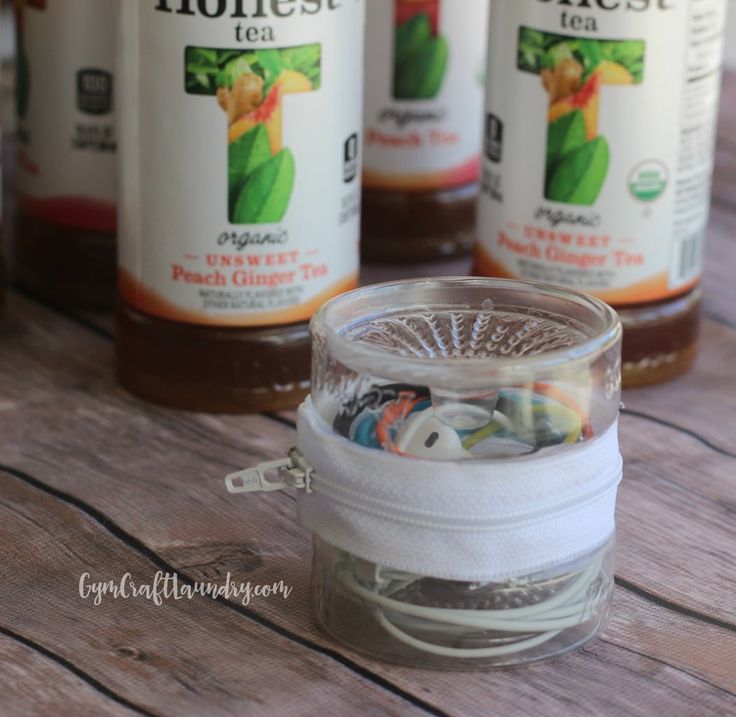 Ear bud and Hair Tie Holder
- Knitting Ideas
-
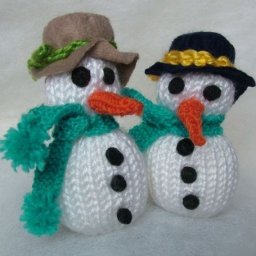 Knitted Tiny Snowmen
-
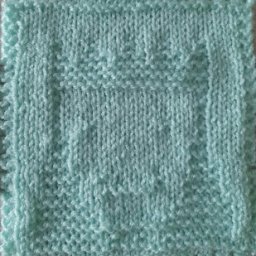 Knitted Queen Square Dishcloth
-
 Knitted Striped Baby Vest Square Washcloth