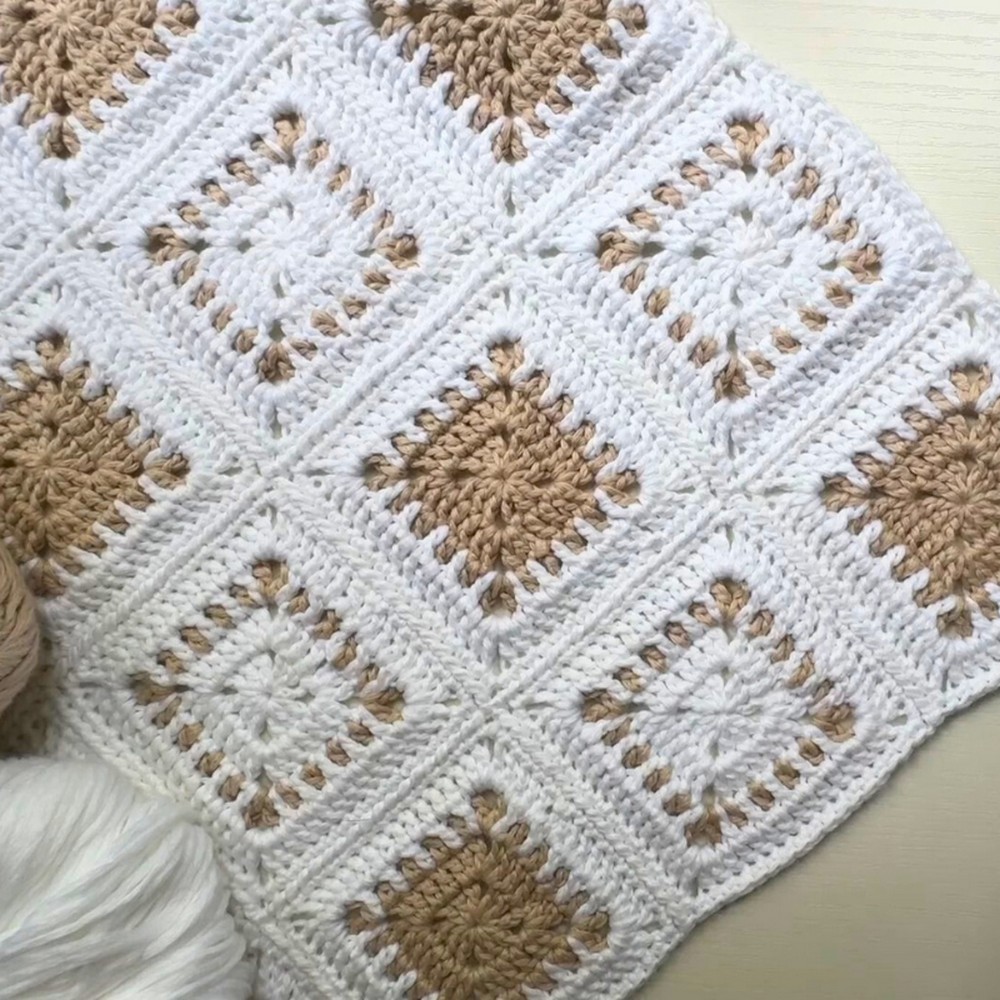
Crochet Granny Square Baby Blanket


Crochet Granny Square Baby Blankets are the epitome of cozy cuteness! With their intricate square patterns and soft yarn, they make the perfect handmade gift for little ones. Whether you're a seasoned crocheter or just starting out, this project is a fun and rewarding way to create something special. The individual squares can be customized with different colors and designs, adding a personal touch to each blanket. Snuggling up a sweet baby in a warm and lovingly crafted blanket like this is sure to bring smiles all around!
Materials and Preparation
Materials:
- Yarn: Jupiter Moon Cirrus Yarn – DK weight, chainette construction, soft (ideal for baby blankets)
- Crochet Hook: 5mm (Clover Amour recommended)
- Additional Tools: Yarn needle for weaving in ends, scissors
- Optional: Stitch markers for complex sections
Yarn Alternatives:
You can use any DK-weight yarn you prefer or what you already have in your stash. No need to purchase a specific yarn—this technique works with various yarn types.
Abbreviations and Notes
Crochet Abbreviations:
- CH: Chain
- SC: Single Crochet
- DC: Double Crochet
- SL ST: Slip Stitch
- Magic Ring: Adjustable loop used to start in-the-round crochet
Pattern Notes:
This pattern uses U.S. crochet terms. Familiarity with basic stitches (CH, SC, DC) is assumed. The "skip stitch colorwork crochet technique" is used to create seamless color changes. In this technique, you alternate rounds of color without switching between stitches, creating a cleaner look. If you are new to magic rings or basic granny squares, it's recommended to practice with simpler patterns first. You can either make individual squares and join them later or use the "join-as-you-go" technique demonstrated in this tutorial.
Gauge, Approximate Size, and Pattern Notes
Gauge:
Gauge isn’t strictly necessary for this blanket, but as a guideline: 4"x4" square = 6 DC rounds with DK-weight yarn and a 5mm crochet hook.
Finished Size:
Pattern is customizable. You can add or reduce the number of squares to adjust blanket size. Each square measures approximately 6"x6" before joining.
Special Techniques:
- Join-as-You-Go: Instead of joining squares later, you attach them as you crochet with a slip stitching technique.
- Skip Stitch Colorwork: Alternate-color granny squares are layered seamlessly by working each round independently and joining them later to avoid bulky seams.
Step-by-Step Pattern
Foundation: Starting a Solid Granny Square
Step 1: Magic Ring and First Round
- Create a magic ring.
- CH 3 (counts as first DC).
- Work 2 DC into the ring.
- CH 2 (corner).
- Work 3 DC into the ring, CH 2—repeat until you have 4 groups of 3 DC with CH 2 corners.
- SL ST into the top of the first CH 3 to join. Pull the tail tight to cinch the ring.
Step 2: Round Two
- CH 3 (counts as first DC).
- Work 1 DC in each of the next 2 DC stitches.
- In the CH-2 corner space: Work 2 DC, CH 2, 2 DC.
- Work 1 DC in each of the next 3 stitches, then repeat the corner pattern of 2 DC, CH 2, 2 DC—repeat for the remaining sides.
- SL ST to join.
Color-Changing Round: Creating the Skip Stitch Colorwork
Step 1: First Color Change (Round Three)
- CH 4 (counts as DC + CH 1).
- Skip the next stitch, then work 1 DC in the next stitch. CH 1.
- Repeat: skip a stitch, DC in next stitch, CH 1.
- In the corner, work: 1 DC, CH 2, 1 DC.
- Continue with a skip stitch pattern along each side.
- SL ST into the starting CH-4 if continuing with the same color.
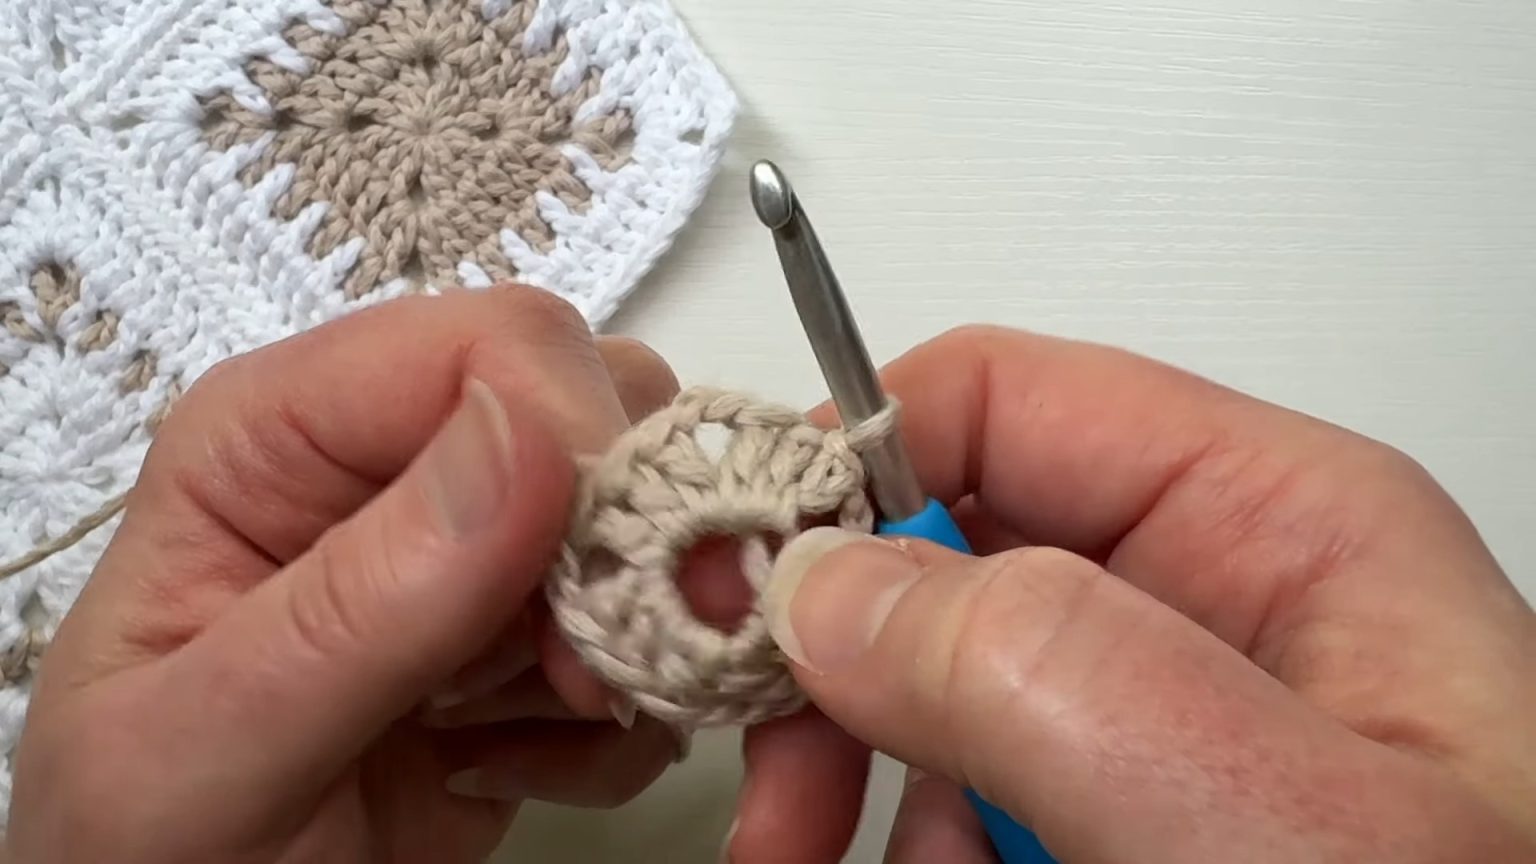
Step 2: Adding Second Color
- Attach your second color to a skipped stitch from the previous round (use a standing DC or CH start).
- Fold the previous round forward and work behind it, working DCs into skipped stitches.
- Follow the same corner pattern: 1 DC, CH 2, 1 DC.
- Continue the skip-stitch colorwork all the way around, ending with a SL ST.
Step 3: Joining Layers Together
- Chain up with the second color for the next round.
- Alternate working:
- DCs through the chain spaces of the front round and into the stitches of the back round.
- DCs into the stitch of the front layer and into chain spaces of the back layer.
- Work corners as: 2 DC through both chain spaces, CH 2, 2 DC through both chain spaces.
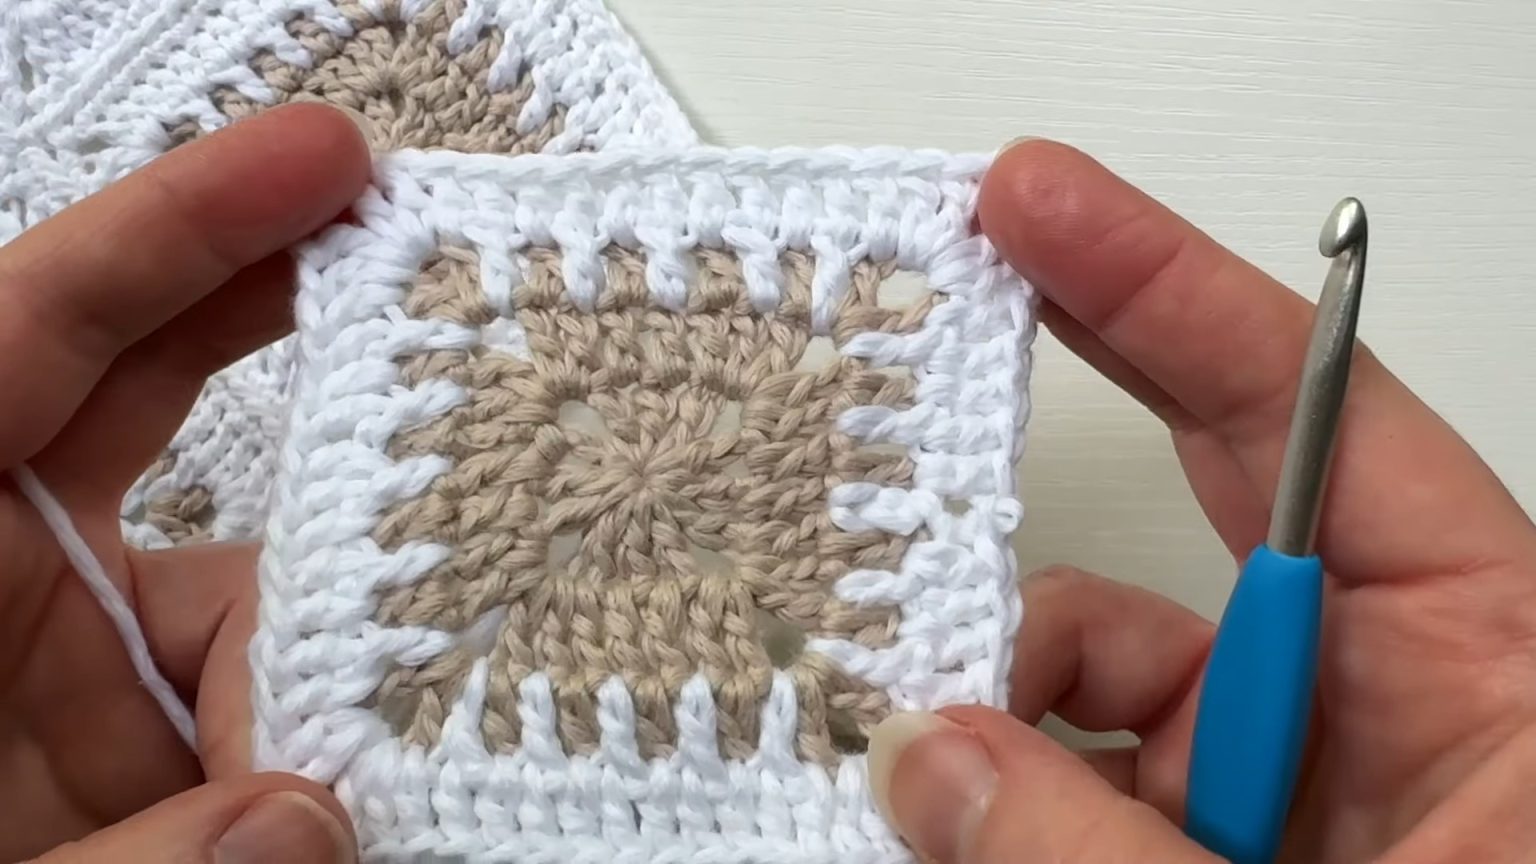
Finishing the Square
Final Round (Single Crochet Border):
- CH 1, SC in each stitch across the edge.
- In corners: SC, CH 2, SC.
- SL ST and fasten off.
Join-As-You-Go Technique
Prepare a completed square and start a new one, working Round Four with single crochets. At each stitch, remove the loop from your hook, insert into the corresponding stitch on the neighboring square, pull the loop through, and continue crocheting. At corners, chain 1, then join to adjacent corners as outlined in the tutorial.
Tips for Variations
Color Switching:
- Alternate stripes of contrasting yarn for a bold look.
- Create an ombre effect by gradually blending colors across squares.
Different Shapes:
Use this skip-stitch colorwork technique on circular or hexagonal motifs for other projects like table runners or placemats.
Border Ideas:
Add scalloped stitches or a picot edge for decorative flair.
- Funny Pictures
-
 Funny and Cute Dog Snapchats That Will Make Your Day
-
 Funny Quotes and Pics for the First Day of January
-
 Funny Work Memes to Have a Great Day
- Recipes
-
 Thai Style Crab Fried Rice
-
 French Onion Baked Chicken
-
 Chicken Lazone
- Lifehacks
-
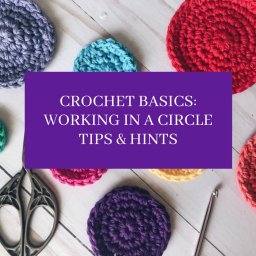 Crochet Basics: Working in a Circle Tips
-
 8 Beauty Hints & Hacks
-
 Fitted Sheet Simple & Practical Tips
- Crochet Ideas
-
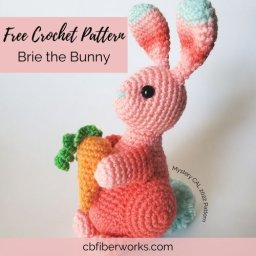 Crochet Brie the Bunny
-
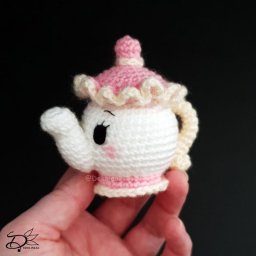 Crochet Mrs. Potts Ufufy Amigurumi Toy
-
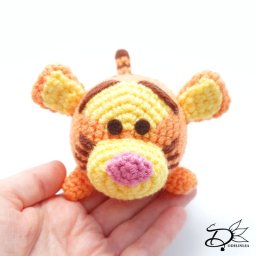 Crochet Tigger Tsum Tsum Amigurumi
- DIY
-
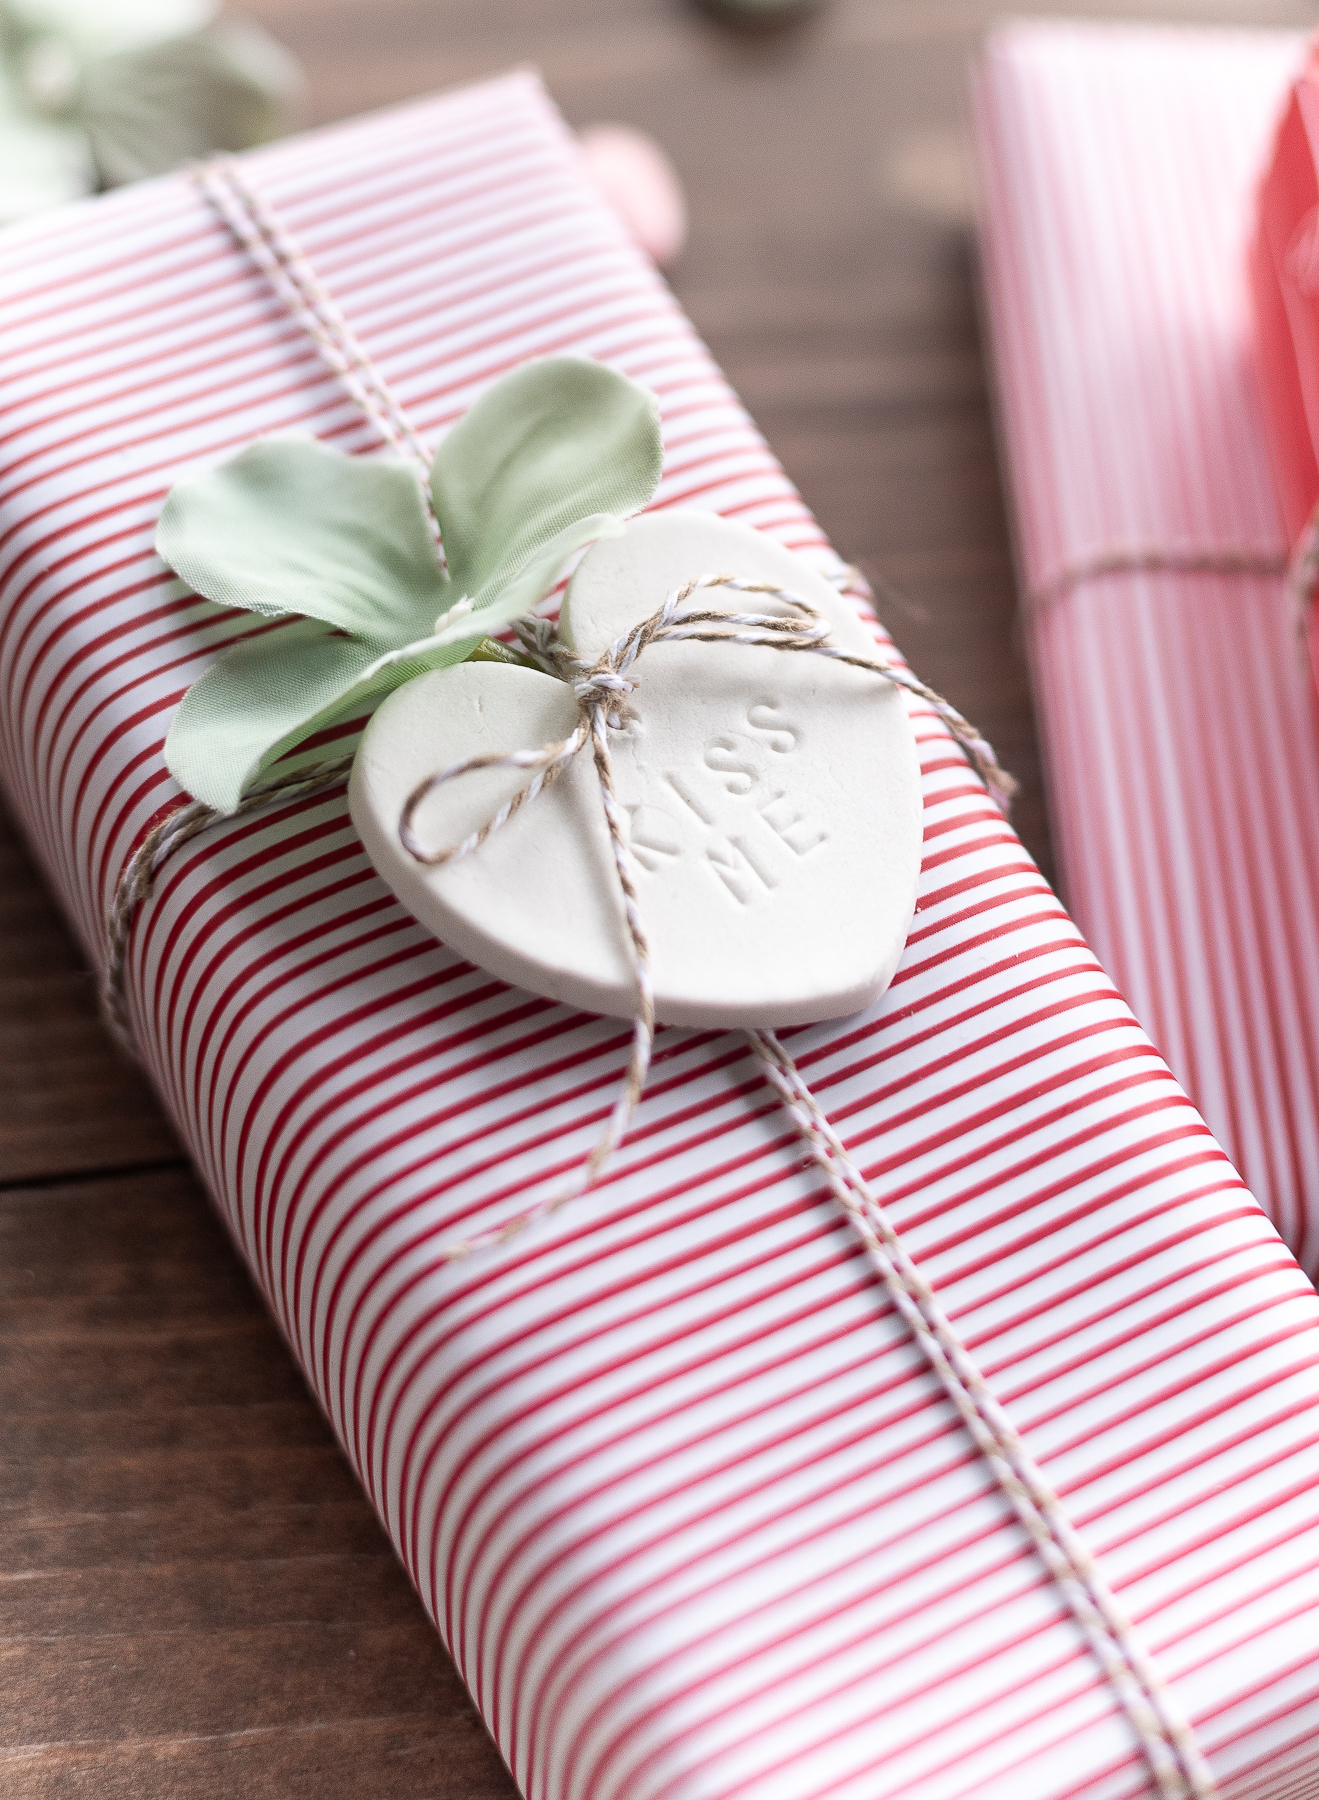 Heart Clay Gift Tags
-
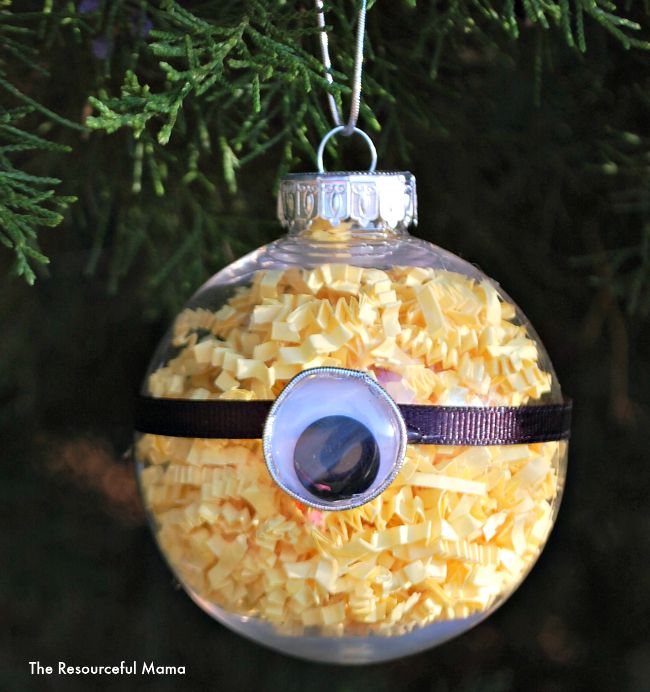 Minion Homemade Christmas Ornament
-
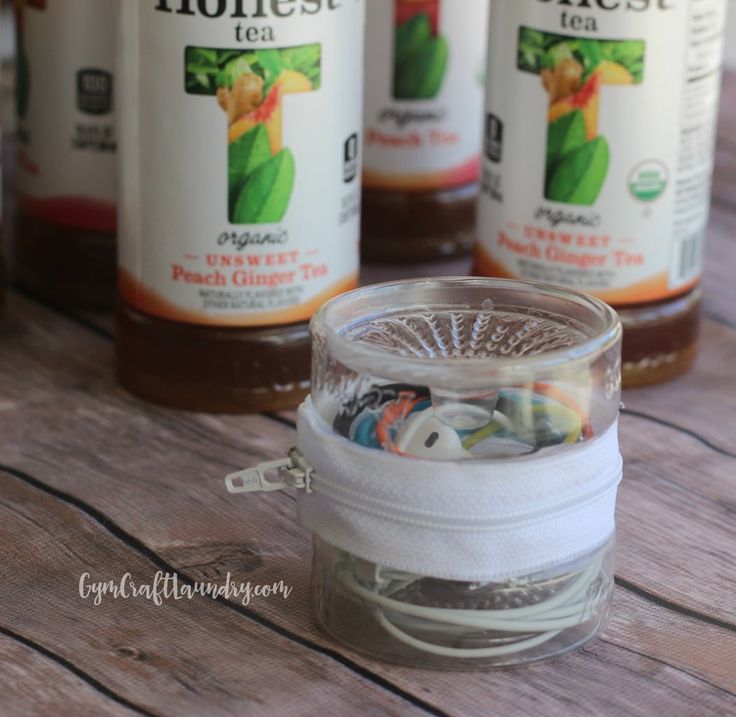 Ear bud and Hair Tie Holder
- Knitting Ideas
-
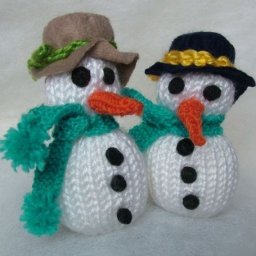 Knitted Tiny Snowmen
-
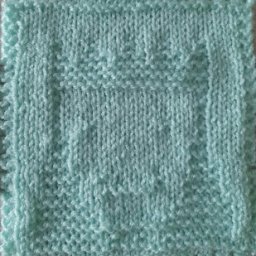 Knitted Queen Square Dishcloth
-
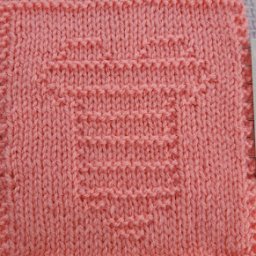 Knitted Striped Baby Vest Square Washcloth