Crochet Pumpkin Bracelet

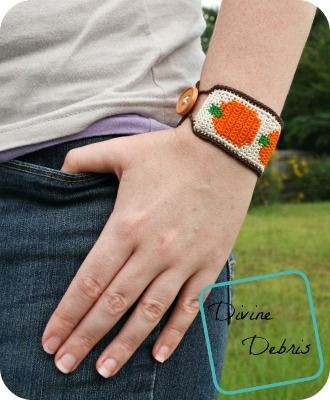
Create a charming pumpkin-themed bracelet using the art of crocheting. Crafted with orange yarn and adorned with green leaves and a curly vine, this unique accessory is perfect for the fall season. The intricate crochet stitches give the bracelet a cozy and handmade feel, making it a lovely addition to any autumn outfit. Handmade with care, this crochet pumpkin bracelet is a fun and festive way to add a touch of whimsy to your wardrobe. The pumpkin design is sure to bring a smile to your face and is a great conversation starter. Whether you're attending a fall festival or simply want to embrace the spirit of the season, this bracelet is a stylish and playful accessory that will surely stand out.
Materials:
- 2.25 mm steel crochet hook
- Size 10 crochet thread
- Not even an oz
- I used Aunt Lydia‘s
- At least 3 colors (I used 4 different colors)
- Needle to weave in your ends
- 1 Button
Gauge:
- 1″ x 1″ = 10 scs x 10 rows
Terms/ stitches used:
- RS: right side
- Ch: chain
- Slip st: slip stitch
- St: stitch
- Sc: single crochet
Notes:
- This pattern is worked in parts, the base of the bracelet, and then a border. At the end you top it off with a button.
- I usually work over yarn when I’m graphing but for this design I didn’t all the way through, just in the pumpkins I crocheted over Color A. You can do whatever you feel comfortable with.
- This pattern is worked in rows, back and forth, with a turn at the beginning or end.
- All of the stitches in this pattern are single crochets, because of this the instruction (where all the color changes are) only tells you how many stitches to do in what color, this is what the number in the parentheses means.
- The ch 1 at the beginning of the row does not count as a stitch.
- The color changes below are not specified other than “color A, color B.”
- Color A is tan, color B is orange, color C is green, and color D is brown.
- If you don’t make this into a bracelet, it makes a great book mark too.
- You need to know how to create a slip knot on your hook for this pattern.
Finished measurements:
- Length: 6.5″ (not including ch-12 space on row 63)
- Width: 1.75″
Pumpkin Bracelet Crochet Pattern Instructions
(RS) Row 1: A: Ch 14, sc into the second ch from the hook and across – 13 scs
Row 2: A: Ch 1, turn, sc across – 13 scs
Row 3: A: Ch 1, turn, (3), B: (7), A: (3) – 13 scs
Row 4: A: Ch 1, turn, (2), B: (9), A: (2) – 13 scs
Rows 5 – 11: A: Ch 1, turn, (1), B: (11), A: (1) – 13 scs
Row 12: A: Ch 1, turn, (2), B: (4), C: (1), B: (4), A: (2) – 13 scs
Row 13: A: Ch 1, turn, (3), B: (2), C: (3), B: (2), A: (3) – 13 scs
Fasten off color B.
Rows 14 – 15: A: Ch 1, turn, (5), C: (3), A: (5) – 13 scs
Fasten off color C.
Rows 16 – 17: A: Ch 1, turn, sc across – 13 scs
Rows 18 – 62: repeat rows 3 – 17, 3 more times.
Fasten off all colors, weave in all your ends. Move onto edging.
Edging:
Row 63: Flip the whole piece and begin on the back bumps of row 1 – create a slip knot on your hook and sc across (13 scs), ch 1 at the corner, rotate the whole piece, sc down the row edges (62 scs), ch 1 at the corner, rotate the whole piece, sc into the next 2 sts, ch 12, skip the next 9 scs, sc into the next 2 sts, ch 1 at the corner, rotate the whole piece, sc down the row edges (62 scs), ch 1, slip st into the first st to secure – 141 scs
Fasten off, weave in your ends.
Button:
Place the button opposite the ch-12 from row 63, secure it with any color or even your ends. I used a .75″ button and it works really well.
- Funny Pictures
-
 So Funny and Relatable Memes You Will Laugh out Loud
-
 These Holiday Cat Memes Will Get You in the Christmas Spirit
-
 Some Memes That Just Speak Truth About You
- Recipes
-
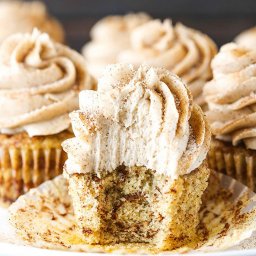 Cinnamon Sugar Swirl Cupcakes
-
 Homemade Potato and Cheese Pierogies
-
 Crispy Beer Battered Fish
- Lifehacks
-
 7 Toilet and Bathroom Cleaning Hacks
-
 Bedroom Tips for Comfortable Sleep
-
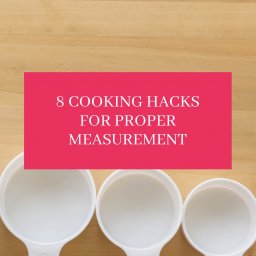 8 Cooking Hacks for Proper Measurement
- Crochet Ideas
-
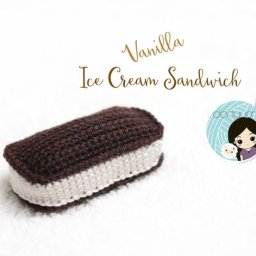 Crochet Vanilla Ice Cream Sandwich
-
 Crochet Watermelon Amigurumi
-
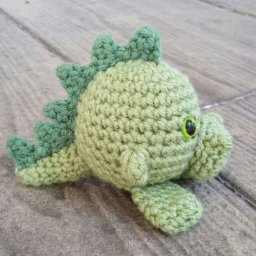 Crochet Ruby the Dragon
- DIY
-
 Yarn Wrapped Christmas Wreath Ornaments
-
 Egg Carton Snowman Ornament
-
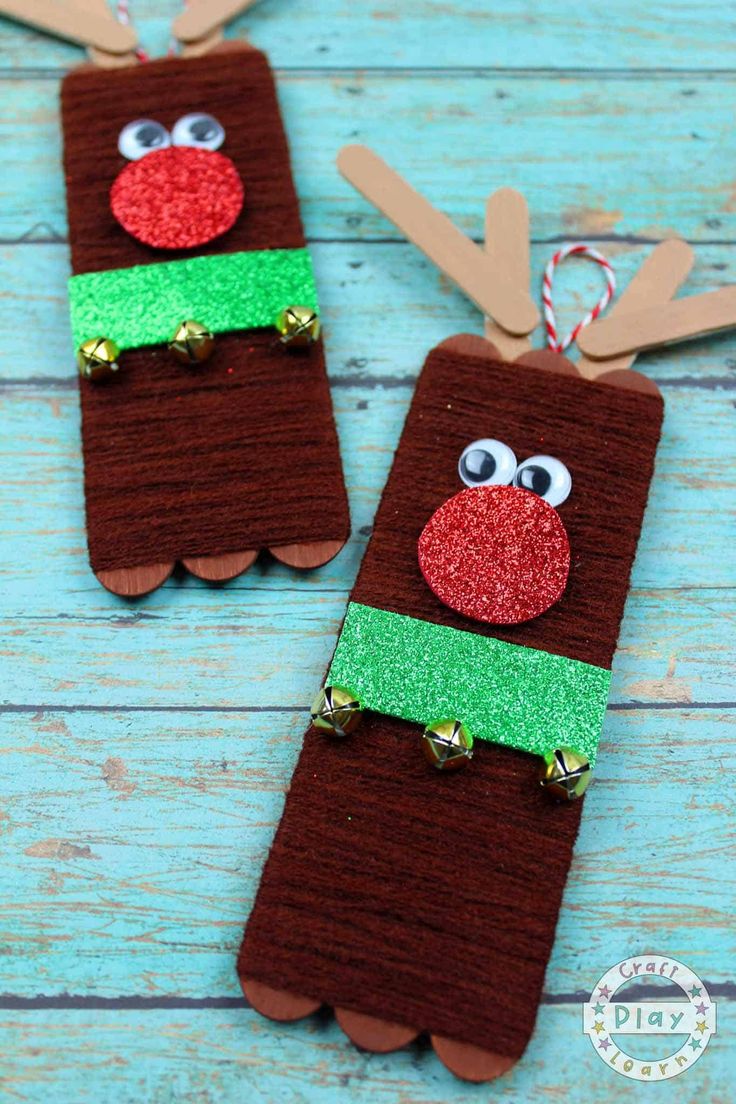 Rudolph Decorations Using Popsicle Sticks
- Knitting Ideas
-
 Knitted Star Square Dishcloth
-
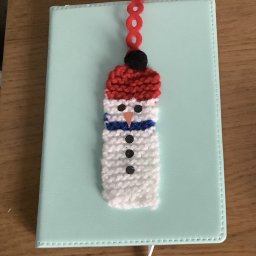 Knitted Trailing Snowman Bookmark
-
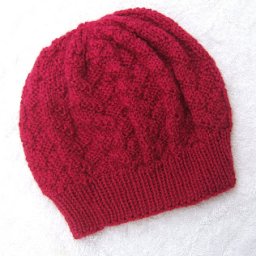 Knitted Slouchy Chemo Hat