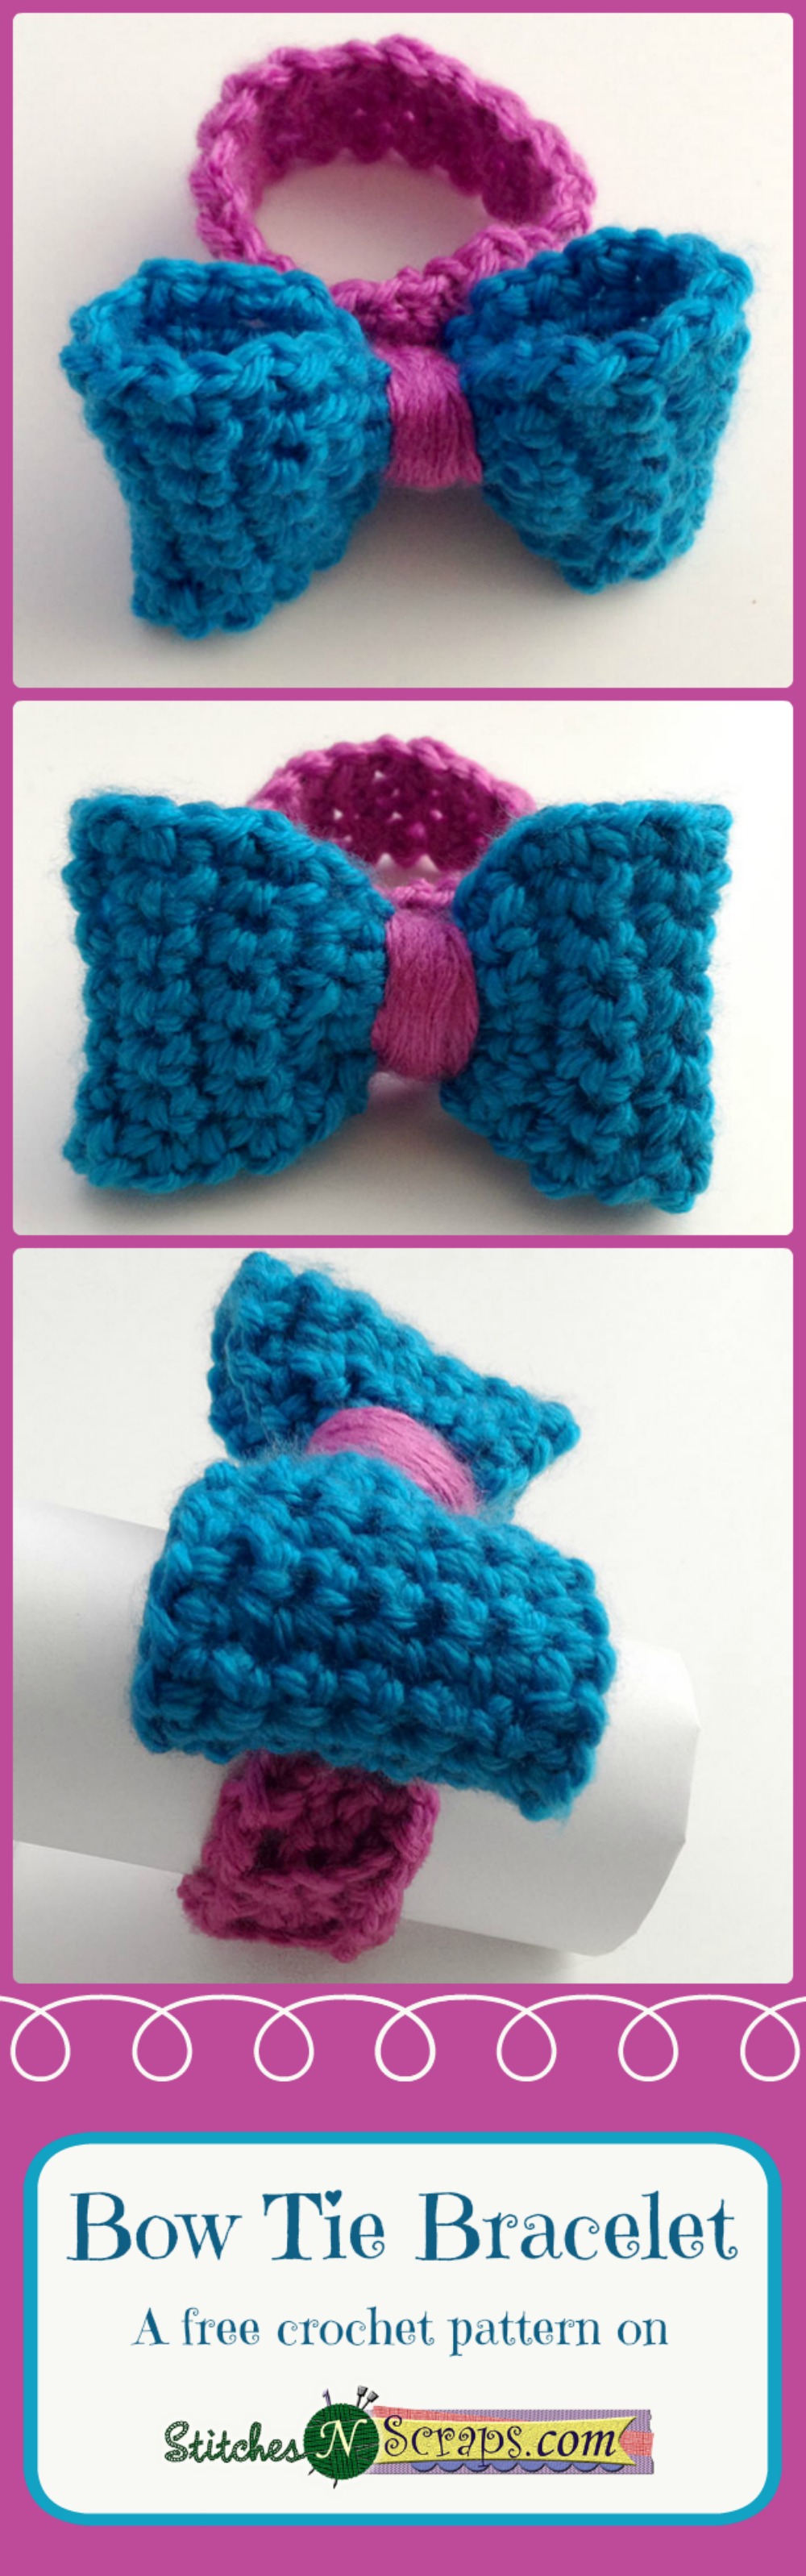
Crochet Bow-Tie Bracelet: A Unique and Elegant Accessory

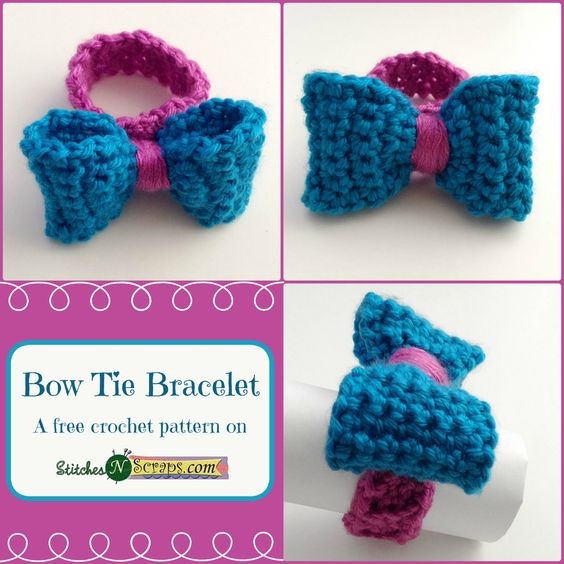
Introducing the Crochet Bow-Tie Bracelet, a charming and unique accessory that adds a touch of elegance to any outfit. This bracelet is handcrafted with love and attention to detail, making it a truly special piece. The crochet technique used to create the bow-tie design gives it a delicate and intricate look, showcasing the skill and artistry of the maker. This bracelet is perfect for any occasion, whether it's a casual day out or a formal event. It adds a touch of whimsy and femininity to any ensemble, making it a versatile accessory that can be paired with dresses, jeans, or even a business suit. The crochet bow-tie design adds a playful and youthful element to the bracelet, making it a fun and stylish accessory for people of all ages. Stand out from the crowd and express your unique sense of style with the Crochet Bow-Tie Bracelet.
Materials
- Worsted weight yarn – 25-40 yds each of 2 colors – shown in pink (A) and blue (B).
- Size I / 9 (5.5 mm) hook or size needed to obtain gauge
- Yarn or tapestry needle
Difficulty
Easy – All single crochet, chains, and slip stitches. Some working in back loop only.
Size
Adjustable.
Gauge
13 sc x 15 rows = 4 inches. Gauge is not particularly important for this project, as it can be adjusted for size. Band should measure about 1 inch across, including the edging.
Abbreviations Used
- ch = chain
- sc = single crochet
- sl st = slip stitch
- st(s) = stitch(es)
- RS = right side
- WS = wrong side
Instructions
Bracelet
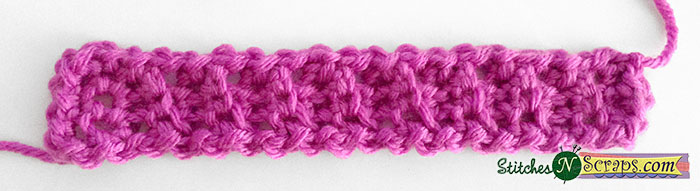
Row 1: With A, ch 5, turn, sc in 2nd ch from hook and in each ch across (4 sc).
Row 2: Ch 1, turn, sc in back loop only of each st across.
Repeat Row 2 until band is desired length. For a child size bracelet, you should need about 15-18 rows; for an adult size, you will need about 17-20 rows. It should fit pretty snugly around the wrist at this point – the edging will give it a little extra room.
Edging (RS)
- Ch 1, working in sides of rows, (sl st, ch 1) in each row.
- Working across bottom of row 1, (sl st, ch 1) in each st.
- Working in sides of rows, (sl st, ch 1) in each row.
- Working across last row, (sl st, ch 1) in each st. Join with sl st to first st. Fasten off, leaving an 8 inch tail for sewing.
Stop to check the size – at this point it should stretch to fit comfortably around the wrist. If it’s too loose, it will want to turn when you wear it.
With right sides together, join the piece into a circle by sewing first and last rows together. Weave in ends, and set band aside.

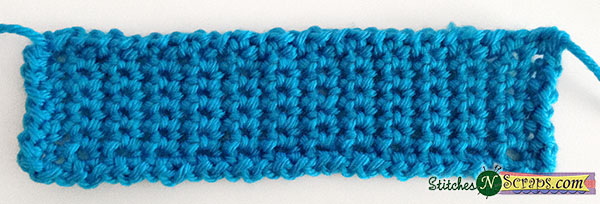
Bow
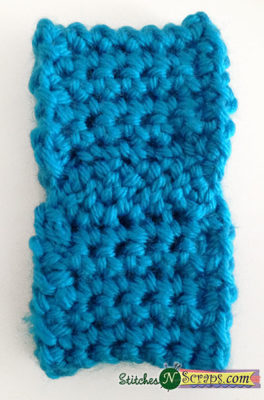
Row 1 (RS): With B, ch 7, turn, sc in 2nd ch from hook and in each ch across (6 sc).
Row 2: Ch 1, turn, sc in each st across.
Rows 3-25: Repeat Row 2.
Edging
Work the same as the edging for the bracelet.
With right sides together, join the piece into a circle by sewing first and last rows together. Weave in ends.
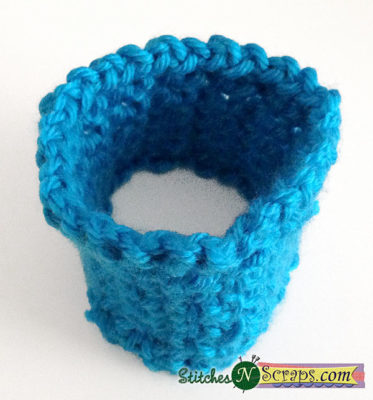
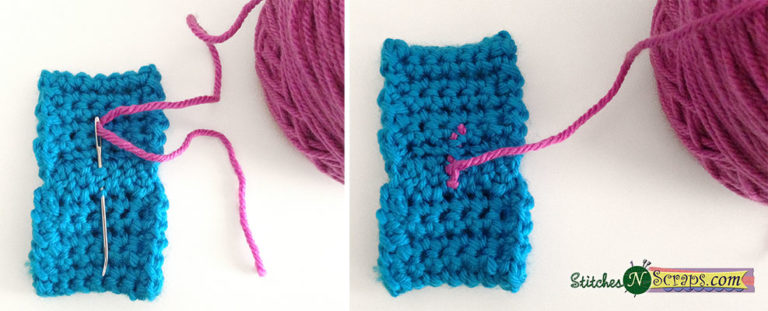
Turn bow so right side is facing, and flatten the circle so that the seam lies in the middle – this is where the tie at the center of the bow will go.
Join color A by sewing it in, starting at the center of the seam. Weave in and trim the tail. You should now have color A coming from your skein or ball to the center of the seam as shown below.
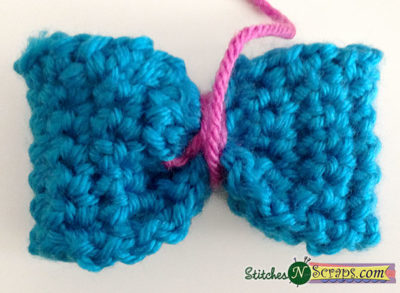
Wrap the yarn around the center of the bow tightly 2 or 3 times. This will create the bow shape. Fluff it out and adjust as needed until it looks even. When you’re happy with the shape, continue wrapping the yarn around the center until you’re satisfied with the effect and it feels secure. I wrapped it about 20 times.
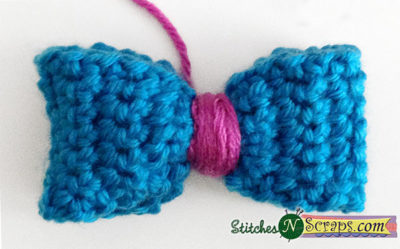
Cut the yarn, leaving an 8 inch tail for sewing. At the back of the bow, sew this tail back and forth through the center wrap a couple of times to secure it. Once it’s secure, use the remaining tail to attach the bow to the bracelet, and weave in the end.

- Funny Pictures
-
 So Funny and Relatable Memes You Will Laugh out Loud
-
 These Holiday Cat Memes Will Get You in the Christmas Spirit
-
 Some Memes That Just Speak Truth About You
- Recipes
-
 Cinnamon Sugar Swirl Cupcakes
-
 Homemade Potato and Cheese Pierogies
-
 Crispy Beer Battered Fish
- Lifehacks
-
 7 Toilet and Bathroom Cleaning Hacks
-
 Bedroom Tips for Comfortable Sleep
-
 8 Cooking Hacks for Proper Measurement
- Crochet Ideas
-
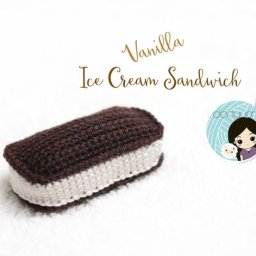 Crochet Vanilla Ice Cream Sandwich
-
 Crochet Watermelon Amigurumi
-
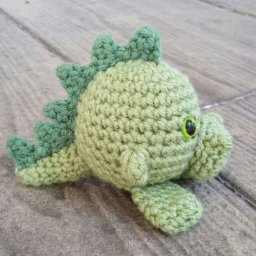 Crochet Ruby the Dragon
- DIY
-
 Yarn Wrapped Christmas Wreath Ornaments
-
 Egg Carton Snowman Ornament
-
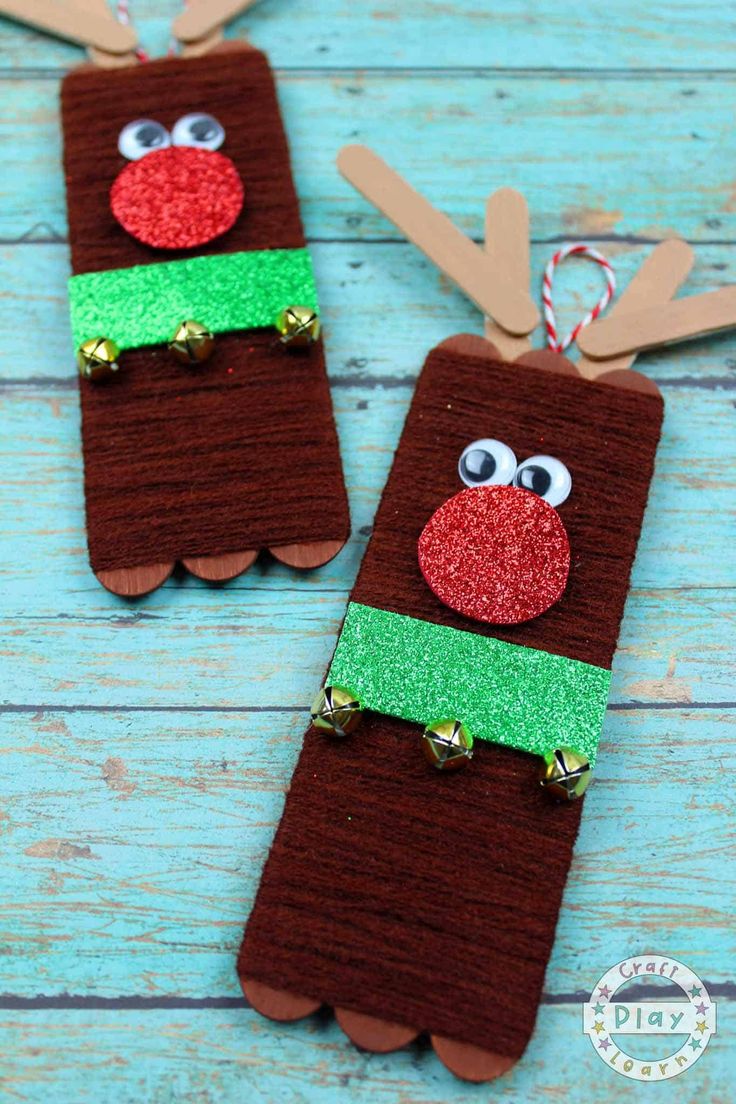 Rudolph Decorations Using Popsicle Sticks
- Knitting Ideas
-
 Knitted Star Square Dishcloth
-
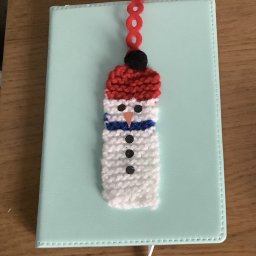 Knitted Trailing Snowman Bookmark
-
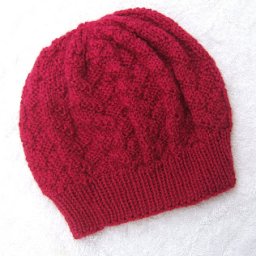 Knitted Slouchy Chemo Hat