Get ready to add a cozy touch to your Halloween decor with the delightful Crochet Festive Halloween Pumpkin! This charming handmade piece is perfect for bringing a festive spirit to your home or office space. Crafted with skill and care, these adorable pumpkins are sure to bring smiles and warmth to anyone who sees them. Whether you display them on your mantelpiece, office desk, or even use them as a cute table centerpiece for your Halloween party, these crochet pumpkins are bound to be a hit. With their vibrant colors and intricate details, they are a must-have for anyone looking to add some handmade charm to their Halloween celebrations. So go ahead, embrace the spirit of the season with these delightful crochet pumpkins!
Materials and Preparation
To crochet the perfect Halloween pumpkin, gather the following materials:
Yarn: Worsted weight yarn (#4) in orange (for the pumpkin) and green (for the stem). You may also use brown for the stem instead of green.
Hook Size: 4.0 mm (G-6) crochet hook. Adjust as needed for tighter or looser stitches.
Additional Tools:
Scissors
Yarn needle (for sewing and weaving in ends)
Stitch marker (to keep track of rounds)
Fiberfill stuffing (to shape the pumpkin)
Yarn Weight Requirements: Worst-weight yarn is commonly used; however, you can substitute other yarn weights, as long as the hook size complements it.
Abbreviations and Notes
Here are the abbreviations used in the crochet pattern:
CH: Chain
SC: Single Crochet
INC: Increase (2 single crochets in one stitch)
DEC: Decrease (single crochet two stitches together)
SL ST: Slip Stitch
Notes
This pattern is worked in continuous rounds, so you do not join at the end of each round. Use a stitch marker to keep track of the beginning of each round.
Adjust the size of the pumpkin by increasing the number of rounds before adding decreases.
If you’re new to working in the round, you may practice a magic circle technique before starting.
Gauge, Approximate Size, and Pattern Notes
Gauge: Approx. 8 SC x 10 rows = 4 inches; however, this project doesn’t require strict gauge adherence.
Finished Size: The pumpkin will measure approximately 4 inches tall (including the stem) and 3 inches wide.
Special Techniques:
Magic Circle (or Adjustable Ring): A common way to start crocheting in the round.
Shaping: The pumpkin takes its 3D shape as you crochet; fiberfill stuffing enhances this effect.
No gauge swatch is needed for this project.
Step-by-Step Pattern
Pumpkin Body
Start with a magic circle.
Make a magic circle and secure it with a CH.
Round 1: SC 6 into the magic circle. (6 stitches)
Round 2: INC in each stitch around. (12 stitches)
Round 3: SC in next stitch, INC in next stitch; repeat around. (18 stitches)
Round 4: SC in next 2 stitches, INC in next stitch; repeat around. (24 stitches)
Round 5: SC in next 3 stitches, INC in next stitch; repeat around. (30 stitches)
Rounds 6-10: SC in each stitch around. (30 stitches per round)
Round 11: SC in next 3 stitches, DEC over next two stitches; repeat around. (24 stitches)
Round 12: SC in next 2 stitches, DEC over next two stitches; repeat around. (18 stitches)
Start stuffing the pumpkin. Use small amounts of fiberfill and shape as you go.
Round 13: SC in next stitch, DEC over next two stitches; repeat around. (12 stitches)
Round 14: DEC in each stitch around. (6 stitches)
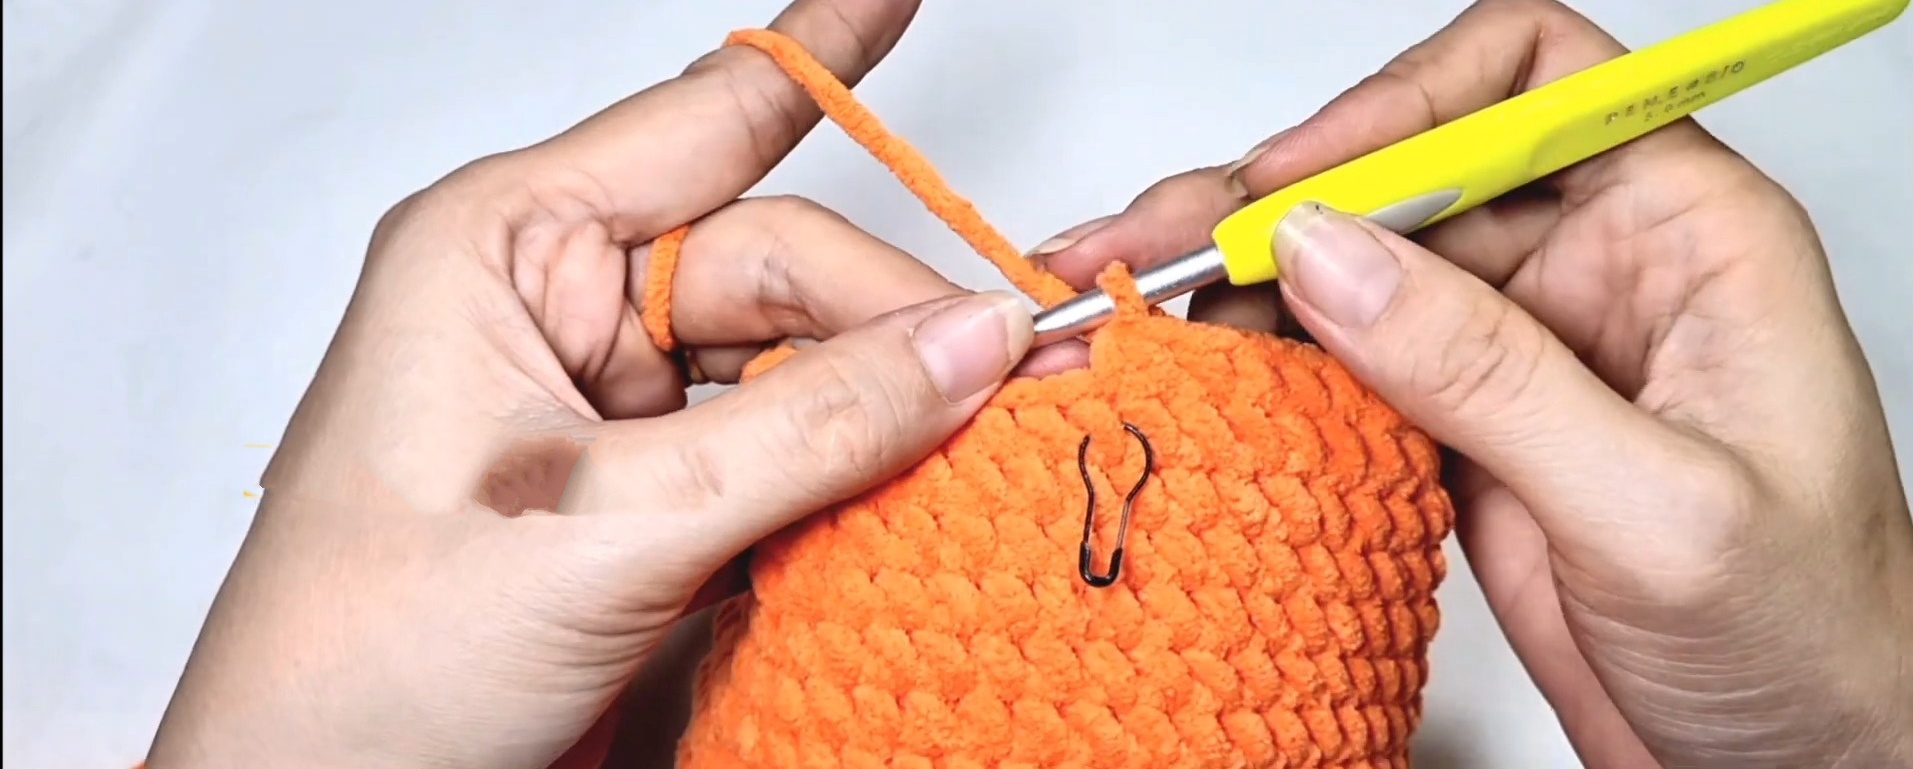
Close the pumpkin. Cut the yarn, leaving a long tail. Use the yarn needle to close the hole by weaving through the remaining stitches and pulling tight.
Pumpkin Stem
Attach the green yarn to the top of the pumpkin using a SL ST.
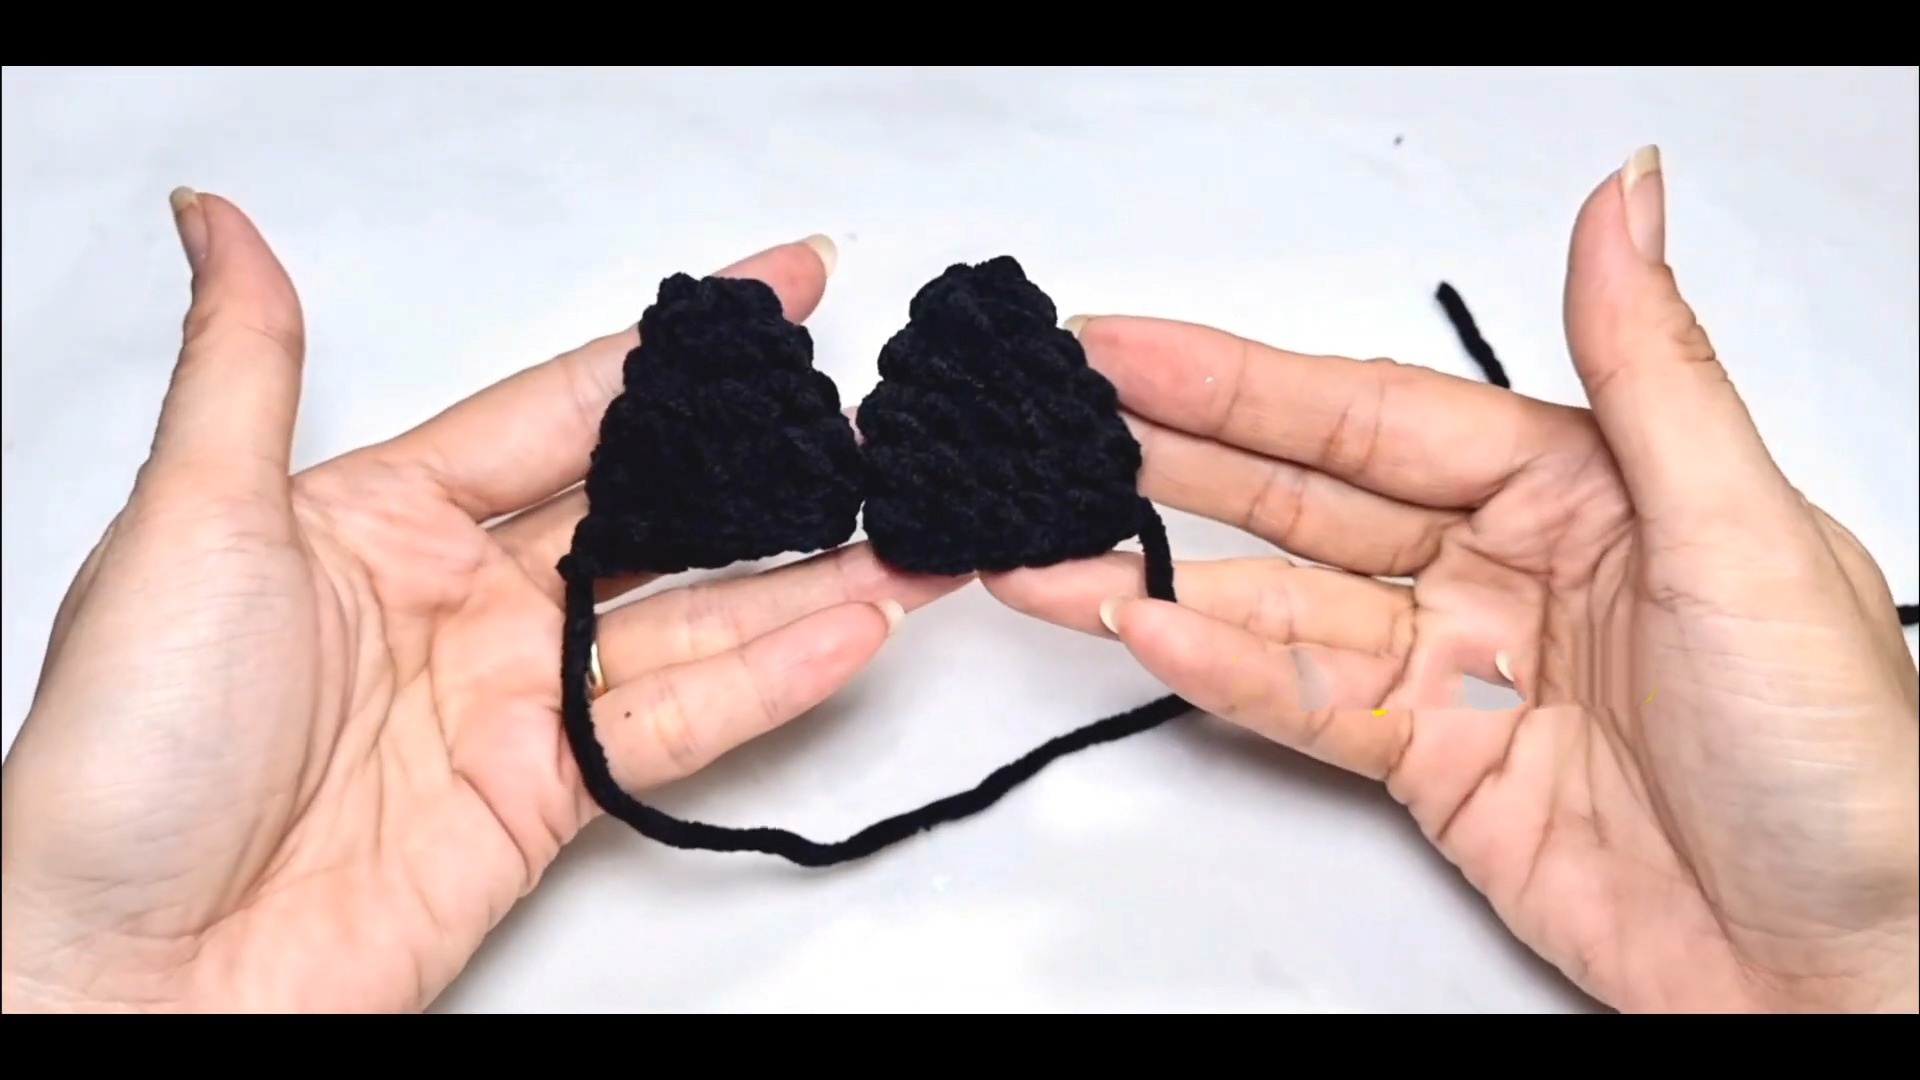
Round 1: Crochet 6 SC in a magic circle OR chain 2 and work 6 SC in the second chain from the hook.
Rounds 2-5: SC in each stitch around. Adjust the length by adding or removing rounds.
Fasten off, leaving a tail. Use the yarn needle to sew the stem to the pumpkin.
Final Touches
Use the leftover yarn tail to create ridges on the pumpkin for a realistic shape. To do this, loop the yarn vertically from top to bottom, pulling slightly to indent the sides. Repeat six times evenly around the pumpkin.
Weave in any remaining ends.
Key to Success:
Use high-quality, durable yarn for a sturdy and long-lasting finish.
Choose vibrant pumpkin-inspired colors to enhance its festive appeal.
Add optional embellishments like a crochet leaf or stem for a unique look.