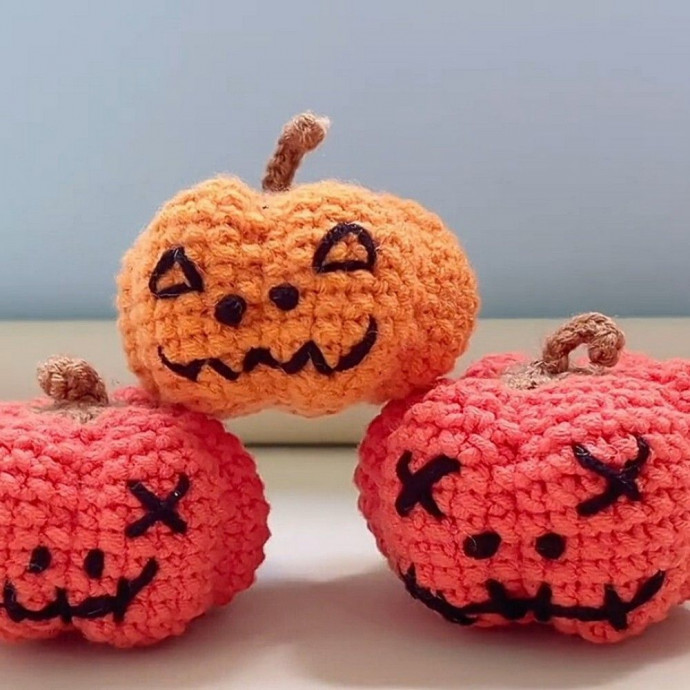
Crochet Halloween pumpkins are the perfect festive decoration to add a cozy touch to your home during the spooky season! These adorable handmade pumpkins come in all sizes and colors, making them a versatile addition to your fall decor. Whether you're a beginner or an experienced crocheter, creating these cute pumpkins is a fun and rewarding project that will surely put a smile on your face. From classic orange pumpkins to whimsical striped ones, the possibilities are endless when it comes to customizing your crocheted pumpkins. Display them on your mantel, use them as table centerpieces, or give them as thoughtful gifts to spread some Halloween cheer. Let your creativity shine as you crochet your way to a festive and cozy autumn atmosphere in your home!
Materials and Preparation
To create your crochet Halloween pumpkin, you will need:
Yarn:
Orange Yarn: Medium-weight yarn for the pumpkin body.
Brown Yarn: Medium-weight yarn for the pumpkin stem.
Black Yarn: For creating the eyes, nose, and mouth.
Hook size: 4.5 mm crochet hook (adjust based on your tension).
Stuffing: Fiberfill or any soft stuffing material to fill the pumpkin.
Tapestry Needle: For sewing and weaving in ends.
Pins: (Optional) To mark segments of the pumpkin.
Scissors.
Abbreviations and Notes
Here is a list of common crochet abbreviations used in this pattern:
CH: Chain
SC: Single Crochet
INC: Increase (2 SC in the same stitch)
DEC: Decrease (join two stitches together by crocheting them into one)
SL ST: Slip Stitch
Pattern Notes and Tips:
Use a stitch marker to track the beginning and end of each row.
To make a cleaner look, ensure each row ends with a slip stitch into the first stitch of the row.
Stuff the pumpkin firmly but not overly, to retain its round shape.
Crochet tightly enough to avoid gaps, so the stuffing doesn’t show.
The pumpkin is worked in continuous rounds without turning your work.
Gauge, Approximate Size, and Pattern Notes
Gauge: Not critical for this project, but aim for tight stitches to ensure the stuffing doesn’t peek through.
Finished size: Approximately 4-5 inches tall and 4.5 inches wide.
Special technique: You will begin with a magic ring for the pumpkin base. A gauge swatch is not required.
Step-by-Step Pattern
Pumpkin Body
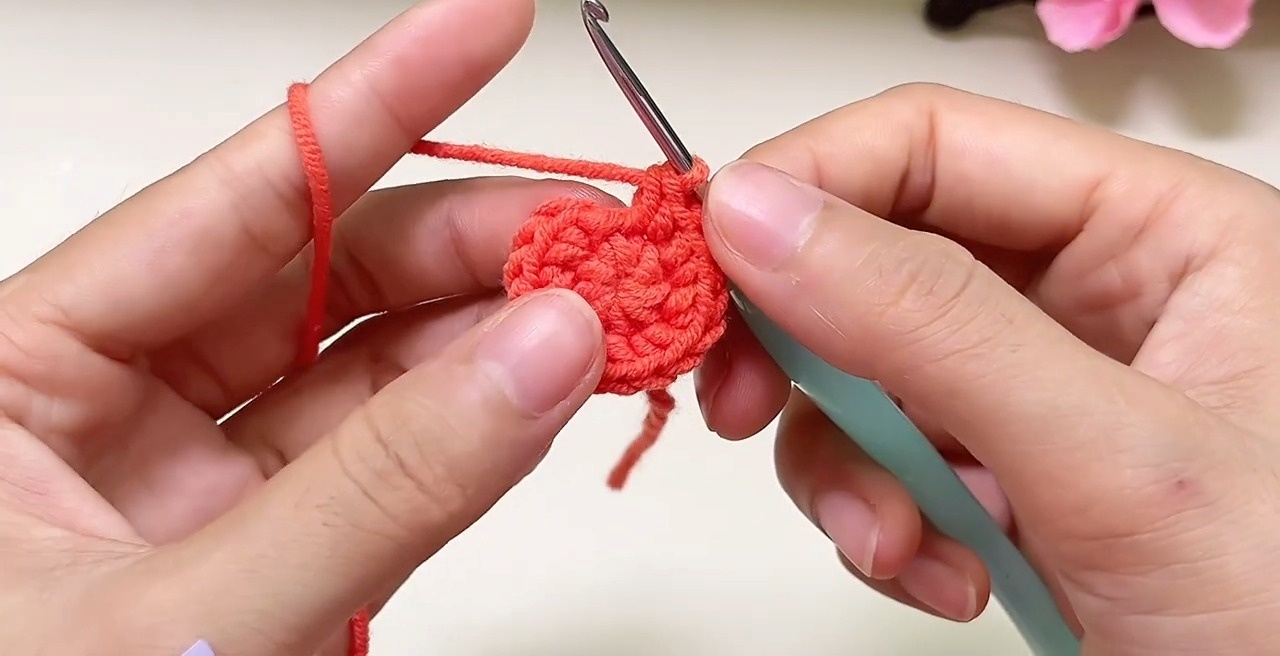
Row 1: Create the Base
Start with a magic ring.
Make 8 SC into the magic ring.
Pull the yarn to close the ring, and SL ST into the first stitch.
(8 stitches total)
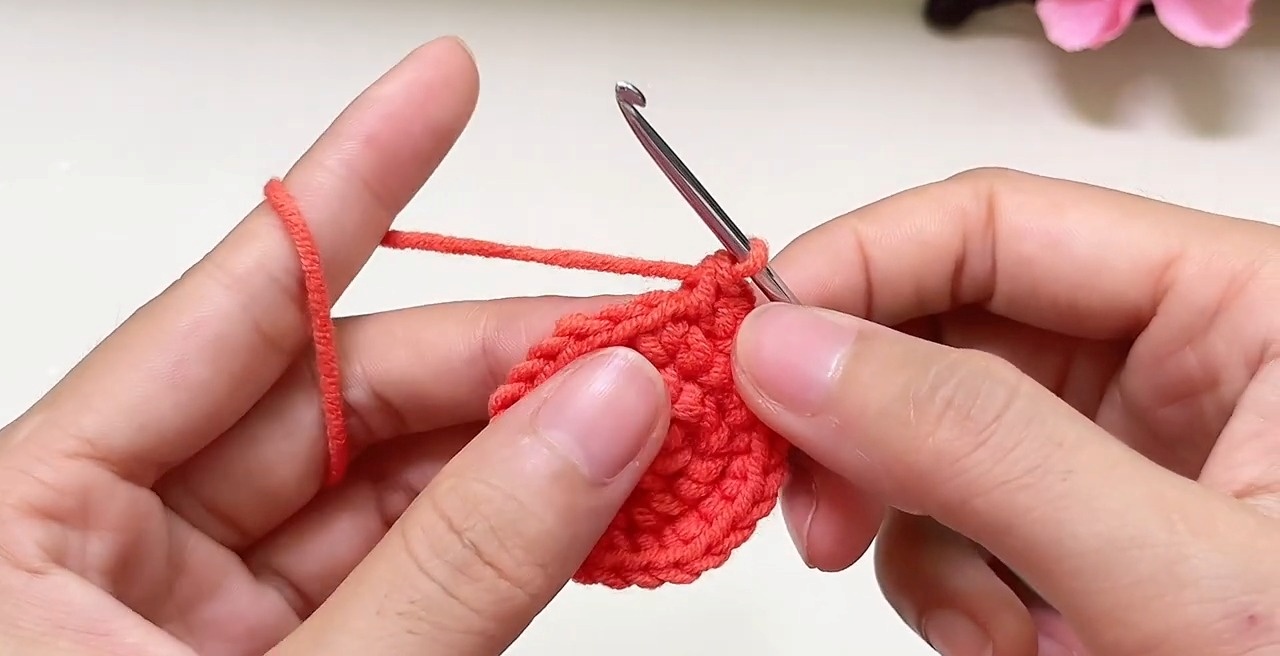
Row 2: Add Increases
CH 1.
Work 2 SC in each stitch around (this is an increase) for a total of 8 increases.
SL ST into the first stitch.
(16 stitches total)
Row 3: Increase Interval
CH 1.
SC in the first stitch, INC in the next stitch. Repeat this pattern (SC, INC) for 7 more times.
SL ST into the first stitch.
(24 stitches total)
Row 4:
CH 1.
SC into the next 2 stitches, INC into the third stitch. Repeat (SC, SC, INC) for 7 more times.
SL ST into the first stitch.
(32 stitches total)
Row 5: Work Even
CH 1.
Make 1 SC in each stitch around.
SL ST into the first stitch.
(32 stitches total)
Row 6: Increase Interval
CH 1.
SC into the next 3 stitches, INC into the fourth stitch. Repeat (SC, SC, SC, INC) for 7 times.
SL ST into the first stitch.
(40 stitches total)
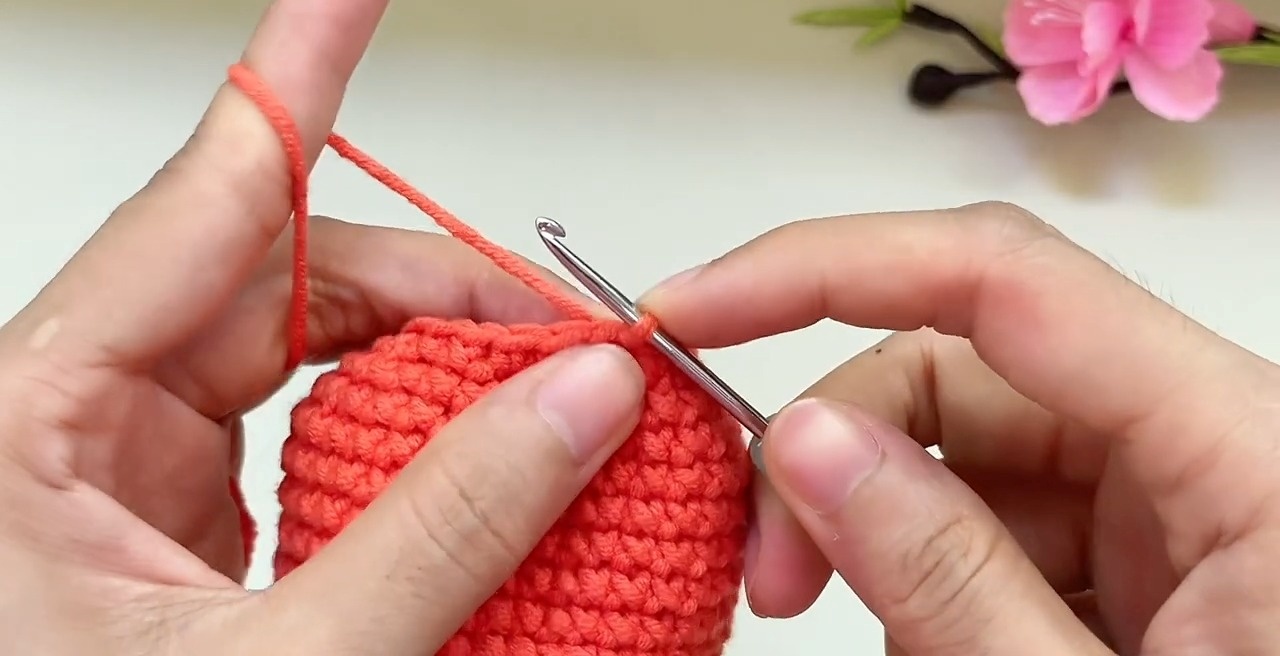
Rows 7-14: Build the Pumpkin Height
CH 1.
Make 1 SC in each stitch around.
SL ST into the first stitch at the end of each row.
Repeat for 7 rows. (40 stitches each row)
Decreasing for the Top Closure
Row 15: Decrease Interval
CH 1.
SC into the next 3 stitches, DEC over the next two stitches. Repeat (SC, SC, SC, DEC) for 7 times.
SL ST into the first stitch.
(32 stitches total)
Row 16: Work Even
CH 1.
Make 1 SC in each stitch around.
SL ST into the first stitch.
(32 stitches total)
Row 17: Decrease Interval
CH 1.
SC into the next 2 stitches, DEC over the next two stitches. Repeat (SC, SC, DEC) for 7 times.
SL ST into the first stitch.
(24 stitches total)
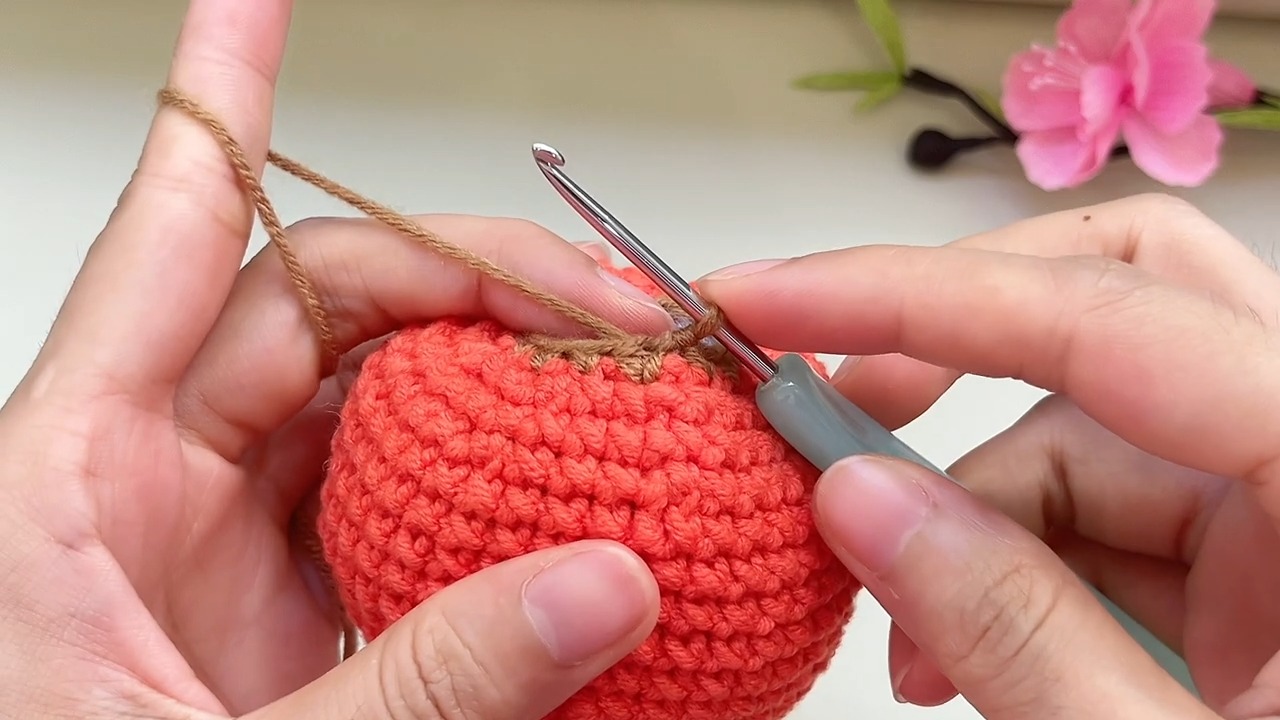
Row 18: Tighten the Opening
Switch to brown yarn for the stem.
CH 1. Make 1 SC in the first stitch, DEC in the next two stitches. Repeat (SC, DEC) for 7 times.
Begin stuffing your pumpkin firmly but carefully.
SL ST into the first stitch.
(16 stitches total)
Row 19: Close the Pumpkin
CH 1. Decrease in all the stitches around.
(8 stitches total)
Cut the yarn, leaving a long tail for sewing.
Using your yarn needle, weave through all the remaining stitches on the top opening, pull tightly to close the pumpkin, and knot the yarn securely.
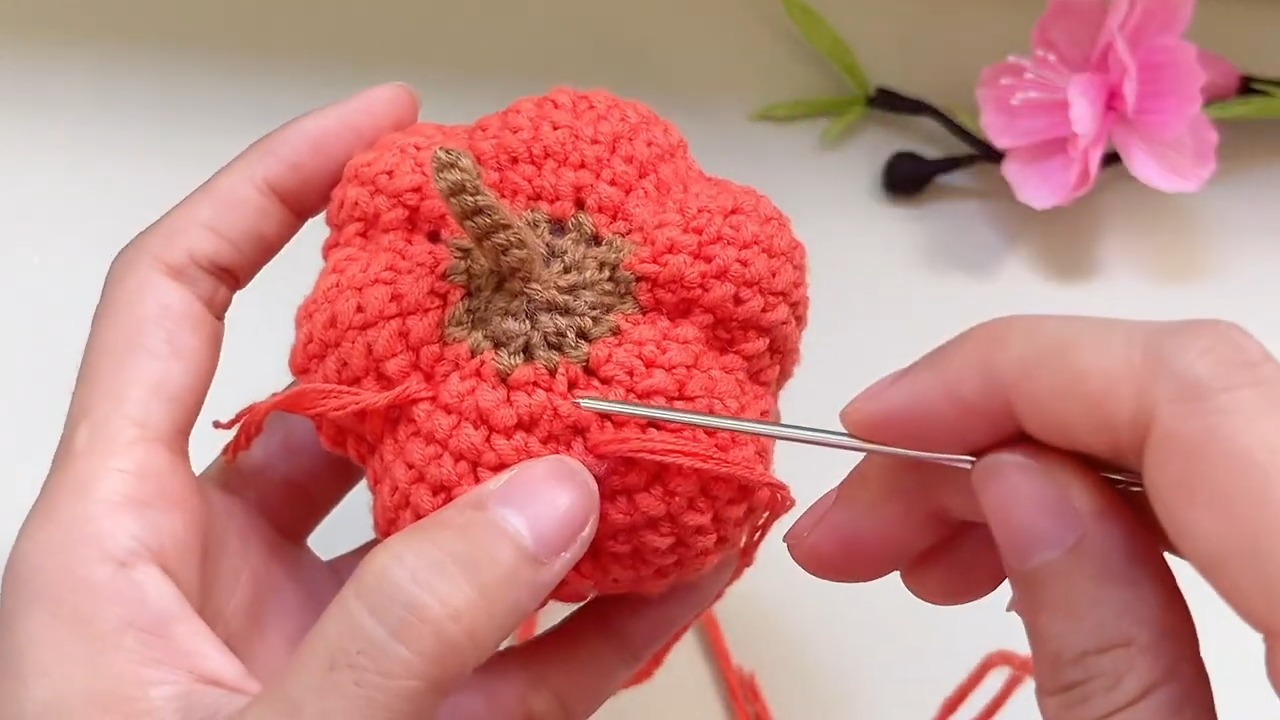
Shaping the Pumpkin
To shape the pumpkin, cut a 60 cm piece of yarn matching the pumpkin body.
Thread the yarn into the needle and divide the pumpkin into six equal sections by sewing along the grooves (from the top center to the bottom center). Use pins to guide you if needed.
Pumpkin Stem
Switch to brown yarn.
Starting from the top, make CH 8 to form the stem’s height.
Slip stitch in the chains back to the bottom.
Fasten off and weave in the ends.
Details: Eyes, Nose, and Mouth
Use black yarn to embroider the facial features (eyes, nose, and mouth). Customize the face to your liking for a spooky or cute look!
Key to Success:
Use the magic ring technique to shape the base flawlessly.
Follow the row-by-row pattern carefully to maintain consistent stitching.
Stuff the pumpkin firmly but gently to achieve the perfect balance of shape and softness.
Sew in details like segments and a cute face for a festive touch.