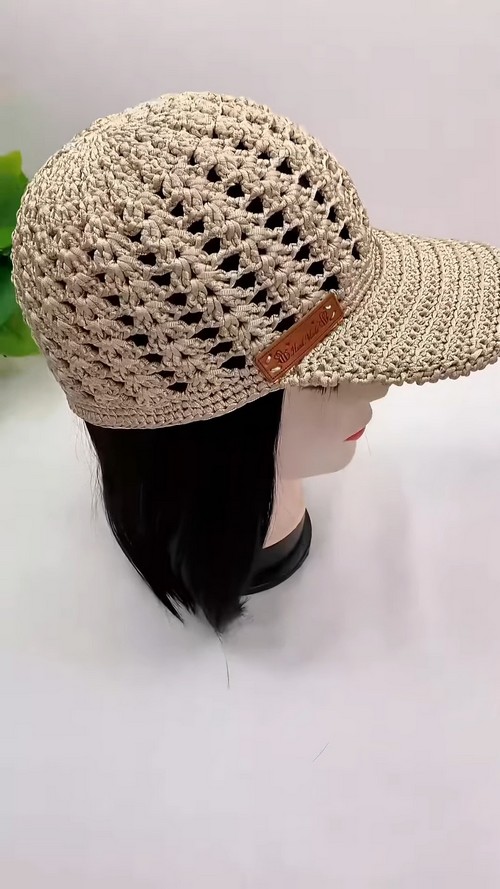
How to Create Your Own Crochet Baseball Cap

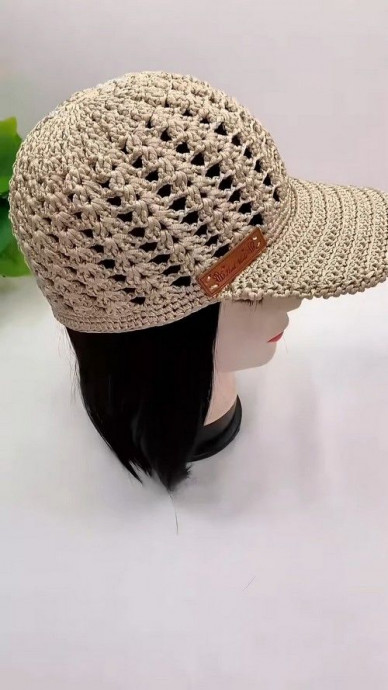
Crochet baseball caps are a fun and stylish accessory that adds a touch of personality to any outfit. The intricate designs and cozy feel make them perfect for both sunny days at the beach or casual outdoor gatherings with friends. The handmade nature of crochet caps adds a unique touch, showcasing the craftsmanship and attention to detail that goes into each piece. Whether you're looking for a pop of color or a classic neutral tone, there's a crochet baseball cap out there to match your style. So go ahead, grab your favorite crochet cap, and step out in style with a touch of handmade charm!
Getting Started & Foundation
Materials: Cotton linen flat yarn, 4mm double-ended crochet hook, leather tag, stitch markers, sewing needle, and a visor.
Yarn Preparation: Seal the yarn end to prevent fraying.
Slip Knot & Chain
Wrap yarn around your pinky, guide with your index finger, loop once around your middle finger, pinch the crossing point, and pull yarn through the loop.
Chain 3 and place a stitch marker on the 3rd chain.
Foundation Chain
Kids: 18 chains
Adults: 19 chains
Larger head sizes: 20 chains
The initial 3 chains count as one double crochet.
Round 1 (Base)
Crochet 18 more double crochets into the loop, for a total of 19 stitches (for adult size).
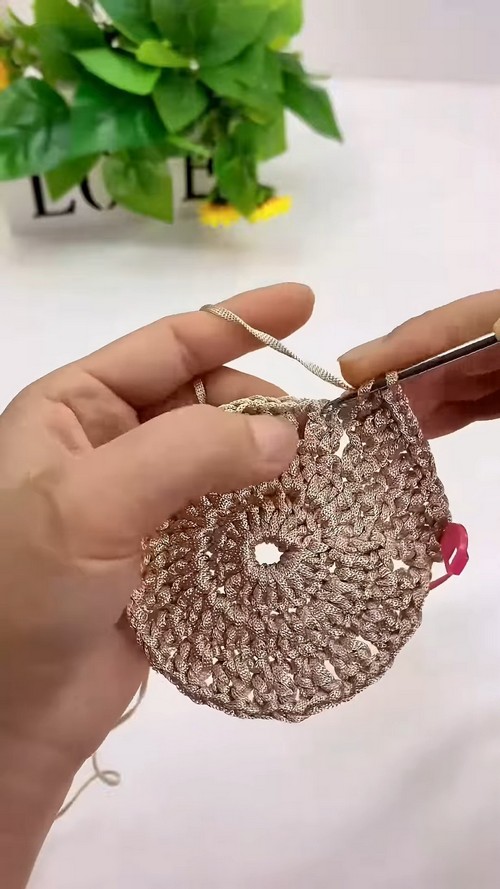
Crown of the Hat
Round 2 (Increase):
Remove stitch marker and slip stitch into the top chain.
Chain 3, place stitch marker.
Work two double crochets in each stitch around the round.
Total stitches: 38.
Round 3 (Pattern Introduction)
Slip stitch into the top of the previous round.
Chain 3 and add a stitch marker.
Work two double crochets in the same stitch, chain 1, skip 1 stitch, then crochet two double crochets in the next stitch.
Repeat this pattern around the entire round.
Round 4 (Increasing Groups)
Chain 3 and mark the first stitch.
In the second stitch, make two double crochets, then chain 1 for spacing.
In the next group, work 1 double crochet in the first stitch and 2 double crochets in the second.
Repeat around.
Round 5 (Flower Group)
Slip stitch to start the round.
Chain 3 and place a stitch marker.
Work 4 double crochets in the same stitch, chain 1 between groups.
Repeat around the entire crown.
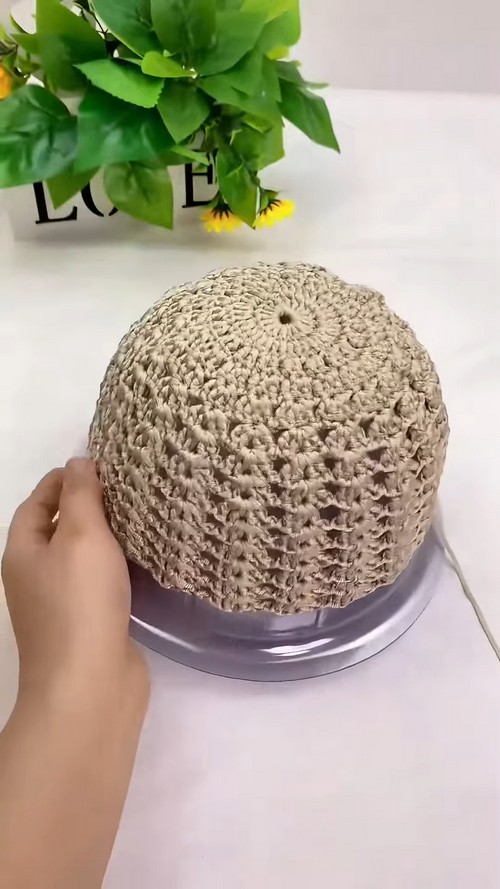
Crown Completion: After five rounds, the crown of the hat is complete.
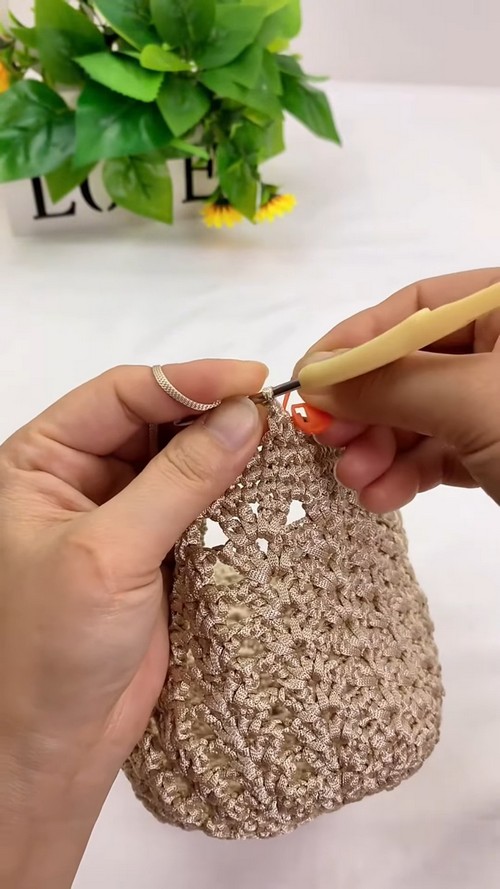
Body of the Hat (Shell Pattern)
Round 6 (Main Shell Pattern):
Remove the stitch marker and make a slip stitch.
Chain 3, work 1 double crochet in the same space, chain 1, and add two more double crochets in the same space.
Repeat this shell pattern around.
Subsequent Rounds of Hat Body
Continue working the shell pattern, making one shell in each shell space until the hat body measures about 16 cm from the center.
Shaping the Edge (Single Crochet Rounds)
Round 1 (Single Crochet with Decrease):
Start with one single crochet and mark the first stitch.
For the first three shell groups, crochet six single crochets normally.
For the fourth group, skip the first stitch and reduce one stitch.
Repeat this decrease pattern around the hat.
Subsequent Single Crochet Rounds
Crochet one single crochet per stitch for the next two rounds, or add a third if needed.
Finishing the Hat Body
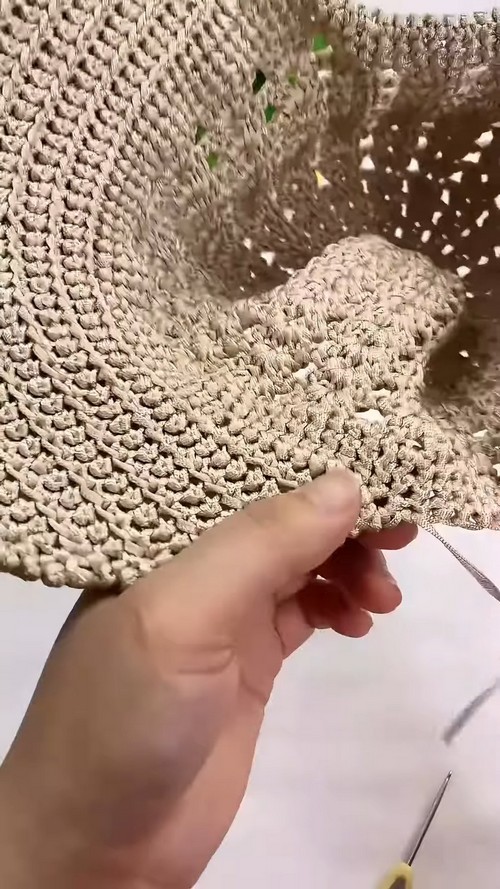
Invisible Join:
Pull out the working yarn and cut it.
Remove the stitch marker and go into the second stitch to close the round.
Hide the yarn tail inside the hat and trim any excess.
Crocheting the Brim
Marking Brim Edges:
Fold the hat in half and mark the center stitch.
Count out 22 stitches on each side, plus the center stitch, totaling 45 stitches for the brim.
Mark these edge stitches.
Brim Row 1 (Front Loop Only)
Start from the first marked stitch and work into the front loop only.
Chain 1 and continue working 1 single crochet into each front loop for 45 stitches.
Brim Row 2 (Decrease)
Skip the first stitch and continue working from the second stitch.
Skip the second-to-last stitch at the end and mark the last stitch.
Brim Row 3 (Decrease)
Skip the first stitch and work from the second.
Adjust the work neatly at the end and chain 1 to lift.
Brim Row 4 (No Decrease)
Work straight across, one single crochet per stitch.
Remaining Brim Rows
Continue for 15 rows, decreasing as needed.
Finish by making a slip stitch into the last stitch and fasten off.
Hide Yarn Tail (Brim)
Hide the yarn tail on the wrong side, trim it, and seal with a lighter.
Second Brim Panel
Repeat the same process for the second panel, starting from the remaining half loops.