Crochet Wooden Handle Bag

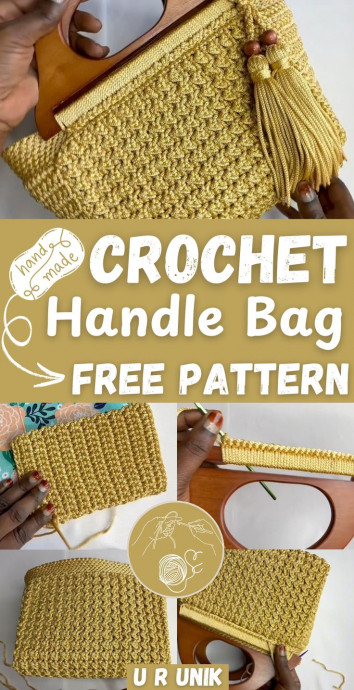
Imagine strolling through a vibrant market or enjoying a sunny day at the beach with your stylish crochet wooden handle bag swinging by your side! These charming bags not only add a touch of boho chic to your outfit but are also practical and sturdy for carrying your essentials. The combination of intricate crochet work and the warmth of wooden handles creates a delightful accessory that is not only fashionable but also environmentally friendly. Embrace the unique charm of a crochet wooden handle bag and make a statement wherever you go!
Materials Needed
- 30m macrame yarn
- Two wooden handles
- Fabric (for lining)
- Net
- Decorative beads
- Large and small needles
- 4.5 mm crochet hook
- Magnetic clasp
- Handmade tag (optional)
- Scissors
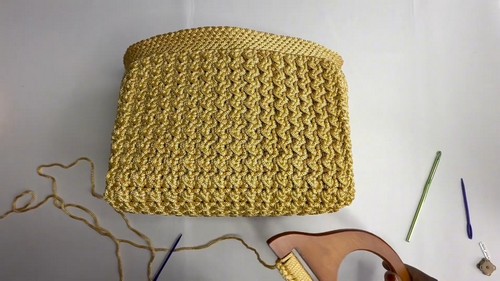
Bag Body
Foundation:
Chain 61. Turn and work in back loops only.
Row Instructions
Row 1:
- Single crochet in 2nd chain from the hook.
- Half double crochet, slip stitch – repeat until end.
- End with a single crochet.
Rows 2–33:
- Chain 1, turn.
- Start with a slip stitch.
- Alternate half double crochet and slip stitch across.
- End each row with a single crochet.
Measurements
Approx. 7.5" wide by 13.5" long after 33 rows.
Marking for Base
Mark 23 chains from both ends. Leave 14 center chains unmarked for the bag’s base.
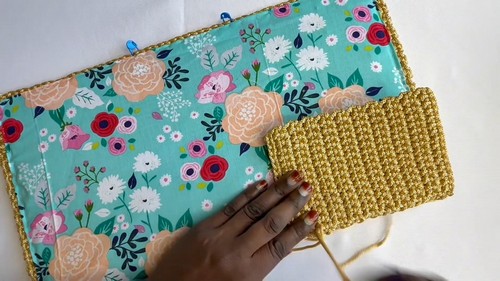
Add Net & Lining
Cut and sew net over the inner side of the crocheted piece. Add fabric lining on top of the net and sew in place.
Bag Sides (Make 2)
Foundation:
Chain 15.
Row Instructions
Rows 1–20:
- Single crochet in each stitch.
- Chain 1 and turn after each row.
Add Net & Lining
Cut and sew net and fabric over both side pieces.
Assembly
Attach Sides to Body:
Align sides using 14-center-chain section. Sew sides using large yarn needle.
Bottom Edge Finishing
Decorative Edge:
Attach yarn at bottom corner. Chain 1, slip stitch around bottom. Repeat for 7 rows. Fasten off and weave in ends.
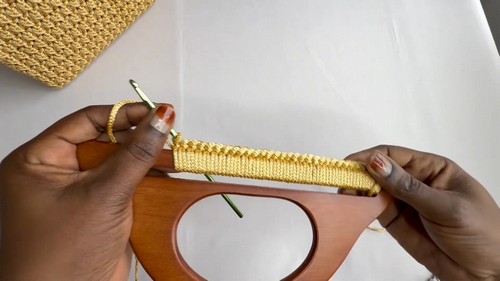
Handle Covers (Make 2)
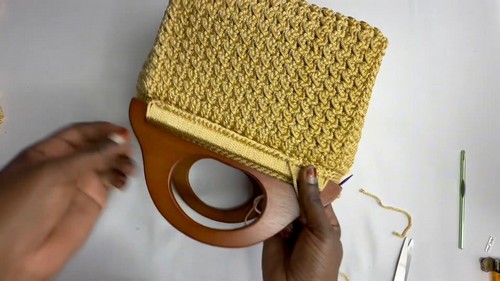
Crochet Around Handles:
Attach yarn to handle. Single crochet around entire wooden ring. Leave a long tail for sewing.
Tassels and Beads
Make Tassels:
Wrap yarn 23 times around a phone. Cut and tie at top to secure. Trim bottom.
Create Chain Tie:
Chain 30 for each tassel string.
Beads and Finish:
Slightly melt yarn tips with a candle to thread beads. Thread through bead and attach tassels. Seal and trim ends.
Final Assembly
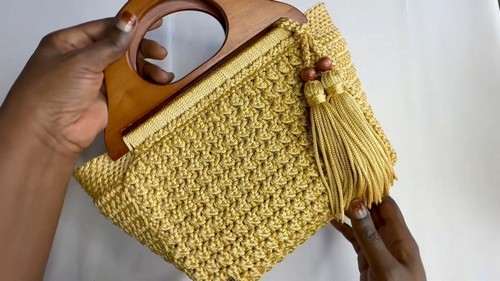
Sew Handles:
Find center of top edge. Sew one handle to each side securely.
Attach Tassels
Fix tassels to one corner of the bag.
Install Magnetic Clasp
Sew clasp to the lining for closure.
Add Tag (Optional)
Sew handmade tag to front or side of the bag.