DIY Crochet Strawberry Hairclip: Easy Step-by-Step Tutorial

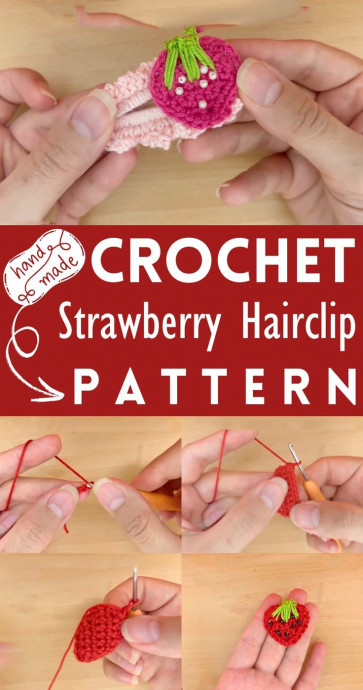
The crochet strawberry hairclip is an adorable accessory that adds a sweet touch to any hairstyle! It features a vibrant red color with crocheted details that resemble the texture of a real strawberry. This charming hairclip is perfect for adding a pop of color and whimsy to your look, whether you're going for a cute and playful vibe or simply want to add a fun twist to your outfit. It's lightweight and comfortable to wear, making it an excellent choice for both kids and adults who appreciate a touch of charming whimsy in their accessories. Get ready to turn heads and receive compliments with this delightful crochet strawberry hairclip!
Materials Needed
- Crochet hook
- Yarn in red, green, and another color for the hair clip attachment
- Hair clip
- Yarn needle
- Glue (optional)
Instructions
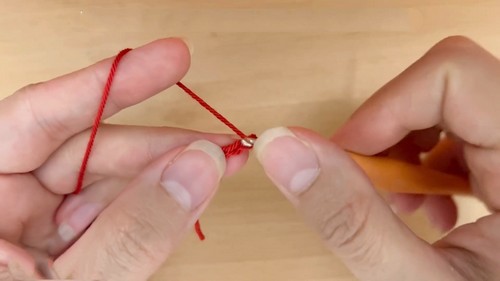
Part 1: Strawberry
Create a Slip Knot
Make a slip knot to begin.
Starting Chain
Chain 3.
Row 1
Insert hook in the second chain from the hook, make one single crochet. Insert the hook in the next chain, make another single crochet. Chain 1, turn your work.
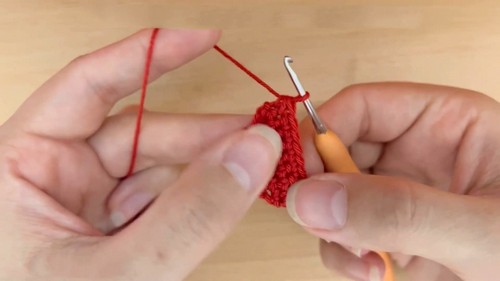
Row 2
In the first stitch, make two single crochets (increase). Make two single crochets in the next stitch (increase). You now have 4 single crochets. Chain 1, turn your work.
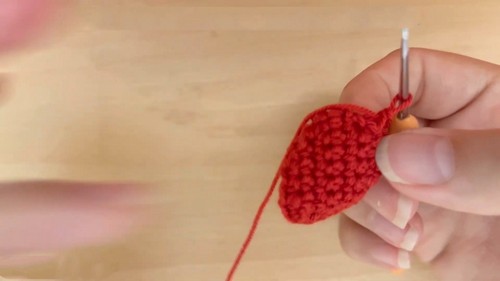
Row 3
In the first stitch, make two single crochets. Make one single crochet in each of the next two stitches. In the last stitch, make two single crochets. Chain 1, turn your work.
Row 4
Repeat the pattern of increasing at the beginning and end of the row, while making one single crochet in each stitch between. You now have 8 stitches.
Row 5
Continue as before, increasing at both ends and placing single crochets between. Now you should have 10 stitches.
Row 6
Begin to decrease: Insert hook, yarn over, pull through, insert hook into next stitch, yarn over, and pull through all loops on the hook (decrease made). Make one single crochet in the next stitch and repeat the decrease at the end of the row.
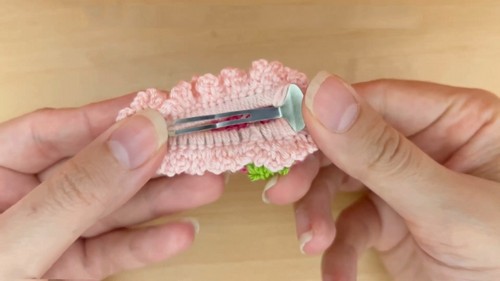
Finishing the Strawberry
Continue the established increase and decrease pattern until the shape resembles a strawberry. Fasten off yarn and use the needle to hide the yarn tail within the stitches.
Part 2: Attaching to Clip
Prepare the Clip
Attach new yarn to the hook, and insert it into the hair clip. Secure by making several single crochets around the hair clip, covering it evenly with stitches.
Create a Looping Border
Chain 3, then single crochet in the next stitch. Repeat around the perimeter of the clip.
Attach the Strawberry
Position the crocheted strawberry on the hair clip. If desired, use a dab of glue to secure it or sew it on with a yarn needle for a firmer hold.
Finishing Touches
Trim any excess yarn and make sure all ends are securely fastened.
Completion
Now your crochet strawberry hair clip is complete! You can experiment with different colors and sizes based on your preference.
- Funny Pictures
-
 Hilarious Pics of the Day to Make You Laugh
-
 Top Hilarious and Relatable Pics of the Day
-
 Tweets So Relatable They'll Make You Think We're All Living the Same Life
- Recipes
-
 German Christmas Stollen
-
 Feta and Roasted Red Pepper Dip
-
 Sunny Lemon Bars Recipe
- Lifehacks
-
 Jacob’s Ladder Crochet Stitch Tutorial
-
 How to Crochet Boxed Bead Crochet Stitch
-
 How To Make The Crochet African Flower Hexagon
- Crochet Ideas
-
 Make a Crochet Giraffe Snuggler — Free Amigurumi Pattern & Step-by-Step Guide
-
 Make an Adorable Crochet Floret Stitch Washcloth — Easy Step-by-Step Pattern
-
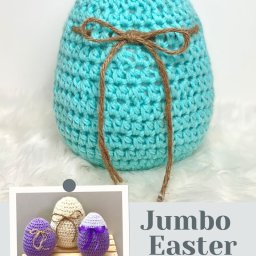 How to Crochet a Jumbo Easter Egg: Easy Beginner Pattern & Step-by-Step Tips
- DIY
-
 Airy Openwork Granny Square Pattern — Free Crochet Tutorial & Join‑As‑You‑Go Guide
-
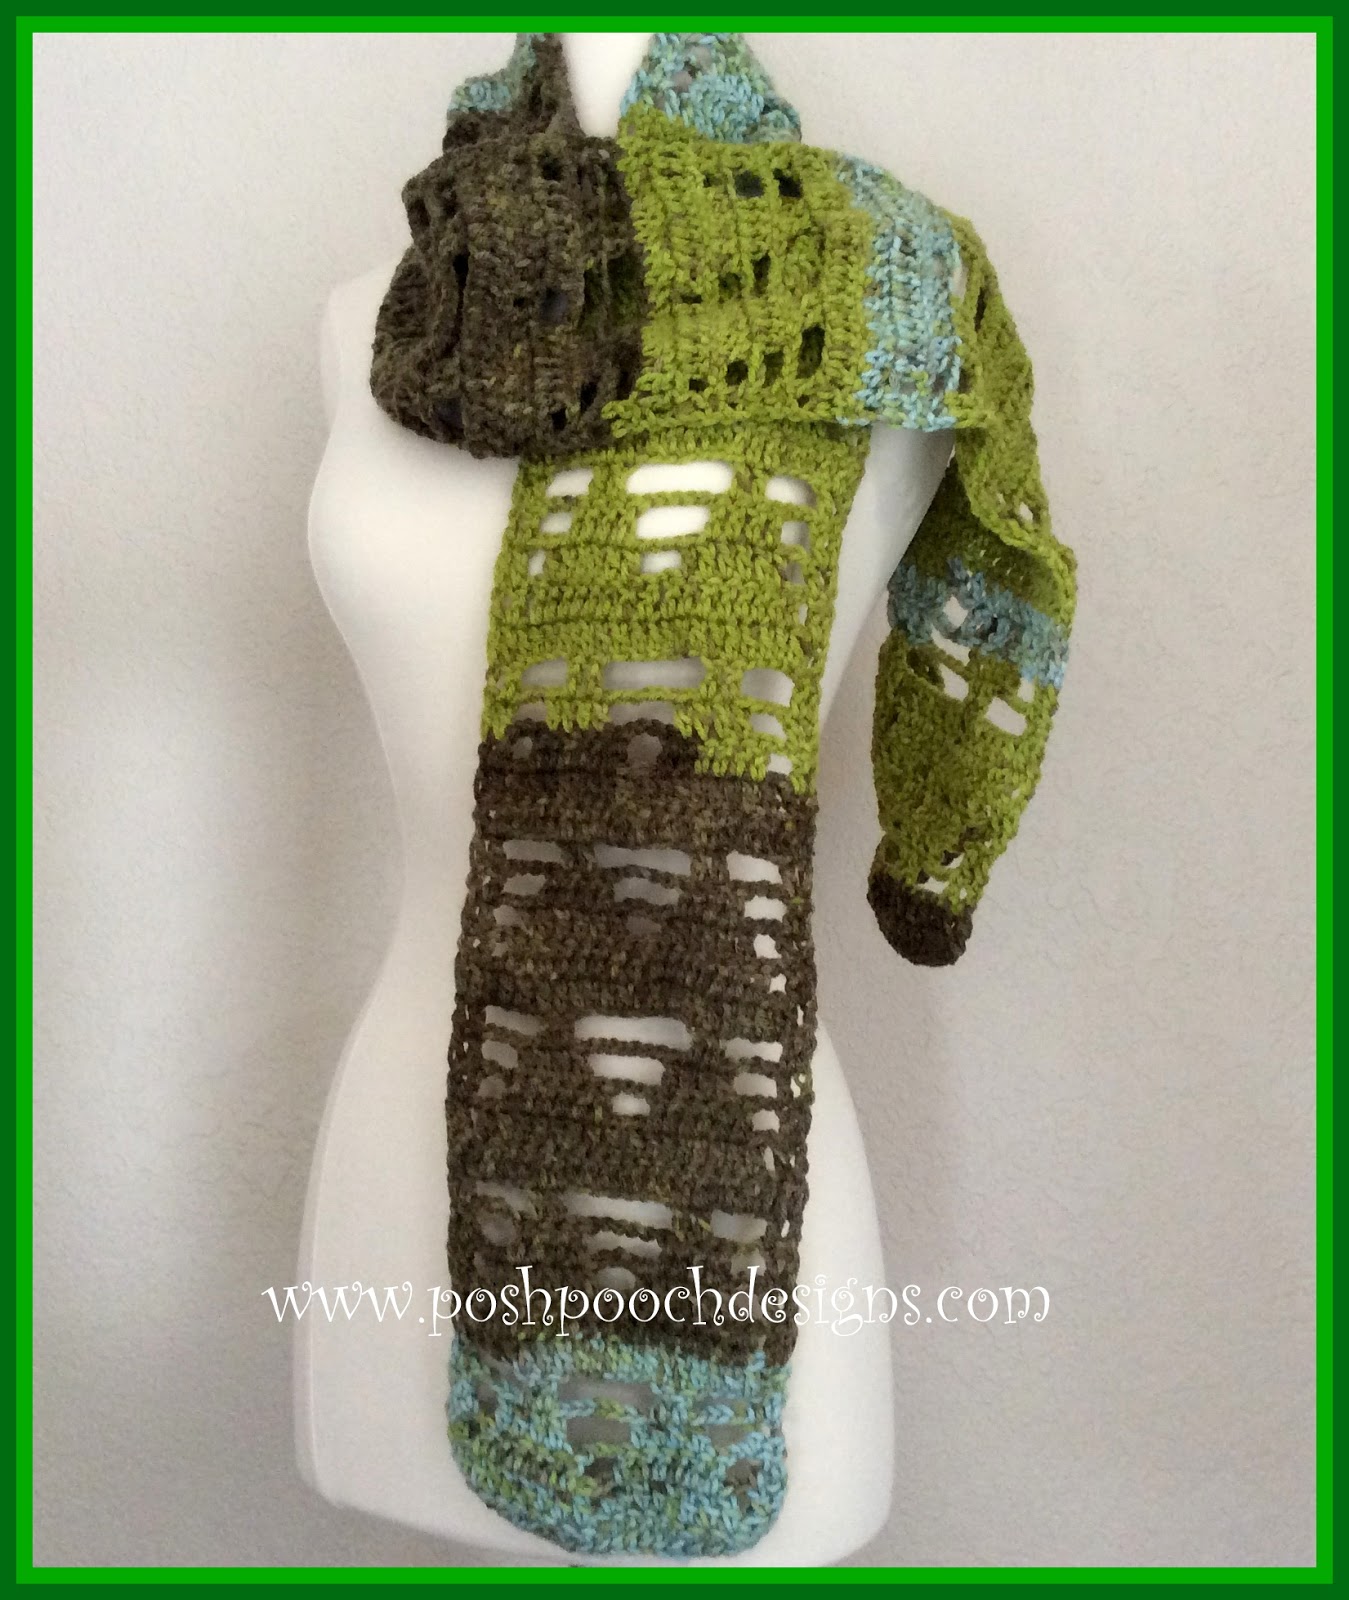 Cozy Whispering Pines Scarf — Easy Crochet Pine-Tree Stitch Pattern & Tutorial
-
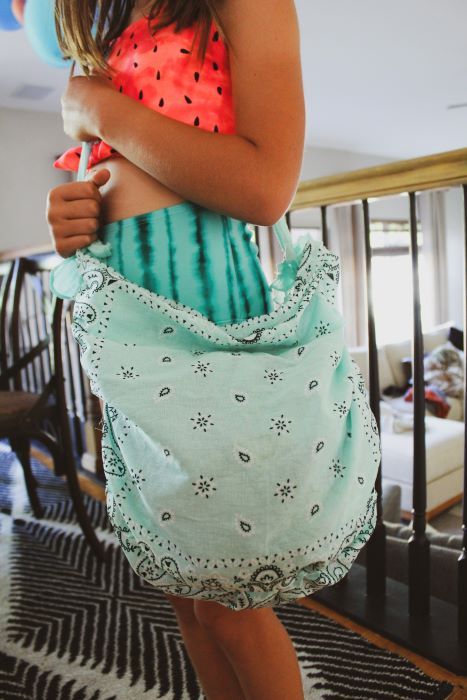 Easy No-Sew Bandana Tote Bag Kids Can Make
- Knitting Ideas
-
 Adorable Knitted Bunny Baby Booties — Free Easy Knitting Pattern
-
 Easy DIY Knitted Baby Socks: Simple Step-by-Step Pattern
-
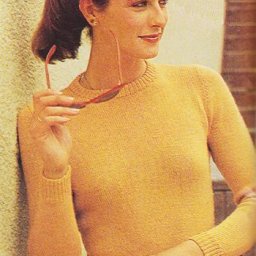 Cozy Hand-Knit Sweater Pattern with Detailed Instructions (Fits Chest 32–40 in)