Miu Miu-Inspired Crochet Top — Step-by-Step Pattern with Tie Details

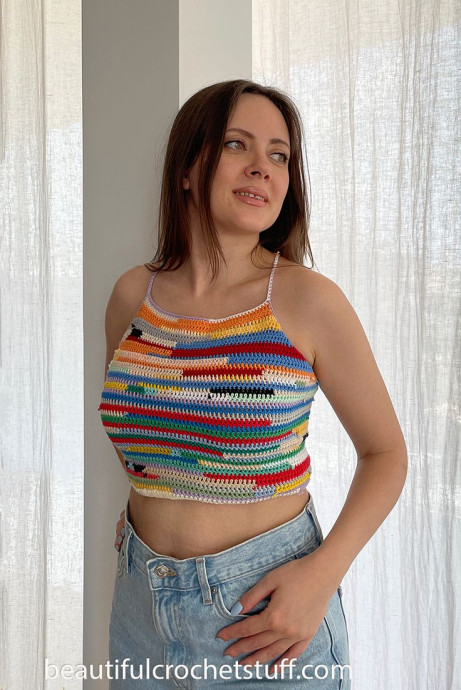
The Crochet Miu Miu Top is an absolute stunner! It effortlessly combines chic and boho vibes, making it a versatile piece for any occasion. Whether you're heading to a brunch date or a music festival, this top is sure to make you stand out in style. Perfect for creating trendy and fashion-forward looks, the Crochet Miu Miu Top is a must-have for anyone looking to elevate their wardrobe with a fun and flirty twist.
Materials
Yarn: 110 g of 100% Cotton 8/4 leftovers by Hobbii
Crochet Hook: 3 mm
Stitches Used
- ch(s) – chain(s)
- sc – single crochet
- hdc – half double crochet
- dc – double crochet
Gauge
10 x 10 cm (4×4 in) = 21 dc x 14 rows
Size
Width – 73 cm (28 3/4 in), Length – 27 cm (10 1/2 in)
NOTE: The pattern is written to measure and doesn’t include a size guide.
THE PATTERN IS WRITTEN USING AMERICAN ENGLISH CROCHET TERMS.
Pattern Instructions
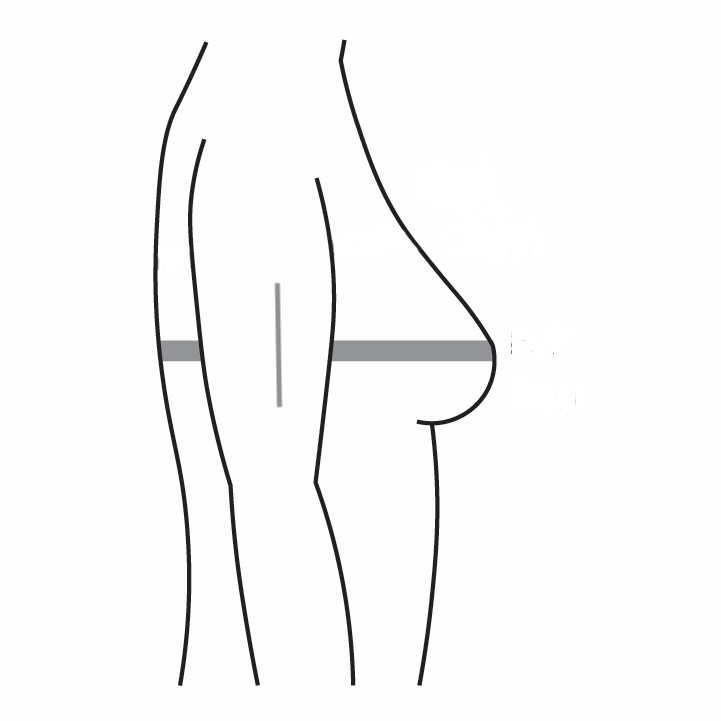
Measure: Measure the fullest part of your chest to the middle point of your body.
Foundation Row
Row 1: Start with a foundation dc row – 49 dc.
Body Rows
Row 2-16: Ch 3 (counts as the first dc), turn, 2 dc in the first dc, dc in each dc to the last dc, 3 dc in the last dc. Don’t cut the yarn.
Please note: Repeat Row 2 until the top covers your bust and reaches the middle of your body (marked vertical gray line). After that, start crocheting without increasing:
Row 17: Ch 3 (counts as the first dc), turn, dc in each dc to the end of the row.
Repeat Row 17 until you reach the desired length. I crocheted 20 rows. Don’t cut the yarn.
Back Parts
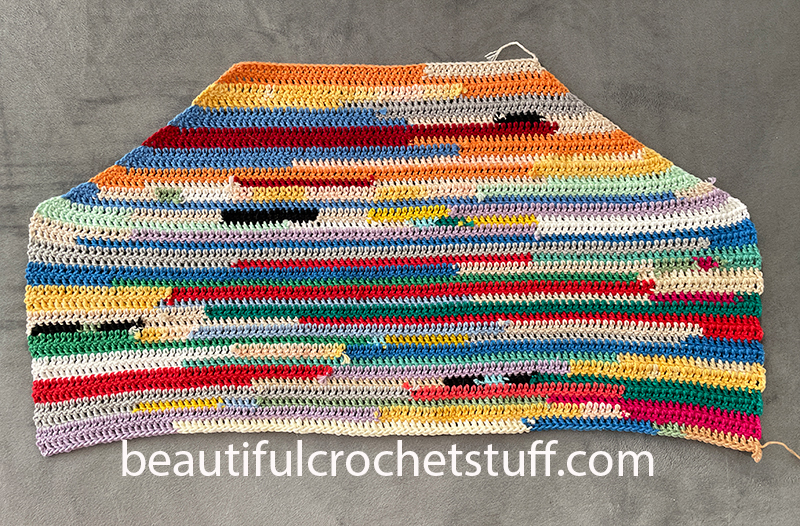
Row 1: Ch 3 (counts as the first dc), work a row of dc across the part without increases.
Row 2: Ch 3 (counts as the first dc), turn, dc in each dc to the end of the row.
Repeat Row 2 as many times as needed. I crocheted 8 rows of dc stitches. I recommend you leave a 10-15 cm gap between the two back parts.
Connect the yarn to the opposite side and crochet the same number of dc rows across the part without increases.
Ties
- Connect the yarn to the marked place.
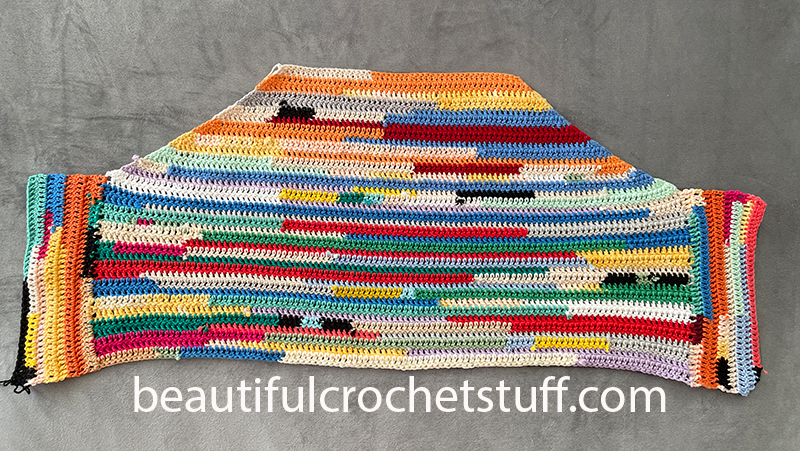
- Crochet a row of sc to the first upper corner, sc in the corner, ch 151, sc in the second ch from the hook, sc in each ch to the end of the row.
- Keep crocheting sc across the second side of the top. Cut the yarn.
- Pull the ties through the back part of the top as shown in the photo.
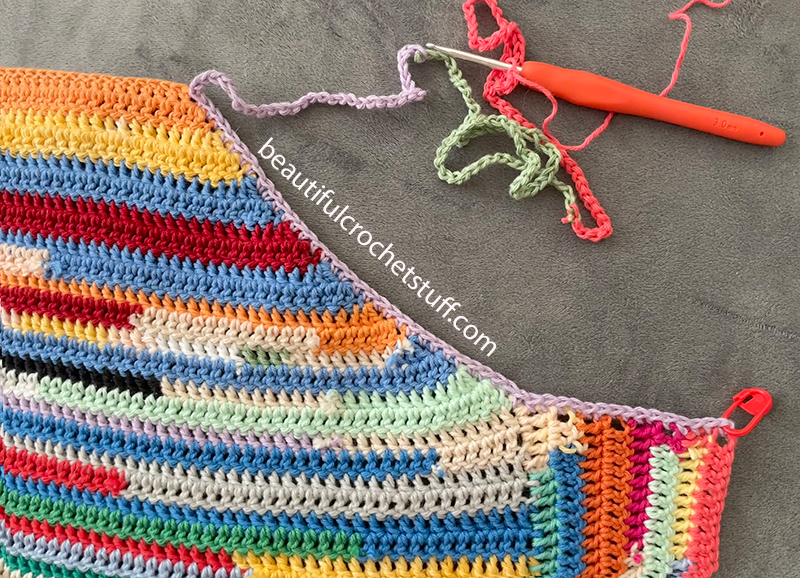
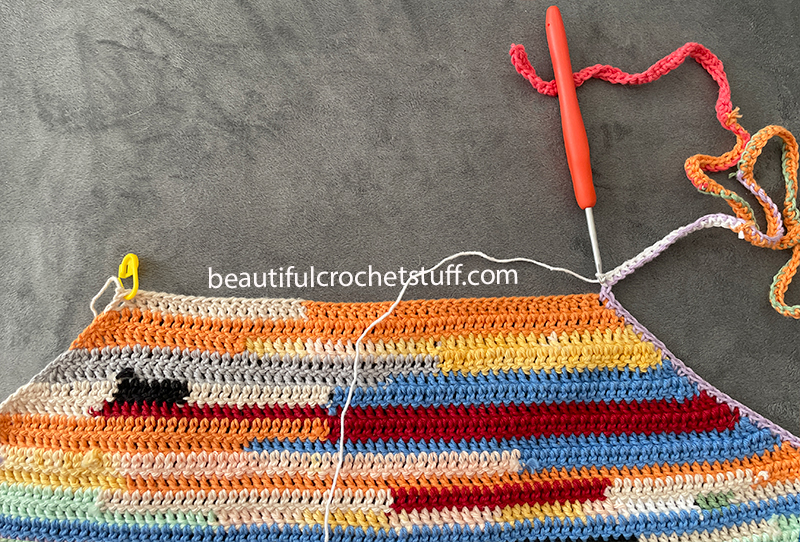
3. Keep crocheting sc across the upper part to the second upper corner, sc in the corner, ch 151, sc in the second ch from the hook, sc in each ch to the end of the row.
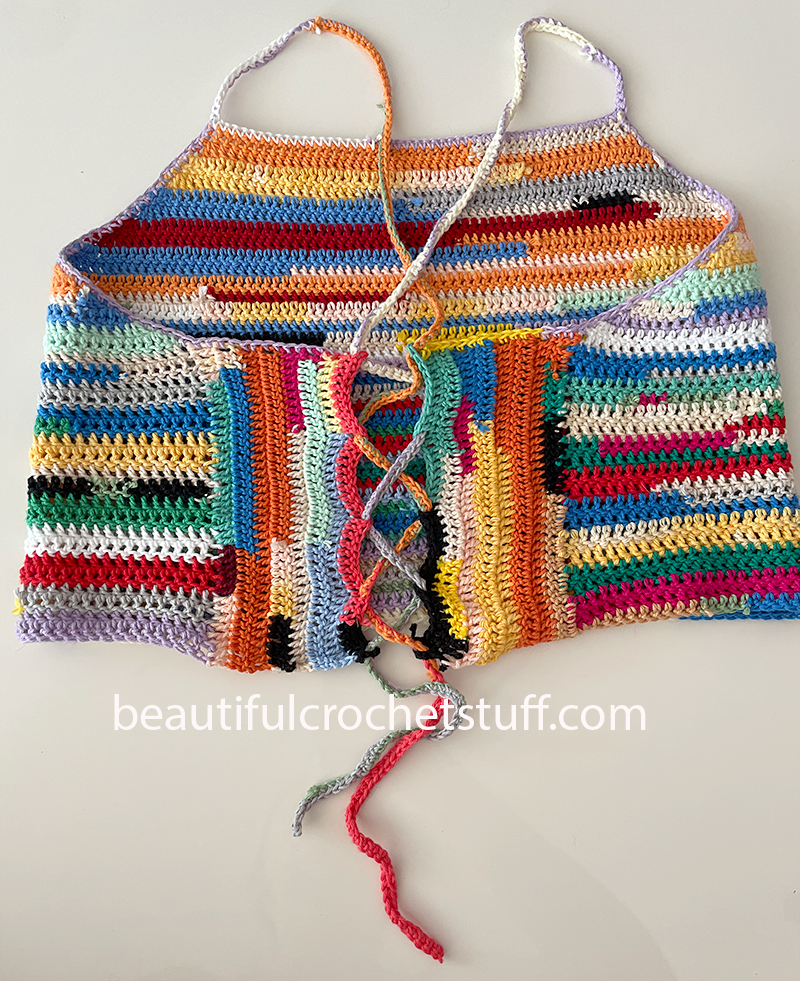
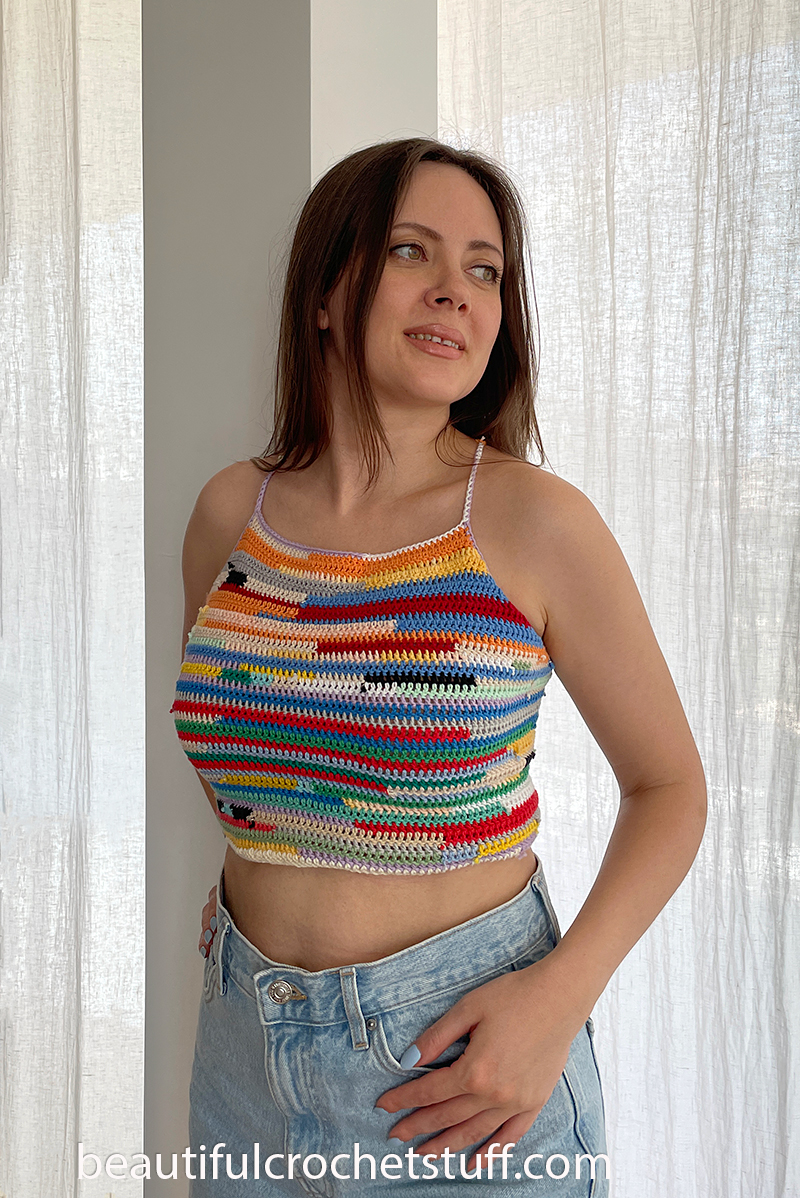
- Recipes
-
 Nacho Cheese Sauce
-
 Garlic Steak Bites
-
 Broccoli Cheese Balls
- Lifehacks
-
 Flower Crochet Lattice Stitch Tutorial
-
 Easy Ways to Soften Crochet
-
 8 Tips for Crocheting with Bouclé Yarn
- Crochet Ideas
-
 Make Adorable Mini Minions: Easy Crochet Amigurumi Pattern & Step-by-Step Guide
-
 Make a Cute Amigurumi Corn Keychain — Easy Crochet Pattern & Step-by-Step Guide
-
 Boho Crochet Summer Vest Pattern — Lightweight Rosy Cotton (S/M & L/XL)
- DIY
-
 Make This Cozy Crochet Boho Throw Blanket — Free Step-by-Step Pattern
-
 Crochet 'Happy Hubert' Hippo Pillow — Free Pattern for a 15 x 10 in Adorable Cushion
-
 DIY Crochet Lace Belt: Easy Step-by-Step Tutorial for a Vintage-Inspired Waistband
- Knitting Ideas
-
 DIY Knitted Drawstring Pouch — Small Bag Pattern & Step-by-Step Instructions
-
 Knit This Lightweight Summer Top — Circular-Knit Tee Pattern (Size S, 34" Bust)
-
 Cozy Comfort Knitted Pillow Cover — Free, Easy Pattern in Four Sizes