

Make a Magical Tinker Bell Amigurumi Doll — Complete Crochet Pattern & Tips

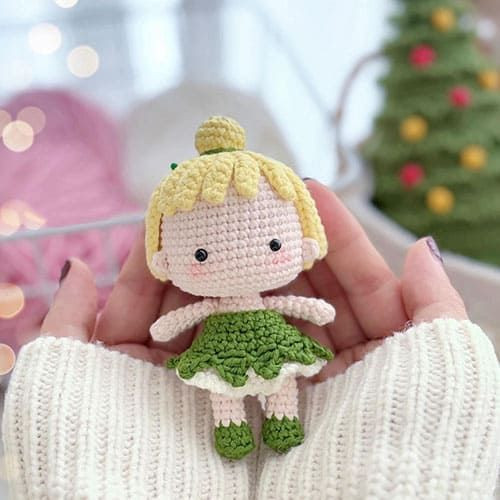
Bring a little fairy magic to your crochet basket with this complete Crochet Tinker Bell Amigurumi pattern. This tutorial includes a full materials list, stitch abbreviations, and round-by-round instructions for head, body, limbs, hair, skirt and dress. Suitable for beginners with basic amigurumi skills; choose a sport or DK yarn and a small hook for a firm fabric and neat stitches.
Enchant Your Projects with Crochet Tinker Bell Doll Amigurumi
If you're looking to add some magic to your craft projects, creating a Crochet Doll Tinker Bell Amigurumi is the ideal choice. This charming little fairy will bring whimsy and delight to all your handmade creations. With vibrant colors and beautiful details, this crochet Tinker Bell doll is sure to bring joy and smiles. Whether a seasoned crocheter or a beginner, you'll find this DIY amigurumi fairy doll a fun and rewarding crochet project. Grab your crochet hooks, yarn, and creativity to make this beloved character come alive!
Materials Needed for Your Crochet Tinker Bell Amigurumi Doll
- Sport or DK lightweight yarn (recommended: Hello Cotton yarn)
- Crochet hook: size 2mm-2.5mm
- Safety eyes (4mm)
- Black embroidery thread
- Fiberfill stuffing
- Yarn needles
Crochet Abbreviations & Stitches Guide
MR
: Magic Ring
sc
: Single Crochet
hdc
: Half Double Crochet
dc
: Double Crochet
inc
: Increase
dec
: Decrease
FLO
: Front Loop Only
BLO
: Back Loop Only
slst
: Slip Stitch
Step-by-Step Crochet Tinker Bell Doll Pattern
Head (Use Skin Tone Yarn)
Rnd 1: 6 sc in MR (6)
Rnd 2: 6 inc (12)
Rnd 3: [sc, inc] x6 (18)
Rnd 4: [2 sc, inc] x6 (24)
Rnd 5: sc, inc, [3 sc, inc] x5, 2 sc (30)
Rnd 6: [4 sc, inc] x6 (36)
Rnd 7: 2 sc, inc, [5 sc, inc] x5, 3 sc (42)
Rnd 8-13: sc in each stitch around (42)
Rnd 14: [6 sc, inc] x6 (48)
Insert eyes between Rnd 14–15, 8 stitches apart.
Rnd 15-18: sc in each stitch around (48)
Rnd 19: [4 sc, dec] x8 (40)
Rnd 20: [3 sc, dec] x8 (32)
Rnd 21: [2 sc, dec] x8 (24)
Rnd 22: [sc, dec] x8 (16)
Rnd 23: [2 sc, dec] x3, 4 sc (13)
Rnd 24-29: BLO 13 sc (13)
Rnd 30: 6 dec, sc (7)
Cut yarn. Pull the neck inside the head.
Legs (Make Two)
Start with green yarn.
Rnd 1: 5 sc in MR (5)
Rnd 2: 5 inc (10)
Rnd 3: BLO 10 sc (10)
Rnd 4: 3 sc, 2 dec, 3 sc (8)
Switch to skin-tone yarn.
Rnd 5: 8 sc (8)
Rnd 6-8: sc around (8)
Rnd 9: 6 sc, end here (6). For second leg, crochet up to Rnd 8; in Rnd 9 crochet 11 sc, Ch 3, join to first leg.
Body (Use Skin Tone Yarn)
Rnd 1-3: 22 sc (22)
Rnd 4: 4 sc, dec, 9 sc, dec, 5 sc (20)
Rnd 5-8: sc around (20)
Rnd 9: [2 sc, dec] x5 (15)
Rnd 10: [sc, dec] x5 (10)
Rnd 11: dec, 8 sc (9)
Rnd 12-17: sc around (9)
Rnd 18: 4 dec, sc (5)
Cut yarn and secure.
Arms (Make Two)
Use skin-tone yarn.
Rnd 1: 6 sc in MR (6)
Rnd 2-7: sc in each stitch around (6)
Cut yarn. Leave a long tail to sew. Attach arms to body at round 9.
Ears (Make Two)
Use skin-tone yarn.
Rnd 1: 3 sc in MR (3)
Cut yarn. Leave yarn tail for sewing. Attach ears at rounds 15-16.
Hair (Yellow Yarn)
Rnd 1: 6 sc in MR (6)
Rnd 2: 6 inc (12)
Rnd 3: [sc, inc] x6 (18)
Rnd 4: [ch 8, (2 sc, 5 hdc in chains), slst to next stitch] x5, [ch 15, (2 sc, 12 hdc in chains), slst to next stitch] x12
Cut yarn; hide yarn tail.
Bun (Yellow Yarn)
Attach yarn to FLO stitches of BLO round on hair.
Rnd 1: [3 sc, inc] x3 (15)
Rnd 2-3: sc around (15)
Rnd 4: [3 sc, dec] x3 (12)
Rnd 5: 6 dec (6)
Cut yarn; hide yarn tail.
Skirt (White Yarn)
Attach yarn to the FLO stitches on body’s BLO round.
Rnd 1: ch 2, [3 dc, dc inc] x5 (25)
Rnd 2: ch 2, [4 dc, dc inc] x5 (30)
Rnd 3: [ch 3, slst to next stitch] x29
Cut yarn; weave in ends.
Dress (Green Yarn)
Ch 20, join to form a circle.
Rnd 1-2: sc around (20)
Rnd 3: FLO [sc, inc] x10 (30)
Rnd 4: sc around (30)
Rnd 5: [ch 4, (slst, sc, dc in chains)] x10
Cut yarn; weave in ends.
Assembly & Finishing Tips
- Place and insert safety eyes before stuffing the head to make positioning easier and more secure.
- Stuff pieces firmly but not overstuffed to keep a smooth surface—use small tufts of fiberfill and add gradually.
- Sew parts together with a yarn needle using the long tails left after cutting; use ladder stitch or invisible join for a neat finish.
- Embroider facial features with black embroidery thread; keep stitches small and symmetrical.
- Weave in and hide all yarn tails inside the doll to prevent unraveling.
- Adjust yarn weight or hook size if you prefer a larger or smaller doll; changing materials will change the finished size.
Congratulations – You've Created Your Tinker Bell Crochet Doll!
Your enchanting Crochet Doll Tinker Bell Amigurumi is now complete. Display her proudly, or gift this magical little fairy doll to someone special. Enjoy your whimsical new crochet doll!
- Recipes
-
 Crispy Bean Tostadas with Smashed Avocado and Jicama-Cilantro Slaw
-
 Mango “Burrito” Bowls with Crispy Tofu and Peanut Sauce
-
 Baklava Granola
- Crochet Ideas
-
 Crochet Pumpkin Bear
-
 Crochet Santa Placemat
-
 Crochet Mini Boo Bucket for Treats and Decor
- Knitting Ideas
-
 DIY Knitted Waffle Kitchen Towel — Easy Pattern for a Textured, Absorbent Cotton Towel
-
 Make an Adorable Knitted Scrappy Bandana Bib — Easy Garter-Stitch Baby Pattern
-
 Quick & Cozy Knitted Wrist Pincushion — Easy Pattern and Step‑by‑Step Instructions
- Lifehacks
-
 Crochet Tutorial: Textured Bobble Stitch
-
 Crochet Tutorial: Brick Stitch
-
 Crochet Wheat Stitch Tutorial
- Funny Pictures
-
 Fresh Animal Memes to Mix in Your Morning Coffee
-
 The Funniest Tweets of the Day
-
 Hilarious Tweets to Get Your Thoughts Clear
- DIY
-
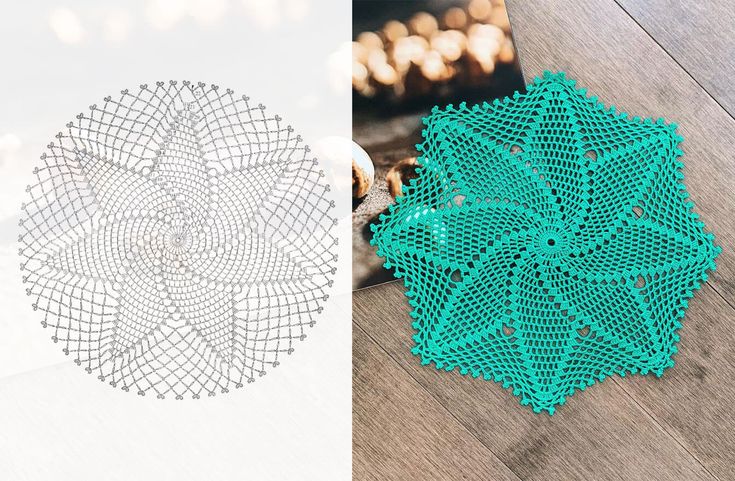 Make a Crochet Spiral Star Doily — Free US-Term Pattern & Tips
-
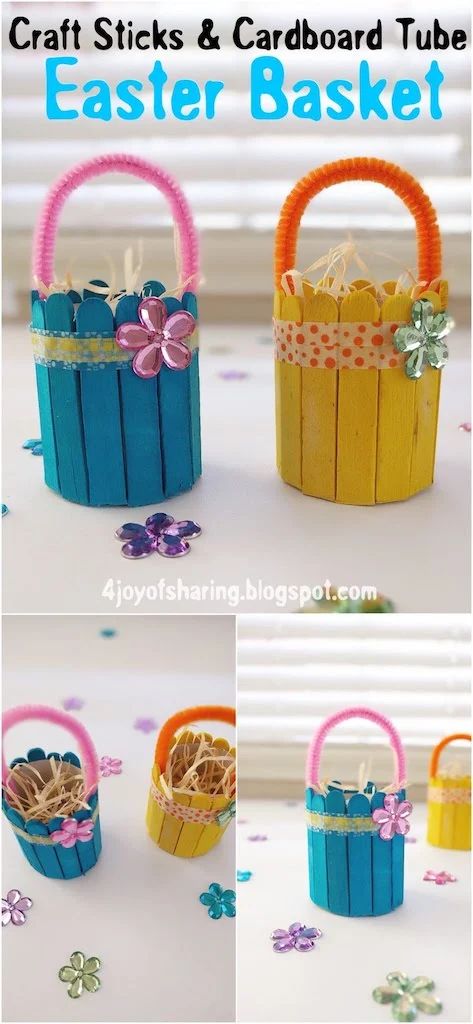 Easy DIY Easter Basket from Craft Sticks and a Cardboard Tube — Step-by-Step
-
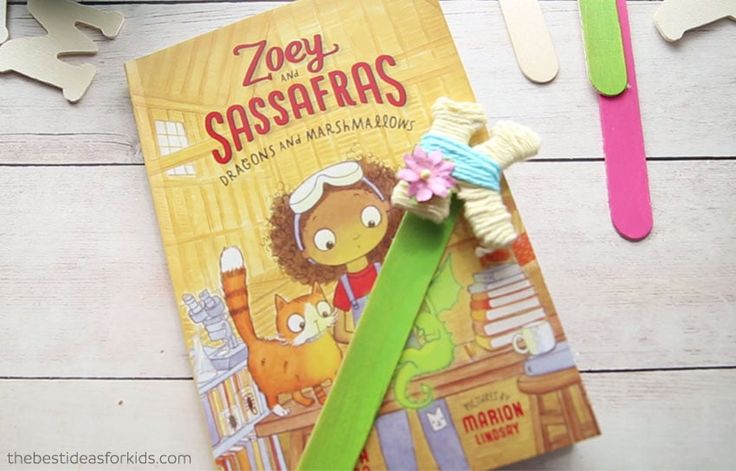 DIY Yarn-Wrapped Letter Bookmarks — Cute Personalized Bookmarks in Minutes