

Crochet Doll Emily Amigurumi — Free Pattern to Make a 5.5" Handmade Doll

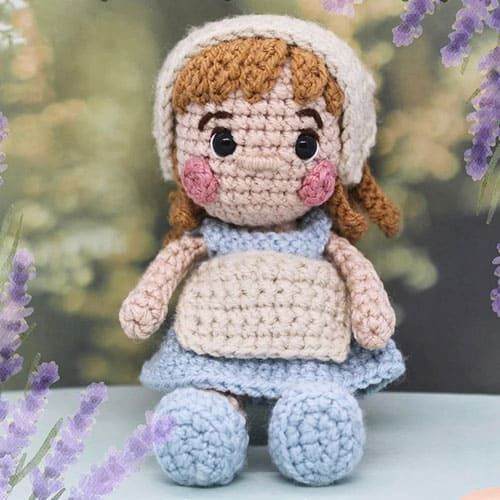
Meet Crochet Doll Emily Amigurumi, a sweet handmade companion with charming details and easy-to-follow instructions. This pattern makes a small doll approximately 5.5 inches tall when worked with the indicated DK yarn and a 4mm hook. Emily is a lovely gift idea or a delightful addition to any amigurumi collection.
Below you will find a materials list, stitch abbreviations, and the complete step-by-step rounds for the legs, body, neck, head, arms, cheeks, hair, and assembly.
Size: Doll tall 5.5 inches when made with the indicated yarn and hook.
Materials
DK weight yarn in:
- Beige
- Brown
- Pink
- White
- Light blue
4mm hook
Tapestry needle
Scissors
Fiberfill
Stitch marker
Skill Needed / Abbreviations
- MR - Magic ring
- sc - Single crochet
- dc - Double crochet
- hdc - Half double crochet
- inc - Increase
- dec - Decrease
- ch - Chain
- BLO - Back loop only
- FLO - Front loop only
Legs (Make 2)
First Leg:
Using beige yarn.
R1. Start 6 sc in a MR (6)
Tug tail to tighten ring.
Mark the last stitch.
Move marker each round.
R2. 6 inc (12)
R3. BLO: 12 sc (12)
R4. 2 sc, 4 dec, 2 sc (8)
R5-11. (7 rounds): 8 sc (8)
At the end of round 11, fasten off.
Second Leg:
Using beige yarn.
R1-11. Repeat rounds 1-11 of first leg.
At the end of round 11, don’t fasten off and continue joining the legs.
Joining Legs:
R12. Ch 2, working on first leg, sc in the first st made, sc in each of next 7 sts.
Working in ch 2, sc in each of next 2 ch.
Working on second leg, sc in each of next 8 sts.
Working in unused loops on other side of ch 2, sc in each of next ch (20)
Mark the last st made.
Body
R13-18. (6 rounds): 20 sc (20)
Start stuffing legs and body, continue stuffing as you go.
R19. 2 sc, 1 dec (15)
R20. 15 sc (15)
R21. 1 sc, 1 dec (10)
Neck
R22. 1 sc, 1 dec (5)
R23. 5 sc (5)
Head
R24. 5 inc (10)
R25. (2 sc, 1 inc) x 3, 1 sc (13)
R26. 1 sc, 1 inc (21)
R27. 2 sc, 1 inc (28)
R28. 3 sc, 1 inc (35)
R29-38. (10 rounds): 35 sc (35)
R39. 3 sc, 1 dec (28)
R40. 2 sc, 1 dec (21)
Stuffing the head.
R41. 1 sc, 1 dec (14)
R42. 7 sc (7)
Close the head by sewing.
Arms (Make 2)
Using beige color.
R1. Start 6 sc in a magic ring (6)
R2-9. (8 rounds): 6 sc (6)
Don’t stuff arms.
Fasten off leaving a long tail for sewing.
Cheeks (Make 2)
Using pink color.
R1. 8 sc in a magic ring (8)
Tug tail to tighten ring.
Knot the ends and secure.
Fasten off and leave a long tail for sewing.
Hair
Using brown color.
R1. Start 6 sc in a MR (6)
R2. 6 inc (12)
R3. 1 sc, 1 inc (18)
R4. 2 sc, 1 inc (24)
R5. 24 sc (24)
Now the strands of hair begin (5)
S 1-3. 6 ch, 5 sc, 1 slst (5 st)
S 4-20. 16 ch, 15 sc, 1 slst (15 sc)
S 21-23. 6 ch, 5 sc, 1 slst (5 st)
Fasten off leaving a long tail for sewing.
Secure the hair to the head with a marker needle (the short strands in the front and the long ones in the back).
Sew the hair to the head.
Assembly
Arms: Sew the arms to both sides between rounds 19 and 20.
Cheeks: Sew the cheeks to both sides, 1 stitch apart from the eyes.
Eyes: Sew the eyes using black embroidery thread between rounds 31 and 32, leaving 4 stitches between one eye and the other.
Nose: Sew the nose with beige yarn between round 29 and 30, leaving 1 stitch between the nose and the eyes.
Tips: Use a stitch marker to keep track of rounds and stuff the body and head gradually to achieve a smooth shape. Secure all sewn pieces firmly so the doll holds together with regular handling.
- Funny Pictures
-
 Fresh Animal Memes to Mix in Your Morning Coffee
-
 The Funniest Tweets of the Day
-
 Hilarious Tweets to Get Your Thoughts Clear
- Recipes
-
 Crispy Bean Tostadas with Smashed Avocado and Jicama-Cilantro Slaw
-
 Mango “Burrito” Bowls with Crispy Tofu and Peanut Sauce
-
 Baklava Granola
- Lifehacks
-
 Crochet Tutorial: Textured Bobble Stitch
-
 Crochet Tutorial: Brick Stitch
-
 Crochet Wheat Stitch Tutorial
- Crochet Ideas
-
 Crochet Pumpkin Bear
-
 Crochet Santa Placemat
-
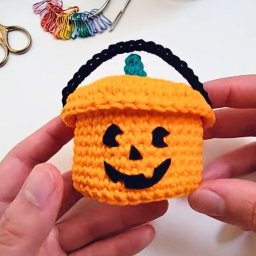 Crochet Mini Boo Bucket for Treats and Decor
- DIY
-
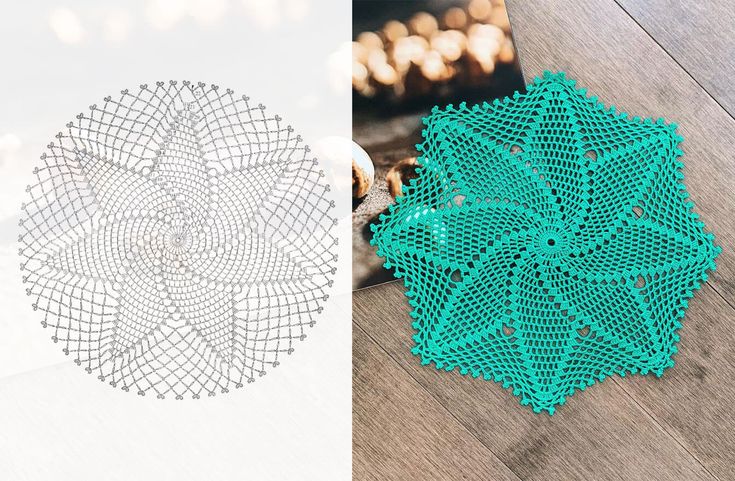 Make a Crochet Spiral Star Doily — Free US-Term Pattern & Tips
-
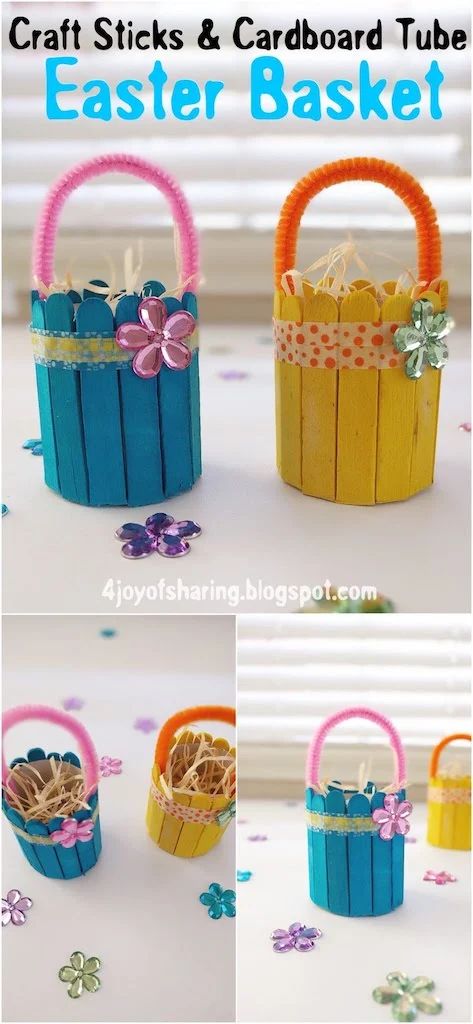 Easy DIY Easter Basket from Craft Sticks and a Cardboard Tube — Step-by-Step
-
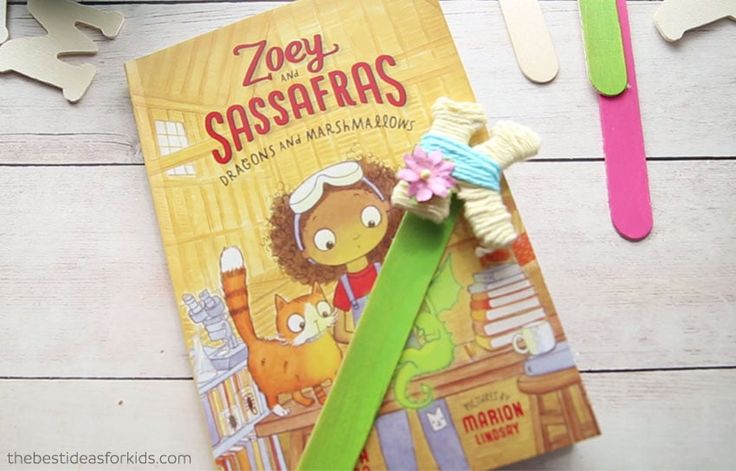 DIY Yarn-Wrapped Letter Bookmarks — Cute Personalized Bookmarks in Minutes
- Knitting Ideas
-
 DIY Knitted Waffle Kitchen Towel — Easy Pattern for a Textured, Absorbent Cotton Towel
-
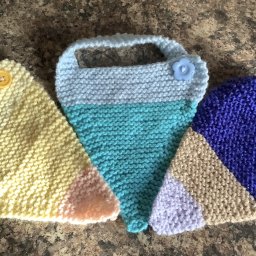 Make an Adorable Knitted Scrappy Bandana Bib — Easy Garter-Stitch Baby Pattern
-
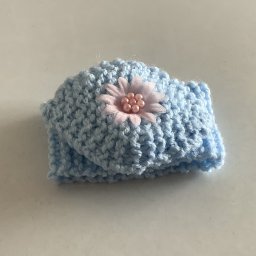 Quick & Cozy Knitted Wrist Pincushion — Easy Pattern and Step‑by‑Step Instructions