

Make a Cute Crochet Butterfly Nilos Toy — Complete Pattern & Assembly Tips

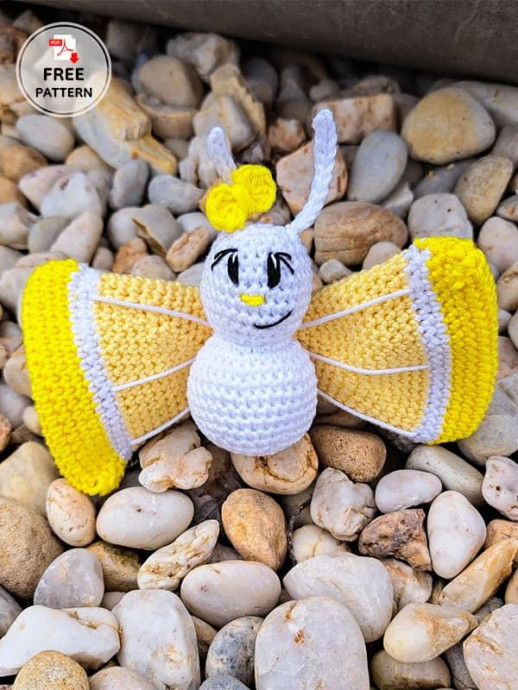
The Crochet Butterfly Nilos Toy is a sweet amigurumi project that combines simple shapes with cheerful details. This pattern walks you through each part — wings, head and body, ribbon and finishing — so you can crochet a charming butterfly to use as a toy, decoration or small gift. Materials and abbreviations are listed below, followed by clear round-by-round instructions and final assembly notes.
The Crochet Butterfly Nilos Toy Overview
The Crochet Butterfly Nilos Toy is as charming as it is delightful. With its layered wings and compact body, this little amigurumi piece is ideal for gifting or displaying. The pattern uses common stitches and a small hook to create neat, dense fabric. Follow the steps carefully, use a stitch marker to keep track of rounds, and stuff the body firmly but not overstuffed for best results.
Abbreviations
MR: Magic ring
Slst: Slip stitch
Sc: Single crochet
St: Stitch
Hdc: Half double crochet
Ch: Chain
Inc: Increase
Dec: Decrease
Materials and Tools
Yarn 125m/50g
aprx. 20g for the wings
aprx. 8g for the head and the body
hook 2.5 mm
thread for embroidery or 6 mm safety eyes
sewing needle
scissors
stuffing
stitch marker
Wings (2x)
Don’t stuff the wings. Start with dark yellow yarn. Begin with 20 ch, 1 ch and turn.
1. 19 sc, 4 sc in the same st, on the other side 19 sc, 4 sc in last st (46)
2-3. 46 sc (2 rnd) (46)
Change to white.
4. 21 sc, dec x2 (44)
5. 44 sc (44)
Change to yellow.
6. 20 sc, dec x2 (42)
7. 19 sc, dec x2 (40)
8. 18 sc, dec x2 (38)
9. 38 sc (38)
10. 17 sc, dec x2 (36)
11. 16 sc, dec x2 (34)
12. 15 sc, dec x2 (32)
13. 14 sc, dec x2 (30)
14. 13 sc, dec x2 (28)
15. 12 sc, dec x2 (26)
16. 11 sc, dec x2 (24)
17. 10 sc, dec x2 (22)
18. 9 sc, dec x2 (20)
19. 8 sc, dec x2 (18)
20. 7 sc, dec x2 (16)
21. 6 sc, dec x2 (14)
22. 5 sc, dec x2 (12)
Crochet the first wing together with 6 sc and fasten off. Don’t finish the second wing. When you have finished both wings, put them on top of each other and crochet them with 6 sc together. Fasten off and leave a long tail for sewing.
Head and Body
Start with white yarn. Stuff the head and the body as you work (firm but soft).
1. 6 sc in MR (6)
2. 6 inc (12)
3. 1 sc, inc x6 (18)
4. 2 sc, inc x6 (24)
5. 3 sc, inc x6 (30)
6-9. 30 sc (30) (4 rnds)
10. 3 sc, dec x6 (24)
If you are using safety eyes place them between round 6 and 7 and with 4 stitches apart.
11. 2 sc, dec x6 (18)
12. 1 sc, dec x6 (12)
13. 12 inc (24)
14. 3 sc, inc x6 (30)
15. 4 sc, inc x6 (36)
16-20. 36 sc (36) (5 rnd)
21. 4 sc, dec x6 (30)
22. 3 sc, dec x6 (24)
23. 2 sc, dec x6 (18)
24. 1 sc, dec x6 (12)
25. 6 dec (6)
Cut off the thread and fasten off. Finish closing and hide ends neatly inside the body.
Ribbon
With dark yellow yarn: Start with a MR and crochet 2 ch, 4 hdc, 2 ch, 1 slst x2 in the ring. Close the ring and cut a long thread. Wrap it around the middle a few times and tie a knot on the back side. Fasten off. Leave a long tail for sewing.
Completions
1. Sew the wings on the backside under the head, attaching the unattractive side to the body.
2. Crochet the probes (antennae) to the head (round 2) with 11 ch, then 10 slst back. Knot both ends together and hide them in the head.
3. Embroider the eyes (round 4 to 6).
4. Embroider the nose (round 4 to 6) and the mouth (round 8 to 9).
5. Sew the ribbon to the antennae.
6. Embroider three white stripes on the front side of both wings.
Tips and Finishing Notes
- Keep stitch counts visible with a stitch marker and recount often to avoid mistakes.
- When joining the two wings, align edges carefully so stripes and colors match.
- Use small amounts of stuffing and adjust firmness as you go; overstuffing can distort shape.
- Weave in ends securely and hide knots inside the body for a neat finish.
🧶 Listen while you crochet
3 cozy stories from a little yarn shop
Enjoyed it? A like and a subscribe help our little channel grow 💛
- Funny Pictures
-
 Funny Quotes and Pics for the First Day of January
-
 Funny Work Memes to Have a Great Day
-
 Extra Good Memes on Their Way to Your Day
- Recipes
-
 Potato Wedges in the Microwave
-
 Whole Wheat Sunflower Seed Muffins
-
 Swiss Chard And White Bean Soup With Basil Pesto
- Lifehacks
-
 Crochet Basketweave Stitch Tutorial
-
 Crochet Cable Stitch Tutorial
-
 How to Crochet the Granny Stitch in Flat Rows
- Crochet Ideas
-
 Crochet Plush Sheep Amigurumi — Step-by-Step Pattern to Make a Fluffy Toy
-
 Make This Adorable 16 cm Lacy Doily — Beginner-Friendly Crochet Pattern
-
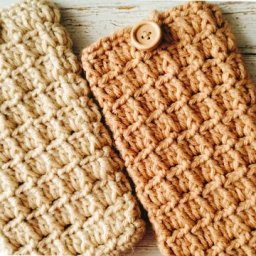 Easy Crochet Phone Pouch Pattern with Button Closure (9.5 × 17.5 cm)
- DIY
-
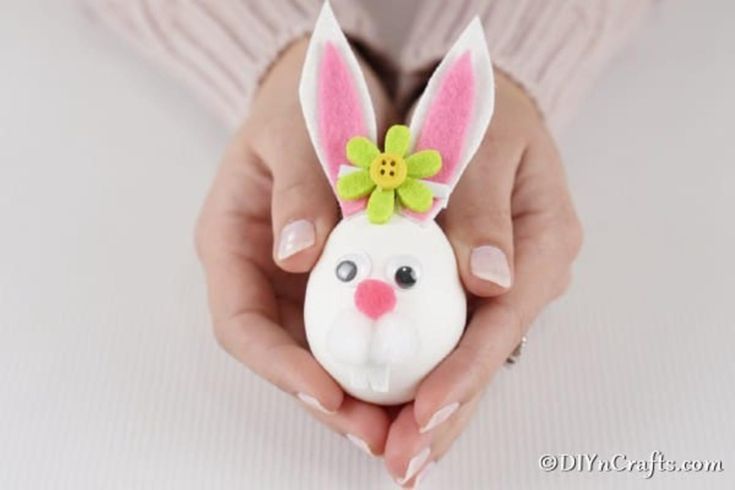 Adorable DIY Easter Egg Bunnies — Easy Step-by-Step Craft for All Ages
-
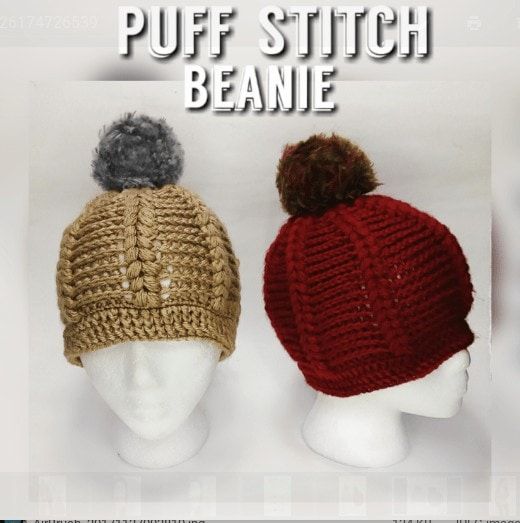 Free Crochet Braided Puff Stitch Hat Pattern — Child (3–5) & Adult Sizes
-
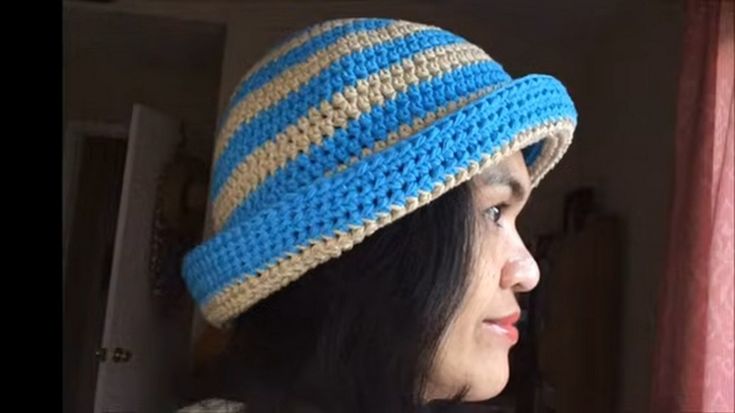 Easy Two-Color Crochet Spring Hat Pattern — Quick HDC Tutorial
- Knitting Ideas
-
 Classic Knitted Basketweave Stitch: Easy 12‑Row Pattern & Step‑by‑Step Instructions
-
 Cozy Hand-Knit Pullover Pattern — Garter Ridge & Seed Stitch Sweater (Sizes XS–XL)
-
 Charming Knitted Party Apron — Free Pattern & Step-by-Step Instructions