

DIY Crochet Sleeping Beauty (Princess Aurora) Doll — Full 9 cm Amigurumi Pattern

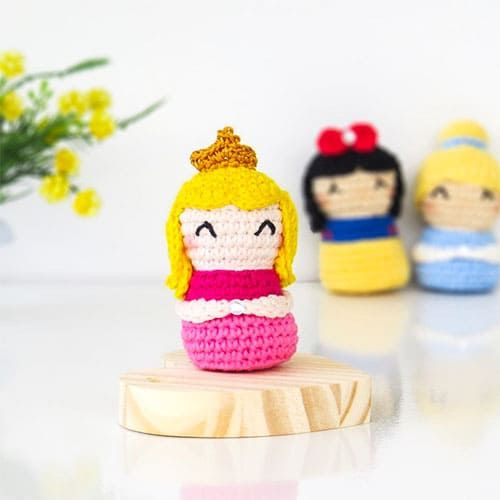
This easy-to-follow amigurumi pattern shows you how to crochet a charming Sleeping Beauty (Princess Aurora) doll. The pattern includes full round-by-round instructions for the body, head, hair and crown, a materials list, and common abbreviations. The finished doll measures approximately 9 cm and is a delightful handmade gift or collectible for fairy-tale and Disney fans.
Materials & Tools
Crochet hook size: 2.5 mm.
Yarn colors: light pink, pink, dark pink, beige, black, yellow, and gold.
Fiberfill.
Craft glue.
Sewing needles.
Abbreviations
MR: Magic ring
Ch: Chain
Inc: Increase
Dec: Decrease
Hdc: Half double crochet
Dc: Double crochet
Sc: Single crochet
Slst: Slip stitch
Tr: Treble crochet
The finished crochet doll size is 9 cm.
Pattern
Body (pink)
RND 1: MR 7 sc (7)
RND 2: 7 inc (14)
RND 3: (1 sc, inc) x7 (21)
RND 4: (2 sc, inc) x7 (28)
RND 5: BLO 28 sc (28)
RND 6-9: 28 sc (28) for 4 rnds
Dark pink.
RND 10: BLO 28 slst (28)
RND 11: BLO 28 sc (28)
RND 12: (2 sc, dec) x7 (21)
Head (beige)
RND 13: BLO 21 slst (21)
RND 14: BLO 21 sc (21)
RND 15: (2 sc, inc) x7 (28)
RND 16-19: 28 sc (28) for 4 rnds
RND 17: (2 sc, dec) x7 (21)
RND 18: (1 sc, dec) x7 (14)
RND 19: 7 dec (7)
Fasten off, reverse magic ring: cut the yarn.
Dress Ruffle (light pink)
Work on the remaining loops of row 10 made in BLO. Start by the side.
1 sc, 1 hdc, 2 dc, 1 hdc, 1 sc, 1 slst (x4) (28)
Cut the yarn, fasten off.
Eyes (black)
Embroider the eyes with black yarn on row 15, spaced 4 sc apart, matching the reference picture.
Hair (yellow)
RND 1: MR 7 sc (7)
RND 2: 7 inc (14)
RND 3: BLO (1 sc, inc) x7 (21)
RND 4: (2 sc, inc) x7 (28)
RND 5: 28 sc (28)
RND 6: 3 hdc, 3 dc, 1 slst, 3 dc, 3 hdc, 1 slst.
By the slst, make 10 ch. Go back starting from the 3rd stitch, making 8 hdc, then slst. Repeat until the end.
End with an invisible fasten off, glue or sew the hair to the head after you make the crown.
Crown (gold)
On the 3rd row of the hair, made in BLO:
RND 1: 13 sc, inc (15)
RND 2: 10 sc, [(2 sc, 1 picot, 2 sc) at the same stitch], 4 sc, 1 slst.
Cut the yarn, fasten off. The picot should be in the center, as shown in the picture.
Finishing & Assembly
- Stuff the body and head firmly but not overstuffed so the stitches remain neat.
- Sew the head to the body securely. Use craft glue for extra hold on the hair pieces if desired.
- Embroider facial details before fully attaching the hair and crown for easier access.
- If making this doll for small children, avoid glued-on small parts; sew pieces firmly and consider embroidering eyes instead of using safety eyes.
Tips
- Work tightly (small gauge) to avoid fiberfill showing through the stitches.
- Use stitch markers to keep track of rounds and increases/decreases.
- Customize the doll by changing dress colors or adding small embellishments like a tiny ribbon.
Enjoy crafting your own little Sleeping Beauty—perfect as a pocket-sized keepsake or a sweet handmade toy.
🧶 Listen while you crochet
3 cozy stories from a little yarn shop
Enjoyed it? A like and a subscribe help our little channel grow 💛
- Funny Pictures
-
 Funny Quotes and Pics for the First Day of January
-
 Funny Work Memes to Have a Great Day
-
 Extra Good Memes on Their Way to Your Day
- Recipes
-
 Potato Wedges in the Microwave
-
 Whole Wheat Sunflower Seed Muffins
-
 Swiss Chard And White Bean Soup With Basil Pesto
- Lifehacks
-
 Crochet Basketweave Stitch Tutorial
-
 Crochet Cable Stitch Tutorial
-
 How to Crochet the Granny Stitch in Flat Rows
- Crochet Ideas
-
 Crochet Plush Sheep Amigurumi — Step-by-Step Pattern to Make a Fluffy Toy
-
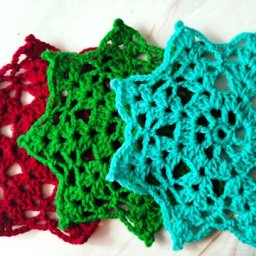 Make This Adorable 16 cm Lacy Doily — Beginner-Friendly Crochet Pattern
-
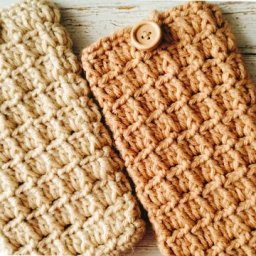 Easy Crochet Phone Pouch Pattern with Button Closure (9.5 × 17.5 cm)
- DIY
-
 Adorable DIY Easter Egg Bunnies — Easy Step-by-Step Craft for All Ages
-
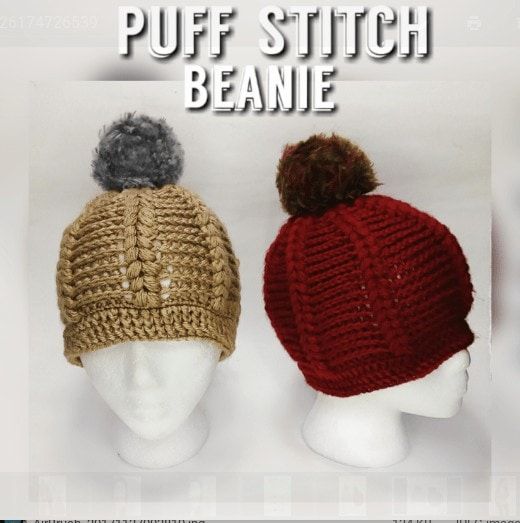 Free Crochet Braided Puff Stitch Hat Pattern — Child (3–5) & Adult Sizes
-
 Easy Two-Color Crochet Spring Hat Pattern — Quick HDC Tutorial
- Knitting Ideas
-
 Classic Knitted Basketweave Stitch: Easy 12‑Row Pattern & Step‑by‑Step Instructions
-
 Cozy Hand-Knit Pullover Pattern — Garter Ridge & Seed Stitch Sweater (Sizes XS–XL)
-
 Charming Knitted Party Apron — Free Pattern & Step-by-Step Instructions