
Make a Crochet Princess Bubblegum Doll — Detailed Amigurumi Pattern

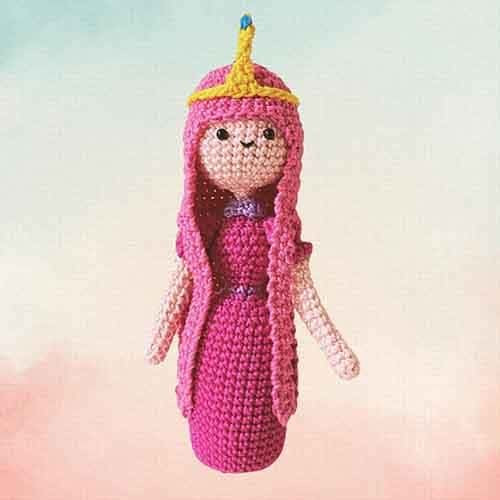
This Crochet Princess Bubblegum Doll is a charming amigurumi project inspired by Adventure Time. The pattern below provides a complete, row-by-row build for the head, body, arms, hair, crown and collar, using 3mm hook work with 5-ply mercerized yarn. Suitable for crocheters familiar with basic amigurumi techniques and single crochet rounds.
Follow the materials and abbreviations, then assemble the pieces as directed. Small finishing steps (securing ends, sewing pieces on) are included at the ends of each section.
Materials Needed
Yarn: 5ply monaco mercerized
- Color: 3 shades of pink
- • Baby pink (skin)
- • Med pink (hair)
- • Fusia (dress)
- • Golden yellow (crown)
- • Purple (accents)
Hook: 3mm. 4mm safety eyes.
Other tools (recommended): polyester stuffing, tapestry/yarn needle, stitch marker, scissors.
Abbreviations
- MR - Magic ring
- Ch - Chain
- Slst - Slip stitch
- Sk - Skip
- Sc - Single crochet
- Hdc - Half double crochet
- Dc - Double crochet
- St/sts - Stitch/stitches
- Inc - Increase
- Dec - Decrease
- FLO - Front loop only
- BLO - Back loop only
Assembling the Doll
Head & Neck
Head (using baby pink / skin color):
R1: 6sc inside MR
R2: 6 inc; 12sc
R3: (sc, inc)x6; 18sc
R4: (sc, inc, sc)x6; 24sc
R5: (3sc, inc)x6; 30sc
R6-R12: 30sc
R13: (3sc; dec)x6; 24sc
R14: (sc, dec, sc)x6; 18sc
R15: (sc, dec)x6; 12sc
R16: 6dec; 6sc
Attach eyes between R8 & R9, spaced 4 sts apart. Sew the lips between R9 & R10.
Neck:
R17: 6sc
Change to Purple (color)
R18: 6sc
Body
Change to fusia (dress):
R19: 6 sc
R20: (2sc, inc)x2: 8sc
R21: (3sc, inc)x2: 10sc
R22: (2sc, inc, 2sc)x2: 12sc
R23: (sc, inc)x6: 18sc
R24: (sc, inc, sc)x6: 24sc
R25: 24 sc
R26: (sc, dec, sc)x6: 18sc
R27: (sc, dec)x6: 12sc
R28: (4sc, dec)x2: 10sc
R29: 10 sc
Change to purple:
R30: 10 sc
Back to fusia:
R31: (sc, inc)x5: 15 sc
R32: (sc, inc, sc)x5: 20 sc
R33: (3sc, inc)x5: 25 sc
R34: (2sc, inc, 2sc)x5: 30 sc
R35-51: 30 sc
R52: (BLO) (3sc, dec)x6: 24 sc
R53: (sc, dec, sc)x6: 18 sc
R54: (sc, dec)x6: 12 sc
Sew the front loops only, pull the yarn to tighten and close the round. Cut yarn.
Arms (Make 2)
Using baby pink:
R1: 6 sc inside MR
R2-13: 6 sc
Change to fusia (for sleeve)
R14: 6 sc
R15: (BLO) 6 inc: 12 sc
R16-17: 12 sc
R18: 6 dec cut yarn.
Go back to R15.
R15 (FLO): ch 2, sc to the 2nd ch from the hook. Slip stitch to the next st. Repeat until you reach the last stitch. Ch 1, leave a long tail and cut yarn. Attach the arms between R32 and R33 of the body.
Hair
Part 1 (using med pink):
R1: 6 sc inside MR
R2: 6 inc: 12 sc
R3: (sc, inc)x6: 18 sc
R4: (sc, inc, sc)x6: 24 sc
R5: (3sc, inc)x6: 30 sc
R6-9: 30 sc
R10: 25 sc, ch1, turn
R11: sk 1st, 23 sc, slst, ch 1, turn: 24sts
R12: sk 1st, 23 sc, turn: 23sts
For the 2 sides:
Note: Do not add a turning chain starting from R13 to R45.
R13: 3 sc, turn
R14: sk 1st, 2 sc, turn
R15-45: 2 sc
R46: ch 2, (dc, slst)x2
Part 2:
R13: slst on the 3rd st of R12, make 17 sc, slst on the next st, then turn.
Note: Do not add a turning chain.
R14: sk 1st, 15 sc, slst, turn
R15: sk 1st, 15 sc
R16-45: 15 sc
R46: ch 2, (dc, slst)x15
Crown
Using golden yellow.
ch 30
R1: slip stitch on the 1st ch.
R2: ch 1, 3 sc, turn
R3: sk 1 st, 2 sc, turn
R4: sk 1 st, 1 sc, turn
R5-9: 1 sc
R10: sc, ch2, slst on the last stitch.
Cut yarn.
Sew an aqua color yarn on the top of the crown as a decorative accent.
Collar
Ch 6+2
Dc on the 3rd ch from the hook. Hdc, 2 slst, hdc, dc, ch 2 then slst on the same last chain stitch.
Cut yarn. Attach on the R18 of the neck.
Finishing & Tips
- Stuff the head and body firmly but evenly before closing the final rounds.
- Weave in ends with a tapestry needle and secure sewn pieces with small, neat stitches.
- Use safety eyes for toys intended for older children; for very young children consider embroidering eyes instead of using safety eyes.
- Adjust yarn tension or hook size for a tighter or looser fabric as desired.
This pattern yields a decorative and huggable Princess Bubblegum-style amigurumi. Enjoy customizing colors and small details to make it your own.
- Funny Pictures
-
 Awesome New Job Memes to Make You Feel Funny
-
 Memes That Might Hit a Little Too Close to Home
-
 Top Tweeter Quotes of the Day
- Recipes
-
 Strawberry Shortcake Trifles
-
 Almond Cherry Crumble Tart
-
 Grilled Peaches with Vanilla Bean Mascarpone, Honey and Granola
- Lifehacks
-
 Crochet Cable Wave Stitch Tutorial
-
 Crochet Tutorial: 3D Hedgehog Stitch
-
 Long Loop Crochet Stitch Tutorial
- Crochet Ideas
-
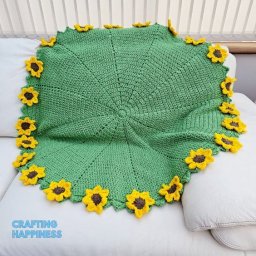 Crochet Sunflower Bouquet Blanket
-
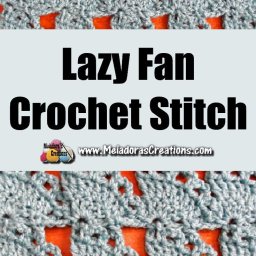 Crochet Lazy Fan Stitch
-
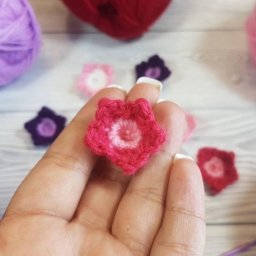 Crochet Petunia Tiny Flower
- DIY
-
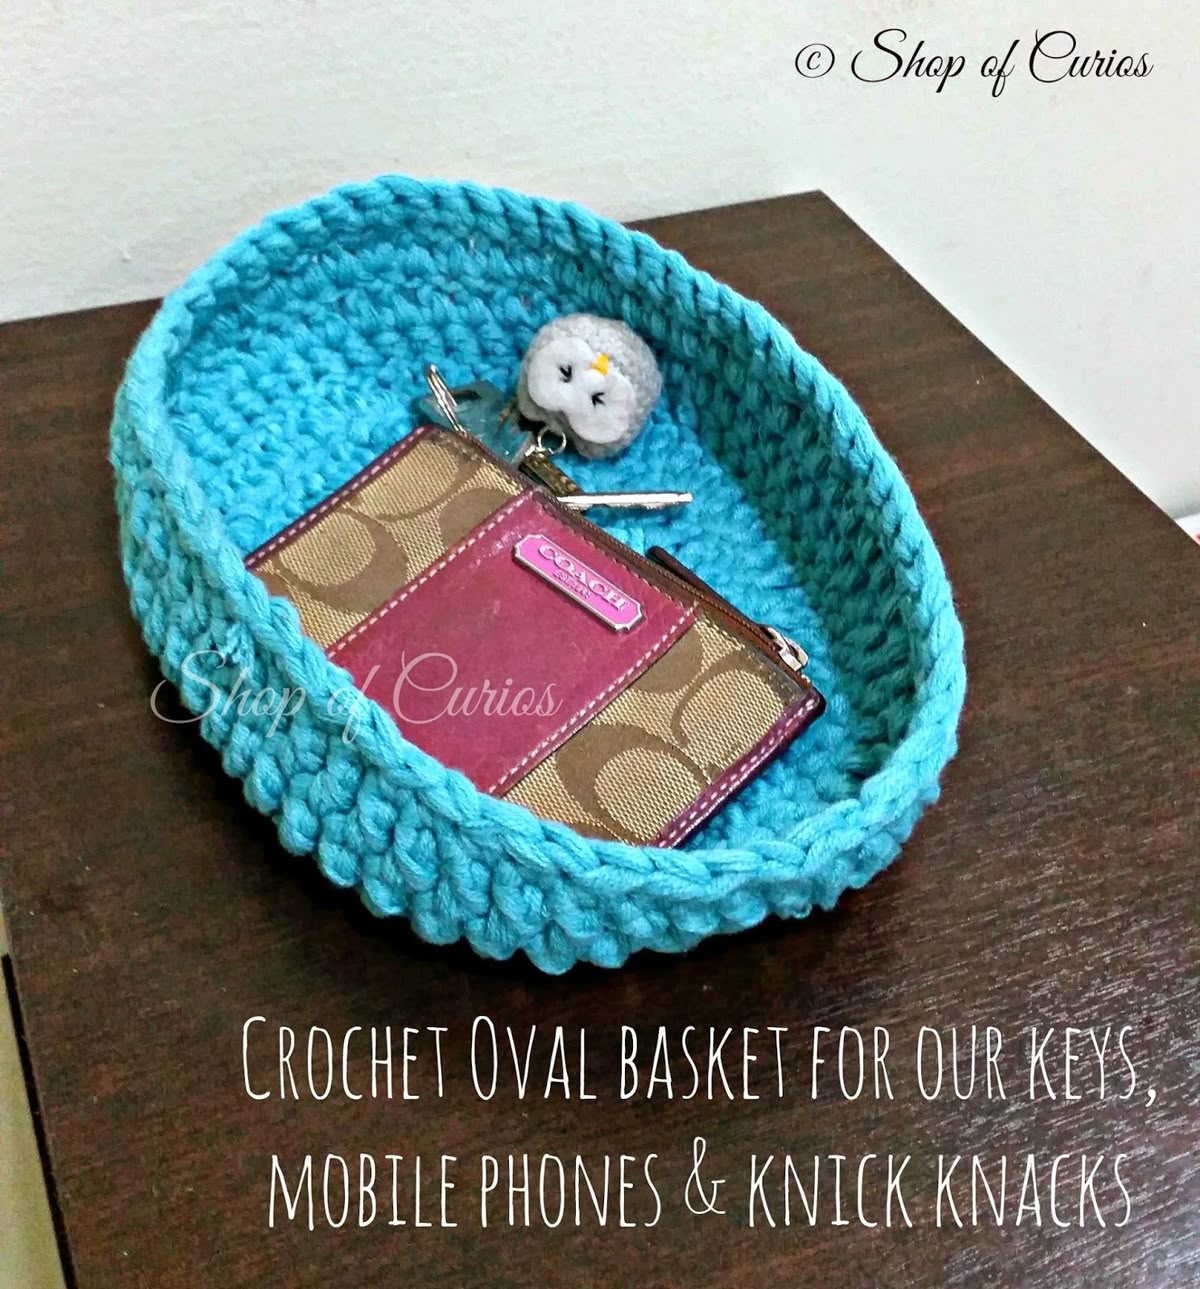 Crochet Oval Basket
-
 Halloween Cupcake Liner Wreath
-
 Crochet Mary Jane Baby Shoes
- Knitting Ideas
-
 Garter Stitch Made Easy: A Step-by-Step Knitting Guide for Beginners
-
 Make a Charming Knitted House Dishcloth — Free Pattern, Sizes & Instructions
-
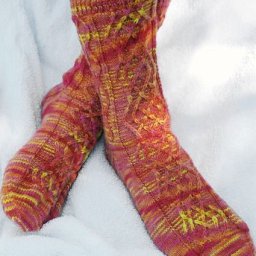 Knitted Beautiful Socks