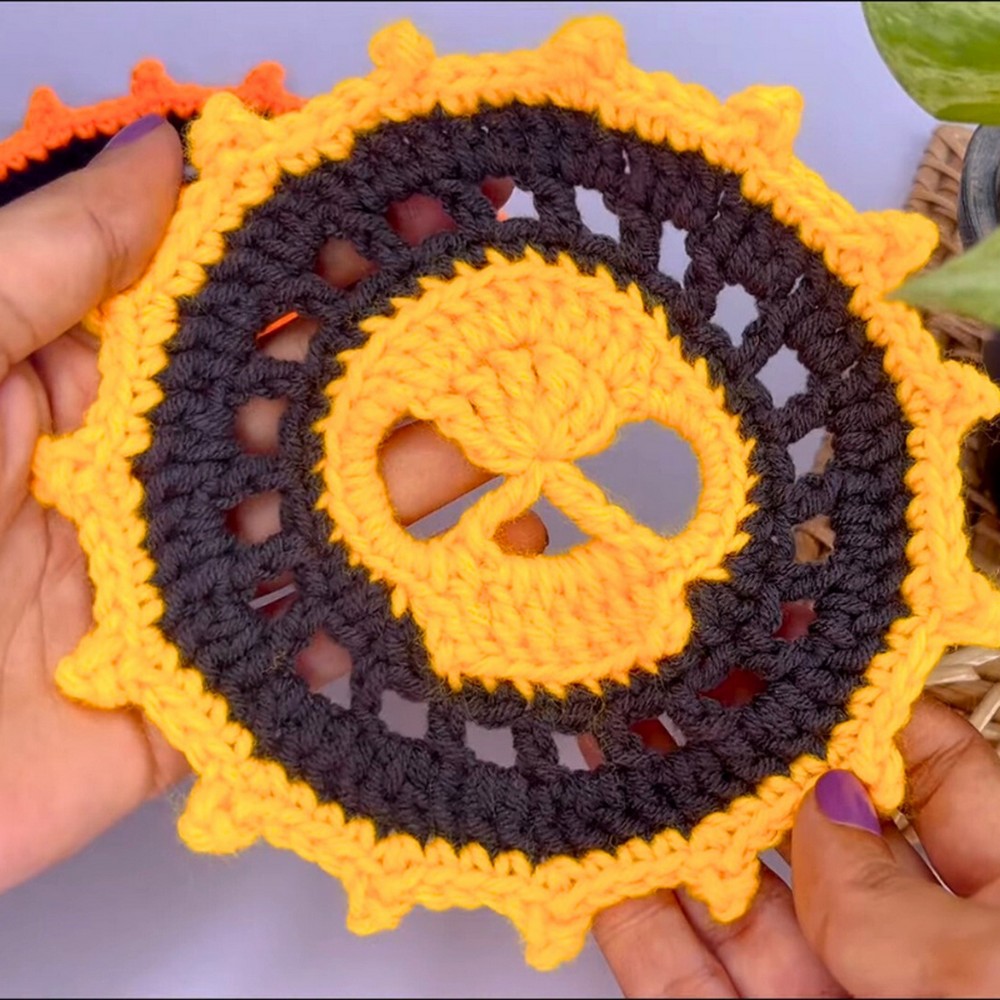
How to Make Crochet Halloween Skull Coasters

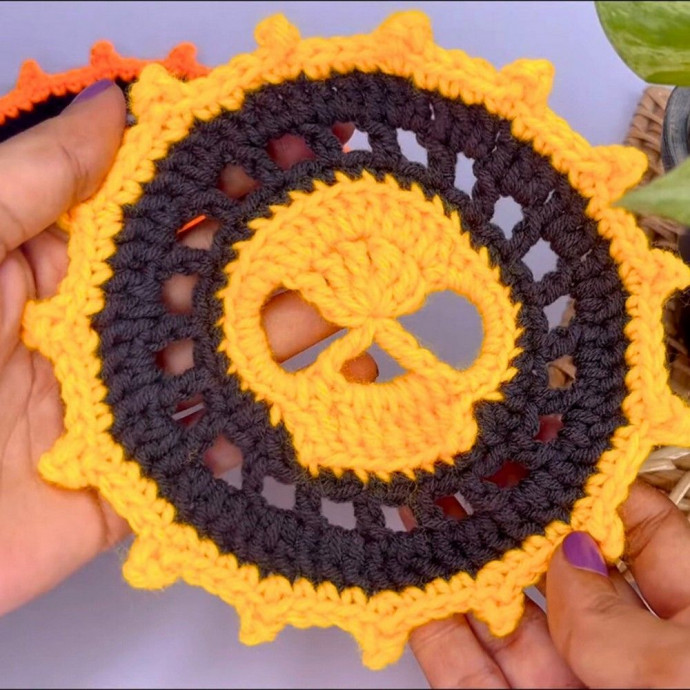
If you're looking to add a spooktacular touch to your Halloween decor, why not try making crochet Halloween skull coasters? These charming coasters can be a fun and festive way to protect your surfaces while enjoying your favorite hot or cold beverages during the spooky season. With their skull design, they are sure to bring a playful and Halloween-themed element to your home. In addition to being a cute and quirky addition to your table setting, crocheting these coasters can also be a relaxing and enjoyable crafting activity. Whether you're a seasoned crocheter or a beginner looking for a fun project, these Halloween skull coasters are a great way to get into the spirit of the season and show off your crafting skills with a touch of whimsy.
Materials and Preparation
To make one Crochet Halloween Skull Coaster, you will need:
Yarn: Worsted weight yarn in white (for the skull), optional black for detailing.
Hook: Size G/4.0mm crochet hook.
Additional Tools: Yarn needle, embroidery needle (optional for facial details), scissors.
Optional: Stitch markers (if needed to keep track of rounds).
Abbreviations and Notes
Abbreviations:
CH: Chain
SC: Single Crochet
DC: Double Crochet
SL ST: Slip Stitch
Pattern Notes:
This pattern is worked in joined rounds for the first part of the skull.
The bottom jaw section is worked in rows.
You may embroider eyes and a nose after finishing the base of the skull if you don’t want to crochet them.
Ensure consistent tension for a uniform look across multiple coasters.
Gauge, Approximate Size, and Pattern Notes
Gauge: 16 SC x 18 rows = 4” x 4” square (in worsted weight yarn).
Finished Dimensions: Each coaster measures approximately 4” wide by 5” tall.
No gauge swatch is required for this small project but be mindful to match tension for consistency.
Special techniques used: magic circle (or adjustable loop).
Step-by-Step Pattern
Base of Skull (Work in Rounds)
Start with a Magic Circle: CH 2 (does not count as a stitch), work 12 DC inside the circle. Join with SL ST to the first DC. (12 stitches).
Round 2: CH 2, 2 DC in each stitch around, SL ST to the top of the first DC. (24 stitches).
Round 3: CH 2, 1 DC in next stitch, 2 DC in next stitch. Repeat * to * around. SL ST to join. (36 stitches).
Round 4: SC around the entire circle (1 SC per stitch). Tie off white yarn and weave ends in. This finishes the top circular base of the skull.
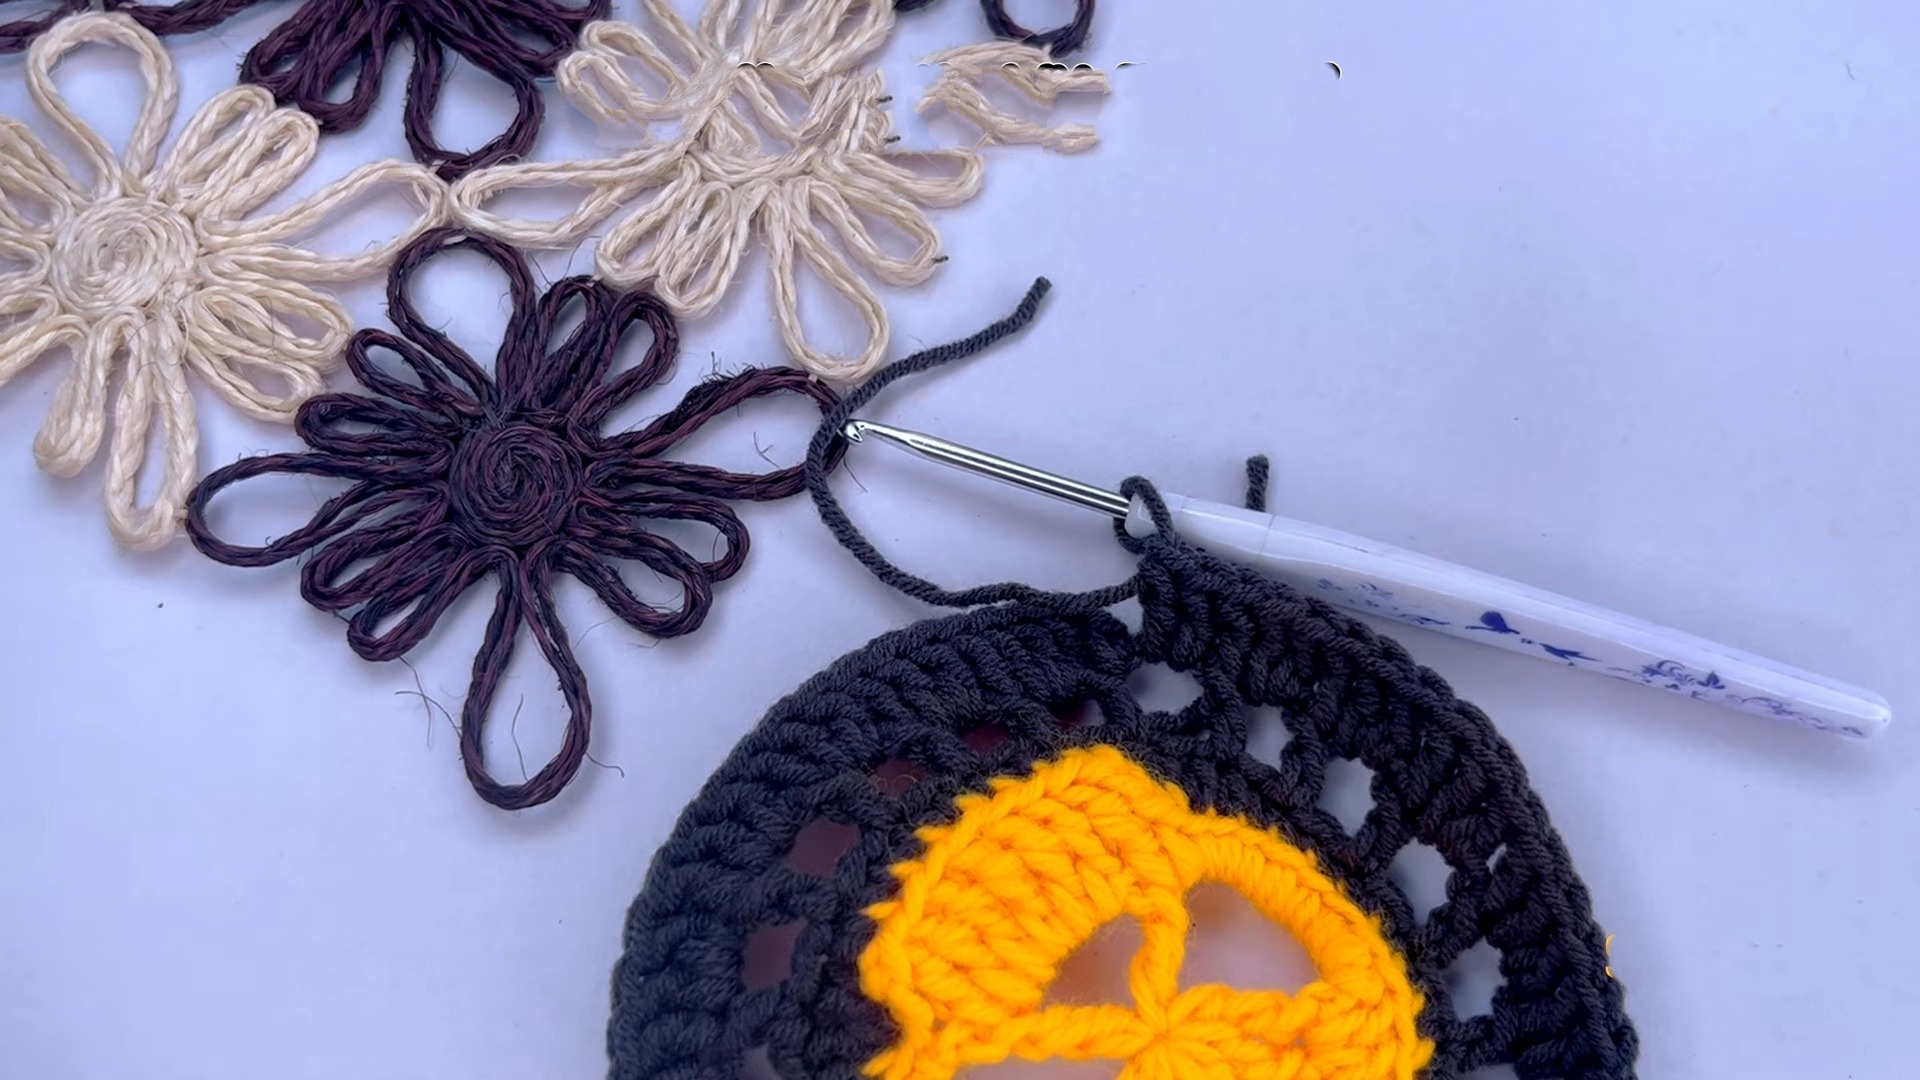
Lower Skull Jaw (Work in Rows)
With white yarn, count to the center of the circle’s bottom curve. Attach yarn to the 6th stitch (if you’re working on the lower edge), ensuring symmetry.
CH 1, SC across the next 12 stitches. Turn.
Row 2: CH 1, SC2tog (single crochet two together in decrease), SC across to the last 2 stitches, SC2tog. Turn. (10 stitches).
Row 3: Repeat Row 2 (decreases on each side). (8 stitches).
Row 4: Repeat Row 2 (6 stitches). Tie off and weave in ends.
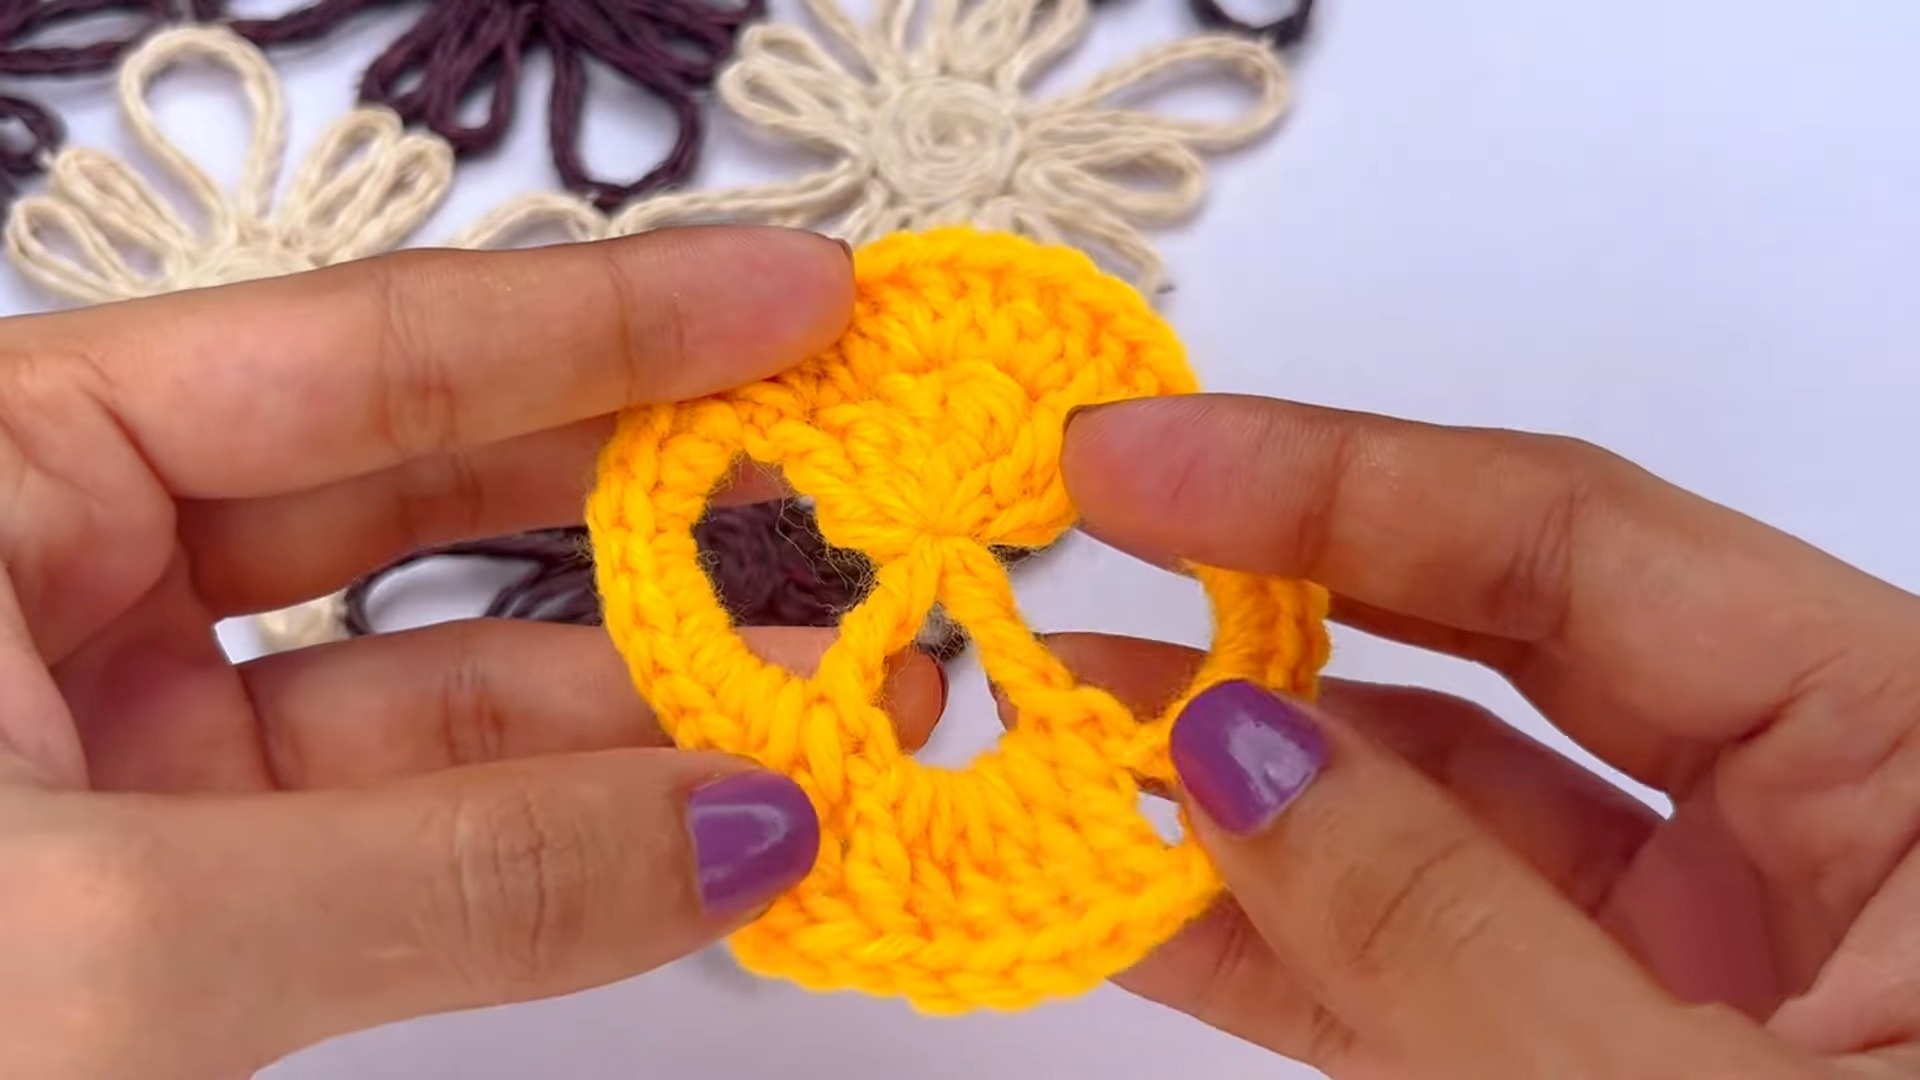
Eyes and Nose (Optional Detailing)
You can either:
Crochet the eyes: Use black yarn to create two small magic circles, each filled with 6 SC. Sew to the coaster. Alternatively, simply embroider them.
Crochet the nose: Create a triangle shape using black yarn and sew to the center of the skull.
Finishing Touches
Block your coaster to ensure it’s flat and shapes well.
Optionally, attach extra yarn stitches around the edge for spooky decoration.
Key to Success:
Choose high-quality yarn to ensure durability.
Use a crochet hook that matches the yarn weight.
Follow the pattern step by step to get the right shape.
Block the coaster after crocheting to even out its edges.
Keep your tension consistent for a polished look.
- Funny Pictures
-
 Hilarious Memes for Those Bored to Tears
-
 Weekly Treat of Funniest Parenting Memes for Good Laugh out Loud Right Now
-
 Really Funny Pics to End These Weekend Perfectly
- Recipes
-
 Crispy Baked Avocado Fries
-
 Scrambled Chickpea and Spinach Pitas
-
 Cinnamon Pancakes
- Lifehacks
-
 Crochet Basics: Aligned Cobble Stitch
-
 Brick Stitch Crochet Tutorial
-
 Crochet Basics: Wattle Stitch
- Crochet Ideas
-
 Crochet Snorlax Plushie Doll
-
 Crochet Beautiful Penguin Toy
-
 Crochet Tiny Snowman
- DIY
-
 DIY Santa Craft For Kids
-
 Paper Plate Angel Craft
-
 Upcycled Mason Jar Chicken Vase
- Knitting Ideas
-
 Knitted Bridger Cowl
-
 Knitted Keepsake Bag
-
 Knitted Cutie Cupcake Dolls