Crochet Basket Weave Trivet Guide

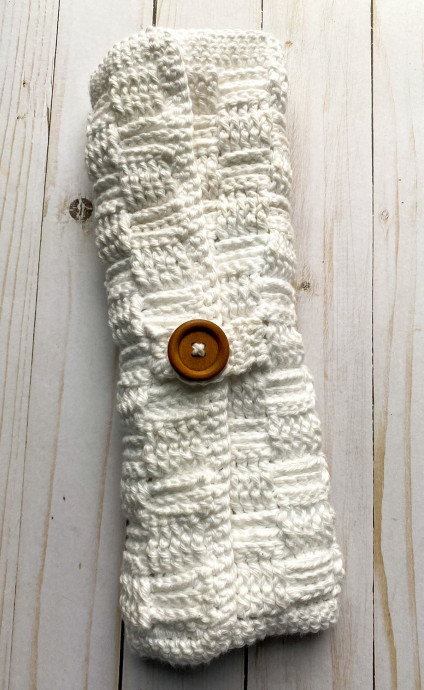
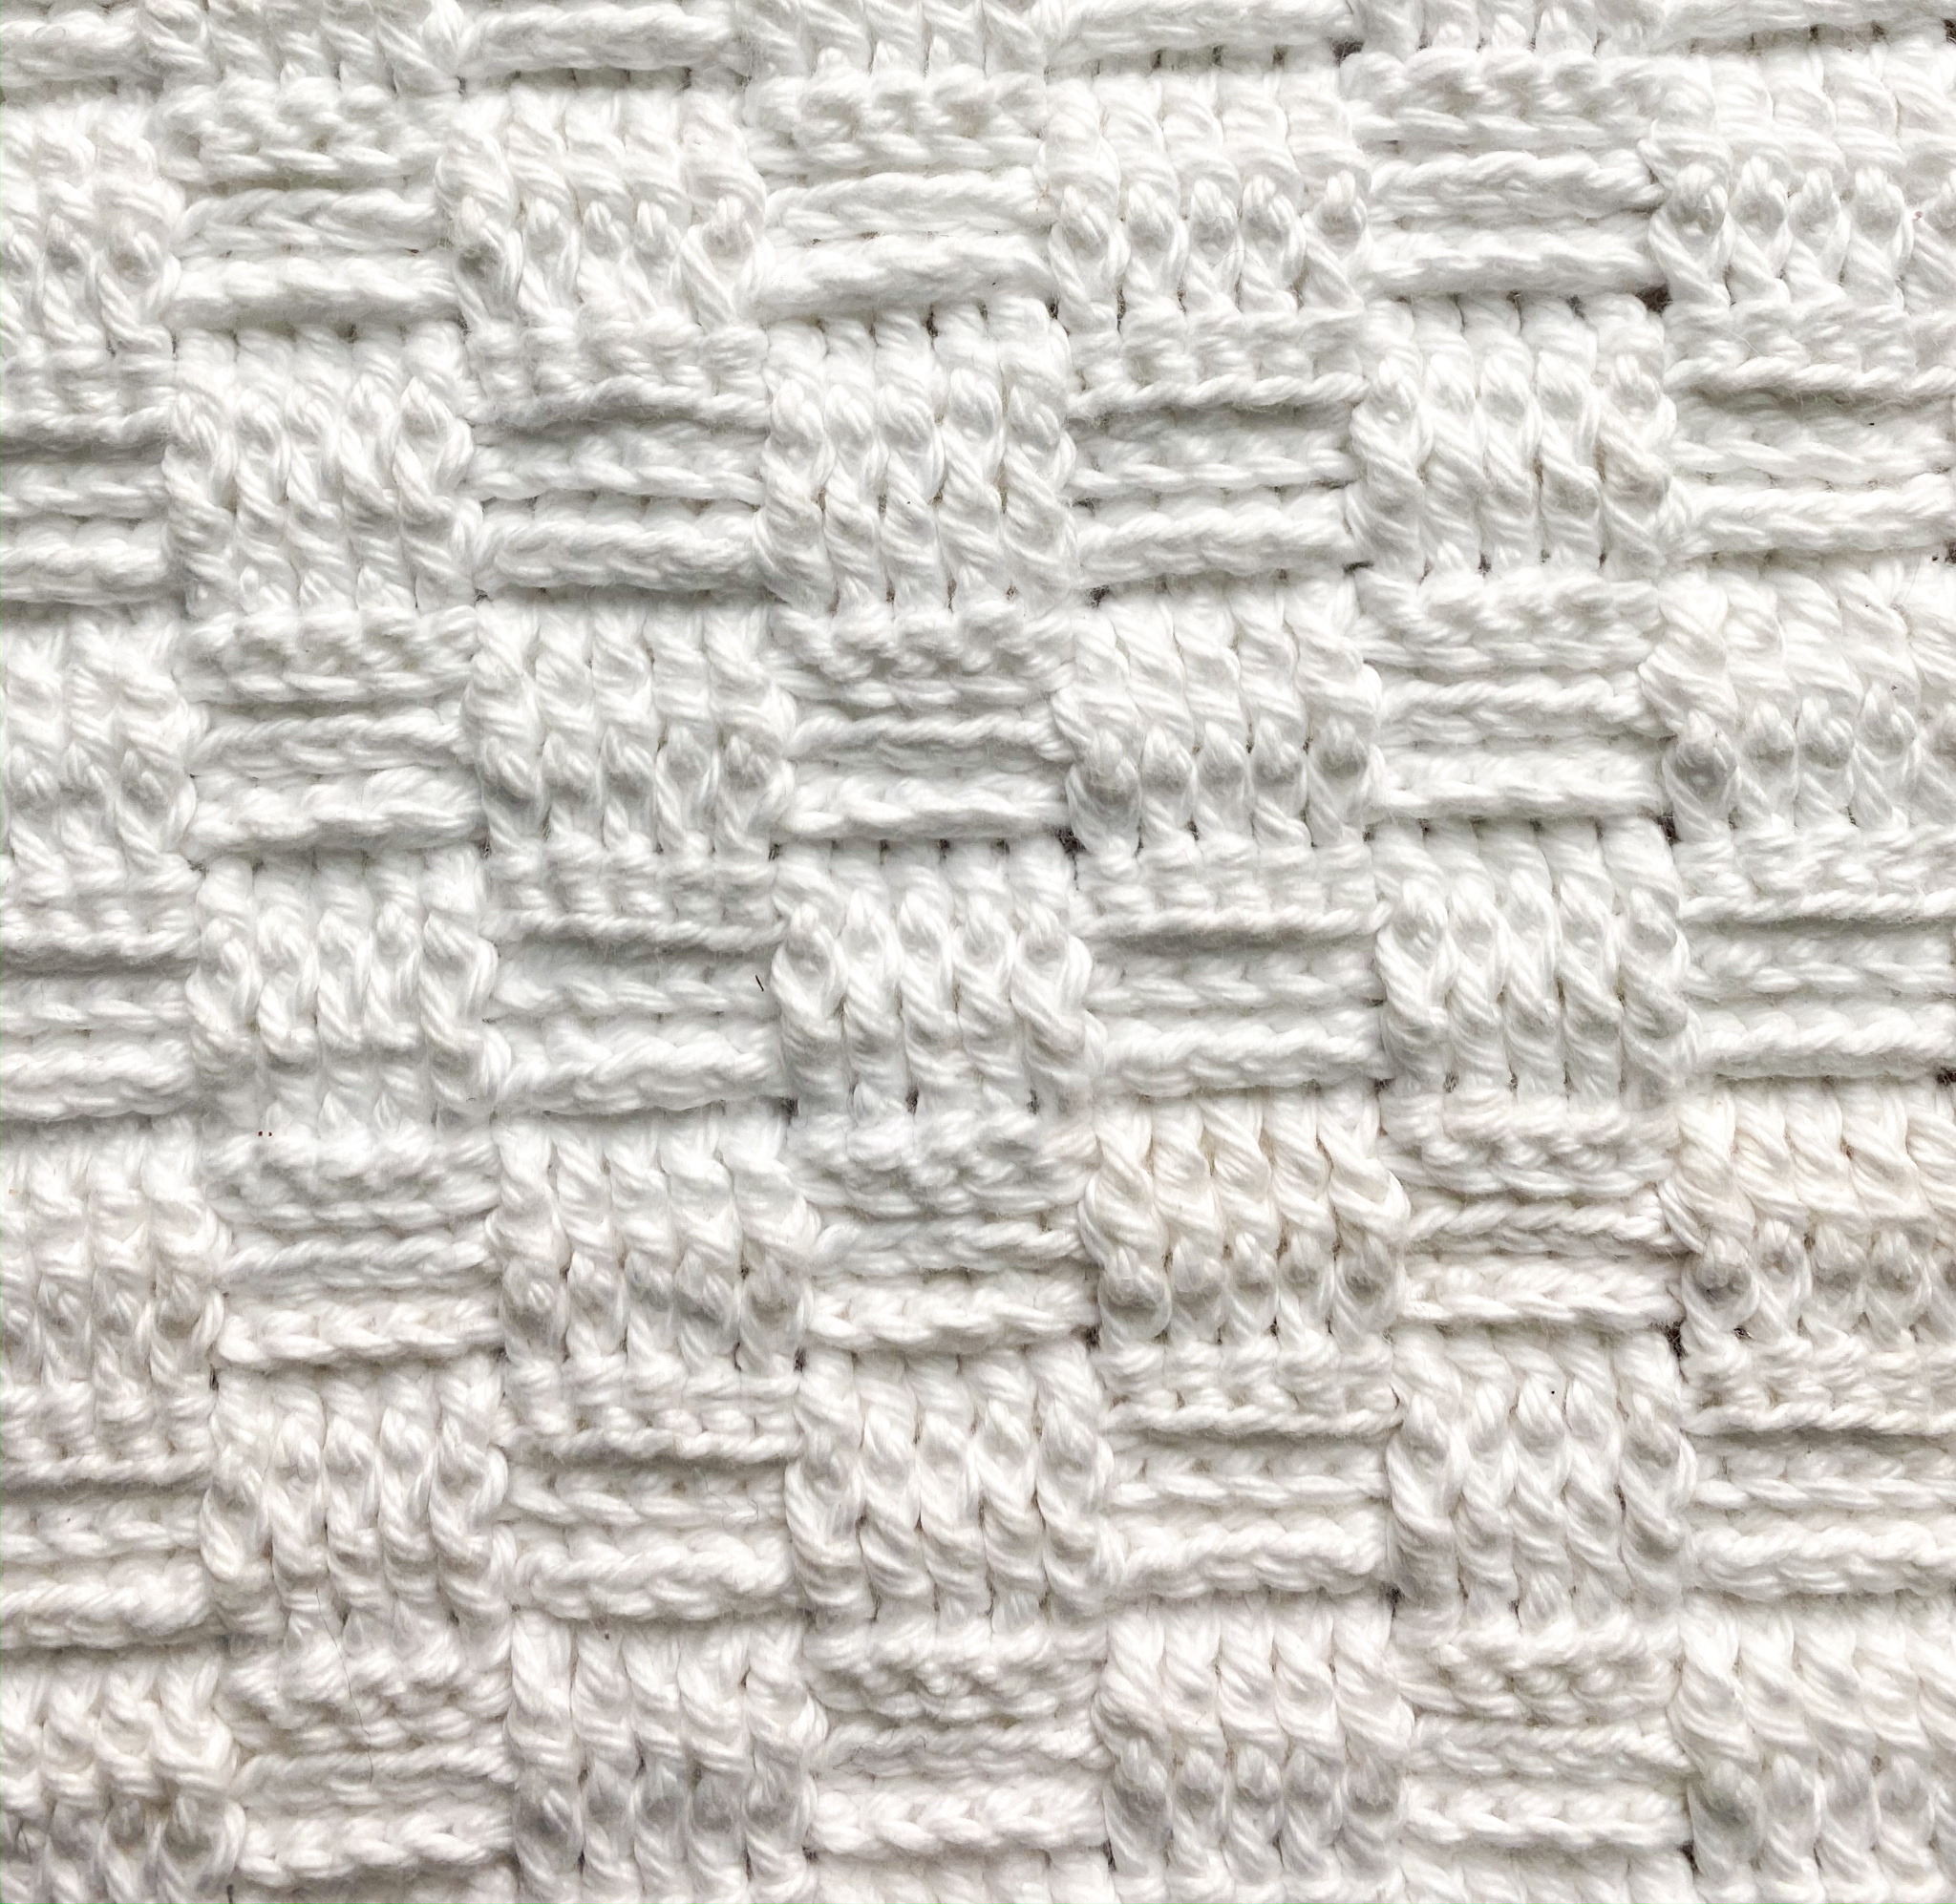
Crochet Basket Weave Trivets are both practical and stylish additions to any kitchen. The intricate basket weave pattern not only provides a sturdy surface to place hot pots and pans on but also adds a touch of charm to your dining area. These trivets are versatile and can be easily customized to match your kitchen decor by using different colors of yarn. They make for a great handmade gift too, showing off your crochet skills while being useful in day-to-day cooking. So, grab your crochet hook and yarn, and create a lovely Crochet Basket Weave Trivet to protect your countertops in a delightful way!
Materials Needed
- Cotton yarn (I used two skeins of I Love This Cotton with some to spare)
- Yarn needle
- Wood Button (optional)
Stitches Used
- Front post double crochet (fpdc)
- Back post double crochet (bpdc)
- Half double crochet (hdc)
- Single crochet (sc)
The finished product is 13.5″ by 11.5″.
Pattern
Chain 68.
Row Instructions
Row 1: Double crochet in the third loop from your hook. (You will be working in this space in row 2) Repeat dc in each stitch all the way across. Chain 2 and turn your work.
Row 2: Skip the last double crochet you made from Row 1. Front post double crochet in the next double crochet. Fpdc in the next 4 dcs from the previous row. Back post double crochet in the next 5 dcs from the previous row. Fpdc in the next 5 dcs from the previous row. Bpdc in the next 5 dcs from the previous row. Repeat this across Row 2, until you have ended by fpdc in your last dc from the previous row. To end the row, half double crochet in the 2 chains that you skipped in Row 1. Chain 2, turn your work.
Row 3: Skip the hdc from the previous row. Since you ended Row 2 with a set of front post double crochets, you are going to start Row 3 by bpdc in the next 5 stitches. Fpdc in the next 5 stitches (that were bpdc in Row 2). At this point, you should start to see how it looks like the stitches are woven. Repeat all the way across the row. Once you finish up your last bpdc, half double crochet into the chain 2 at the beginning of Row 2. Chain 2, turn your work.
Row 4: Repeat Row 2.
Pattern note: In Row 5, you are going to see how the squares become more defined, giving the pattern a basket weave look.
Row 5: Skip the hdc from the previous row. You ended Row 4 with 5 fpdcs, so now you are going to fpdc in the next 5 stitches. This defines the squares you have been building from the start of the pattern. In the next 5 stitches, bpdc. Finish the row by repeating alternating between 5 fpdc and 5 bpdc. Hdc in the ch 2 from the previous row. Chain 2, turn your work.
Row 6: Sk the hdc from the previous row. You ended the previous row with a fpdc. Bpdc in the first 5 stitches. Fpdc in the next 5 stitches. Continue across the row. Chain 2, turn your work.
Row 7: Repeat Row 5.
Row 8: Sk hdc. Bpdc in the next 5 stitches. Fpdc in the next 5 stitches. Repeat bpdc and fpdc across the row. Chain 2, turn your work.
Row 9: Sk hdc. Fpdc in the next 5 stitches. Bpdc in the next 5 stitches. Repeat across the row. Chain 2, turn your work.
Row 10: Repeat Row 8.
Rows 11-37 Instructions
Rows 11-13: Repeat Rows 5-7.
Rows 14-16: Repeat Rows 8-10.
Rows 17-19: Repeat Rows 5-7.
Rows 20-22: Repeat Rows 8-10.
Rows 23-25: Repeat Rows 5-7.
Rows 26-28: Repeat Rows 8-10.
Rows 29-31: Repeat Rows 5-7.
Rows 32-34: Rows 8-10.
Rows 35-37: Rows 5-7.
Cut off tail and weave in ends.
Single Crochet Border
Find a point in the outer edge of the trivet. It does not matter where you start.
Row 1: Sc in each stitch around the trivet. 2 sc in the corners.
Row 2: Sc in each stitch around. 2 sc in each 2 sc.
Cut off tail. Weave in ends.
Adding a Button (Optional)

If you would like to add a button, find a button that is heat resistant and won’t melt. Sew in the button on the vertical edge of the trivet.
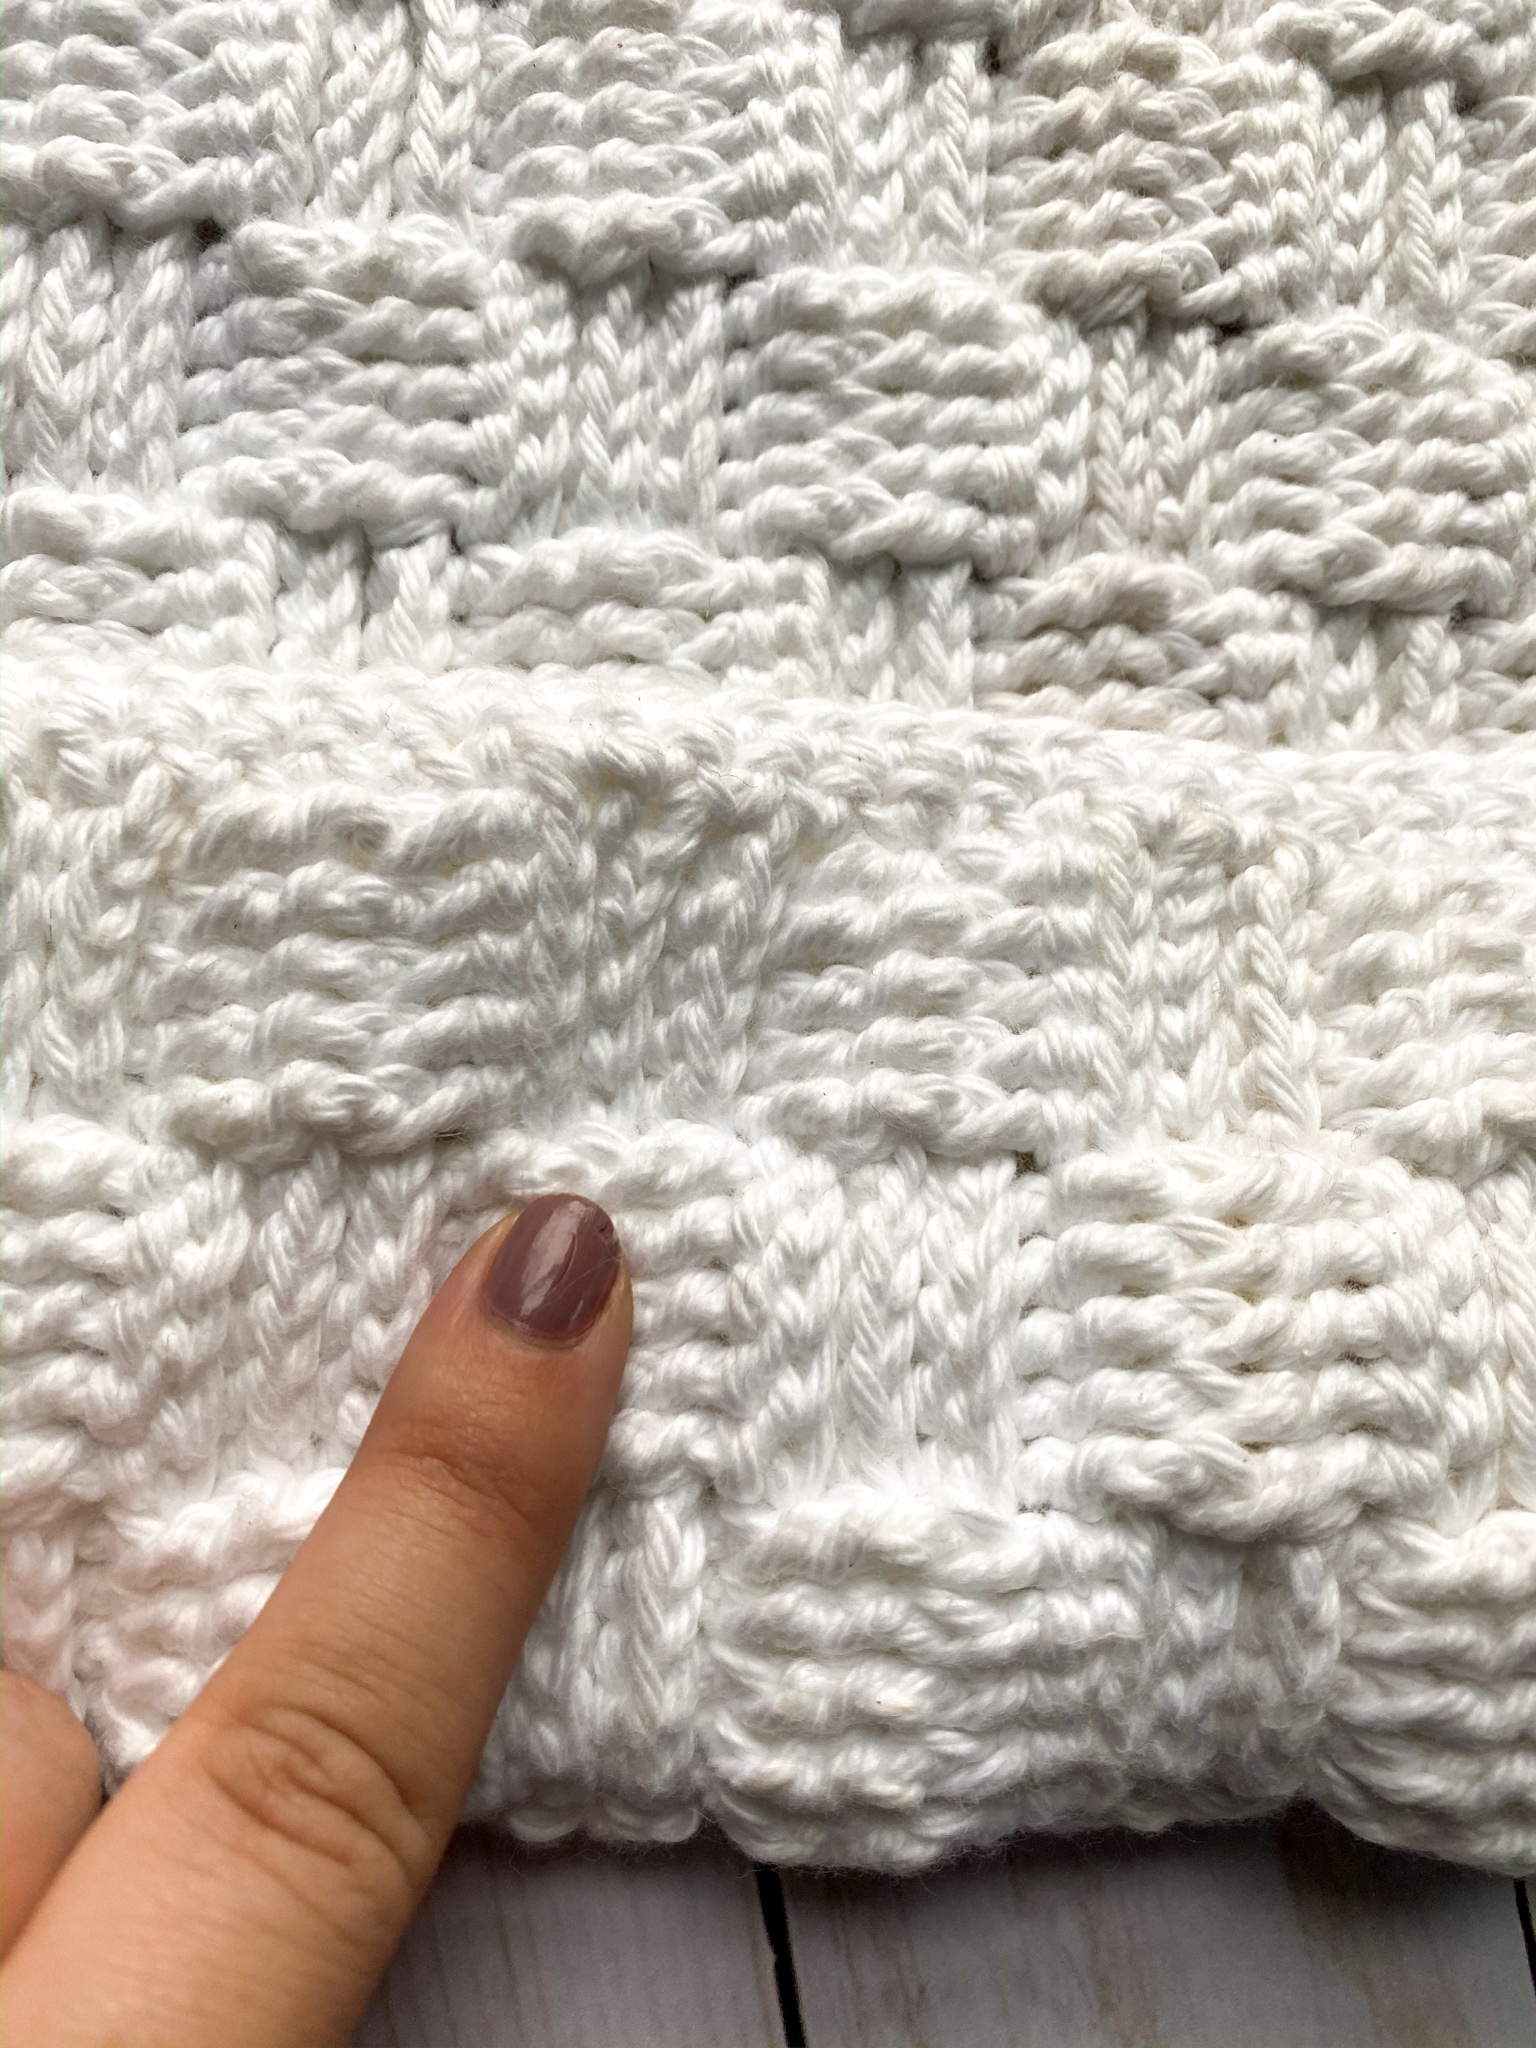
The fasten:
On the back side of the trivet, find a square of bpdc, like pictured above. This should be placed in the trivet where when you fold the trivet, the button meets the fasten.
Working from the back post double crochet, complete 2 rows of sc. Then, depending on how big your button is, chain until the button can fit comfortably in the fasten. Slip stitch the chains at the beginning of the second row of crochet. Cut off ends and weave in.

- Funny Pictures
-
 These are the Pics That Simply Describe Your Life
-
 Hilariously Accurate Parenting Memes That Show the Other Side of Parenthood
-
 Great Pics That Just Depict Our Lives
- Recipes
-
 Crispy Baked Avocado Fries
-
 Baked Beans and Hot Dogs with Biscuit Topping
-
 Roasted Rosemary Lemon Chicken Breasts
- Lifehacks
-
 Crochet Basics: Twisted Fringe
-
 7 Crochet Tips And Tricks
-
 How To Work Crochet Into Denim
- Crochet Ideas
-
 Crochet Snorlax Plushie Doll
-
 Crochet Cat in 1 Row
-
 Crochet Beautiful Penguin Toy
- DIY
-
 Popsicle Stick and Jingle Bell Christmas Tree Ornament
-
 Upcycled Mason Jar Chicken Vase
-
 Crochet Namaste Stephanie Doll
- Knitting Ideas
-
 Knitted Keepsake Bag
-
 Knitted Textured Heart Dishcloth
-
 Knitted Snowfall Dishcloth