How to Create a Crochet Mini Basket

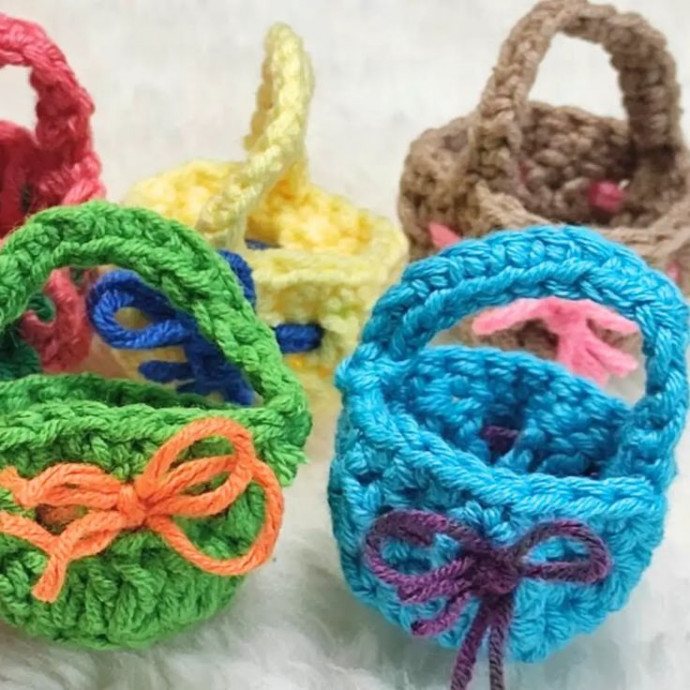
Creating a Crochet Mini Basket is a delightful and satisfying project that you'll surely enjoy. These charming little baskets are perfect for organizing small items like keys or jewelry, adding a touch of handmade charm to your space. With their versatility, you can make them in different colors and sizes to suit your needs. Whether you're a seasoned crocheter or a beginner looking for a fun project, crafting a Crochet Mini Basket is a wonderful way to unleash your creativity and bring a bit of cozy warmth into your home.
Materials
- Yarn (any type and color)
- Crochet hook (size depends on the yarn you choose)
- Scissors
- Yarn needle
Making
Starting the Base
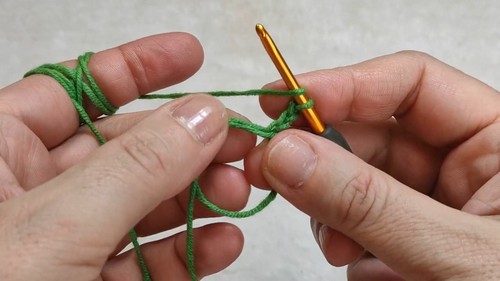
Create a Magic Ring: Begin your project by making a magic ring to serve as the foundation of your basket.
Initial Stitches: Chain 3, then make 2 double crochet stitches into the ring.
Expand the Base: Chain 3 again, then make 2 double crochet stitches in the same stitch. Repeat this step 10 more times to expand the base of the basket.
Closing the Base Ring: Gently pull the yarn to close the magic ring tightly.
Building the Sides
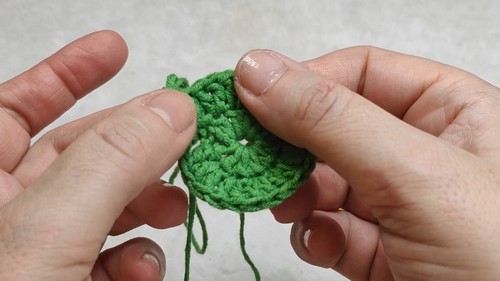
Start the First Round: Chain 3, then make 2 double crochet stitches in the first stitch from the previous round.
Continue the Pattern: Chain 3, then make 2 double crochet stitches in the next stitch. Repeat this pattern a total of 11 times to build the sides of the basket.
Complete the Round: Pull the yarn and close the round to secure your work.
Preparing for the Handle
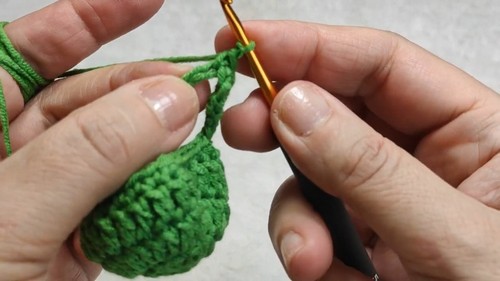
Strengthen the Edge: Chain 3, then make 1 double crochet in each stitch from the previous round to reinforce the edge of your basket.
Close the Round: Tightly pull the yarn and close the round, preparing for the handle creation.
Creating the Handle
Forming the Handle: Chain 15 stitches to create the length of your handle.
Strengthening the Handle: Skip the first stitch, then make 1 single crochet in each of the remaining stitches along the handle for added durability.
Securing the Handle: Fasten off the yarn and weave in the ends to secure the handle in place.
Attaching the Handle
Positioning: Attach the handle to the basket by creating a single crochet in the center of the basket’s bottom round.
Securing the Opposite End: Chain 15 stitches (mirroring the first side), then make a single crochet on the opposite end of the bottom round to secure the handle.
Final Touch: Cut the yarn and weave in the end to neatly finish the handle attachment.
Adding Decorative Details
Make a Small Bow: Use leftover yarn to create a small bow.
Attach the Bow: Secure the bow to the handle for a decorative touch, adding personality and charm to your mini basket.
Your crochet mini basket is now complete!
- Funny Pictures
-
 Cute Cat Memes That Will Make Your Day Brighter
-
 Spot-on and Funny Memes About Introverts Struggles
-
 Top Wonderful Cat Memes on Their Way to Better Your Day
- Recipes
-
 Creamy Old Fashioned Rice Pudding
-
 Cream of Mushroom Soup
-
 Homemade Breakfast Sausage
- Lifehacks
-
 Crochet Basics: Crumpled Griddle Stitch
-
 Crochet Basics: Sedge Stitch
-
 Surprising Ways to Use Dryer Sheets
- Crochet Ideas
-
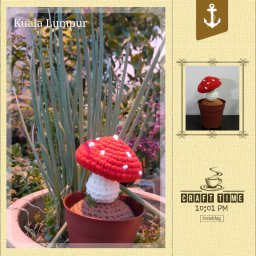 Crochet Amigurumi Mushroom Plant
-
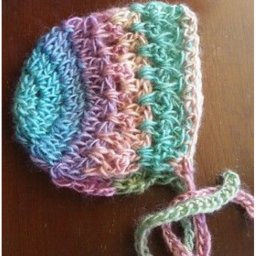 Crochet Sweet Baby Bonnet
-
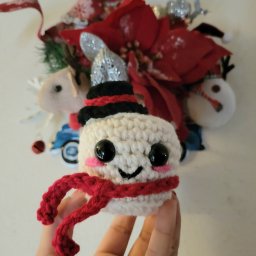 Crochet Festive Marshmallow
- DIY
-
 DIY Snowman Wreath
-
 Mini Santa Sleigh Ornament
-
 Crochet Gingerbread House Blanket
- Knitting Ideas
-
 Knitted Easter Bunny
-
 Knitted Mobile Phone/Glasses Case
-
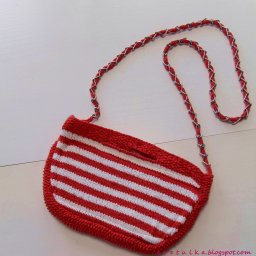 Knitted Mini Summer Purse