Crochet Labubu Beanie

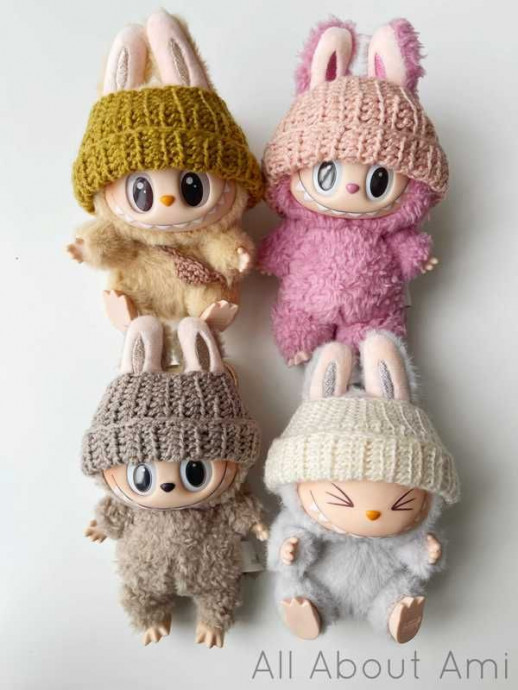
The Crochet Labubu Beanie is a charming and stylish accessory that will keep your fluffy toy cozy and fashionable all year long! Handcrafted with care and attention to detail, this beanie features a unique design that adds a touch of whimsy to any outfit. Enjoy!
Materials
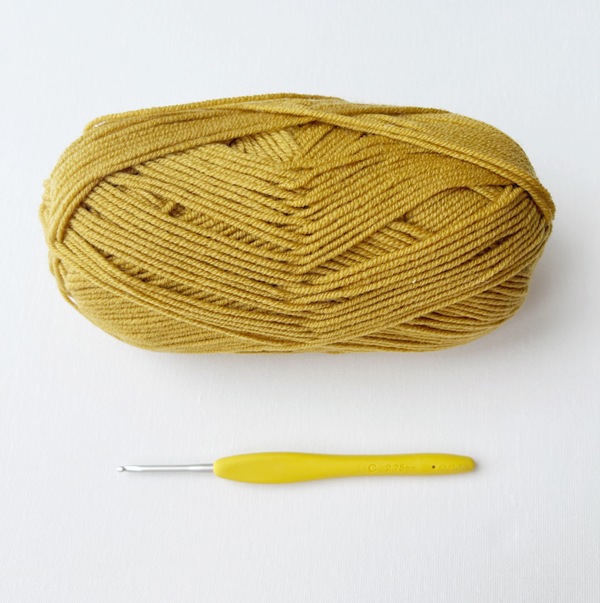
Level 3 lightweight yarn (samples use “Superwash Merino” from the LB Collection in “Mustard Seed” and “Tutu”); ~9 g/28 yds for each hat
2.75 mm Clover Amour hook
Yarn Needle
Notes
This beanie is crocheted in turned rows.
Each row consists of single crochets and half double crochets. The single crochet stitches are all stacked on one side of the rows while the half double crochet stitches are all stacked on the other side of the rows to give a curved and tapered effect for the beanie.
Stitches are worked in the front loops only, leaving the back loops to create a ribbed effect.
Row 2 repeats begin with half double crochet stitches while Row 3 repeats begin with single crochet stitches.
Turning Chains
When you have finished working half double crochets in the row and will be working half double crochets in the next row, you will chain 2 for the turning chain (as written in the pattern).
When you have finished working single crochets in the row and will be working single crochets in the next row, you will chain 1 for the turning chain.
The turning chains (chains at the beginning of the rows) DO NOT count as stitches.
Initial Chain and Row Modifications
The initial chain determines the height of the beanie. If you want to roll up the brim of the hat more, you can add more chains. If you want less of a brim, you can decrease the number of chains.
The number of rows determines the circumference of the beanie. If you want a wider/looser hat, add more rows. If you want a smaller/tighter hat, decrease the number of rows.
Row Repetitions
Rows 2 and 3 are repeated until the desired circumference of the beanie is reached. Be sure to end on a Row 2 repeat (you should end off with single crochets at the end of the row).
Next, the piece is folded in half and the short sides are slip stitched together.
Then, slip stitches are picked up along the opening to give a clean edge.
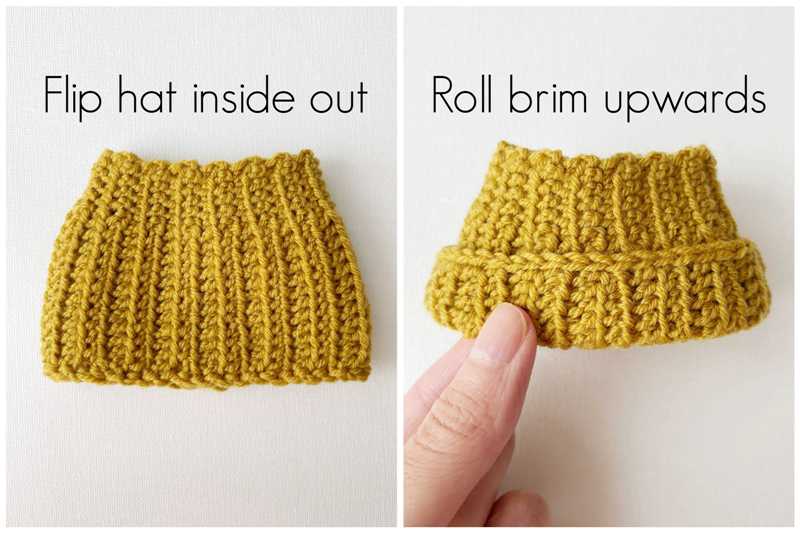
The hat is then flipped inside out so the seam is less visible, and the brim is folded up to reveal the beautiful slip stitch edging.
Modifications for Other Yarn Weights
Level 4 medium worsted weight yarn: Use a 3.25 mm hook and chain 16. Work 4 single crochets and 11 half double crochets in each row, for a total of 22 rows.
Level 1 super fine fingering yarn: Use a 2 mm hook and chain 23. Work 7 single crochets and 15 half double crochets in each row, for a total of 40 rows.
Abbreviations
Single crochet (sc): Insert hook into indicated space. Yarn over, pull up a loop. Yarn over, pull through both loops.
Half double crochet (hdc): Yarn over and insert hook into indicated space. Yarn over, pull up a loop. Yarn over, pull through all 3 loops.
Front loops only (FLO): Each stitch consists of a V with one loop closer to you and one loop farther away from you. The front loops are the loops that are CLOSEST to you.
Final Dimensions
Height: 7 cm/2.75″ (before rolling up brim), Circumference: 9″/23 cm
Pattern
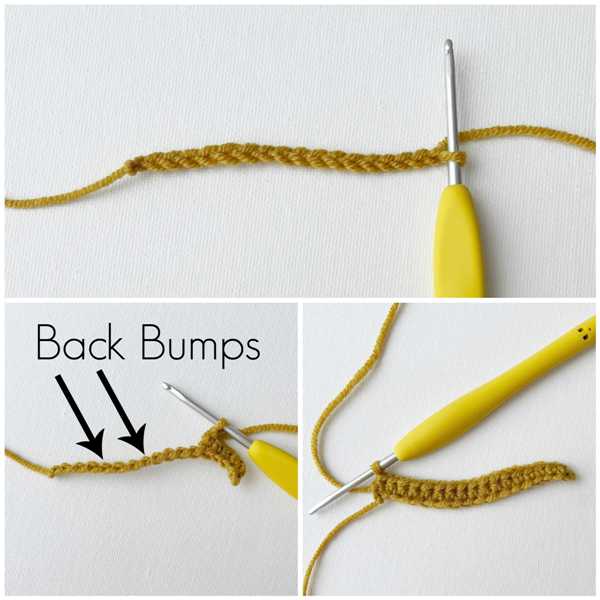
Chain 18
Row 1: Starting in second back bump from hook, Sc 5 and hdc 12 in back bumps across. (17 sts)
Row 2: Chain 2, turn. In front loops only, Hdc 12, Sc 5. (17 sts)

Row 3: Chain 1, turn. In FLO, Sc 5, Hdc 12. (17 sts)
Repeat R2-3 until 30 rows have been completed or until desired measurement. My piece measured 8.25″/21 cm across from tip to tip as shown below. Be sure to end on a Row 2 repeat (you should end off with single crochet stitches).
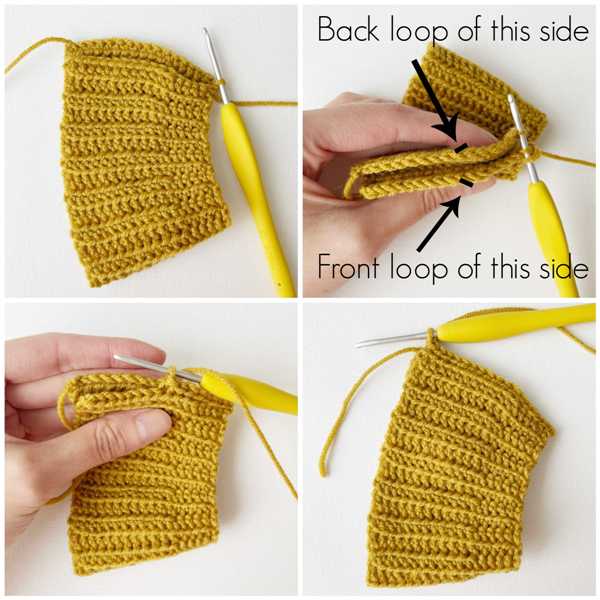
Assembly
Chain 1 and fold piece in half. We will now use slip stitches to seam the short sides together. Insert your hook into the outer loops of both sides (the front loop of the side closest to you and the back loop of the side further away from you). Yarn over, pull through. Continue working slip stitches across all the stitches.
The short sides have been seamed together.
Now it is time to work a clean edge around the opening by picking up slip stitches around. Chain 1. Insert your hook into the next space, yarn over and pull through all the loops. Continue working slip stitches around the entire opening.
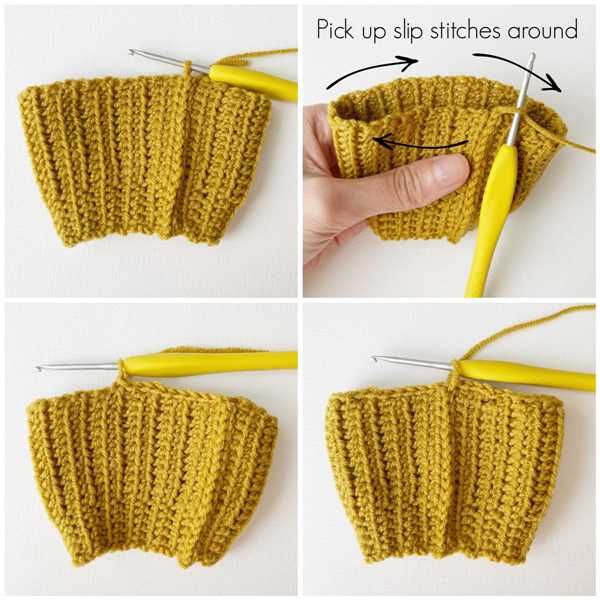
To work a clean finish in the round as shown below in the collage:
Final Touches
Flip the hat inside out so the seam is less visible. Roll the brim up to reveal the beautiful slip stitch edge that we crocheted. Weave the ends into the brim.
Enjoy using different colors and keeping your Labubus warm with these cozy beanies! Feel free to add buttons, tags, or other embellishments to these adorable little hats.
- Funny Pictures
-
 Pics to Get the Excitement Today
-
 Funny Christmas Meme Dump
-
 Funniest Relatable Felines in the Form of Memes
- Recipes
-
 Cappuccino Brownies
-
 Chicken Mushroom Tortellini Bake
-
 Spinach Pie
- Lifehacks
-
 8 Necessary Tips for Baking Bread
-
 Tips & Hacks for Clean Carpets
-
 10 Uses For Old TV Armoires
- Crochet Ideas
-
 Crochet Watermelon Amigurumi
-
 Crochet Shark Applique
-
 Crochet Pineapple Amigurumi
- DIY
-
 Yarn Wrapped Christmas Wreath Ornaments
-
 Egg Carton Snowman Ornament
-
 Stick Peppermint Candy Ornament
- Knitting Ideas
-
 Knitted Star Square Dishcloth
-
 Knitted Free 2025 Year Dishcloth
-
 Knitted Belle Finger Puppet